DIY Kits
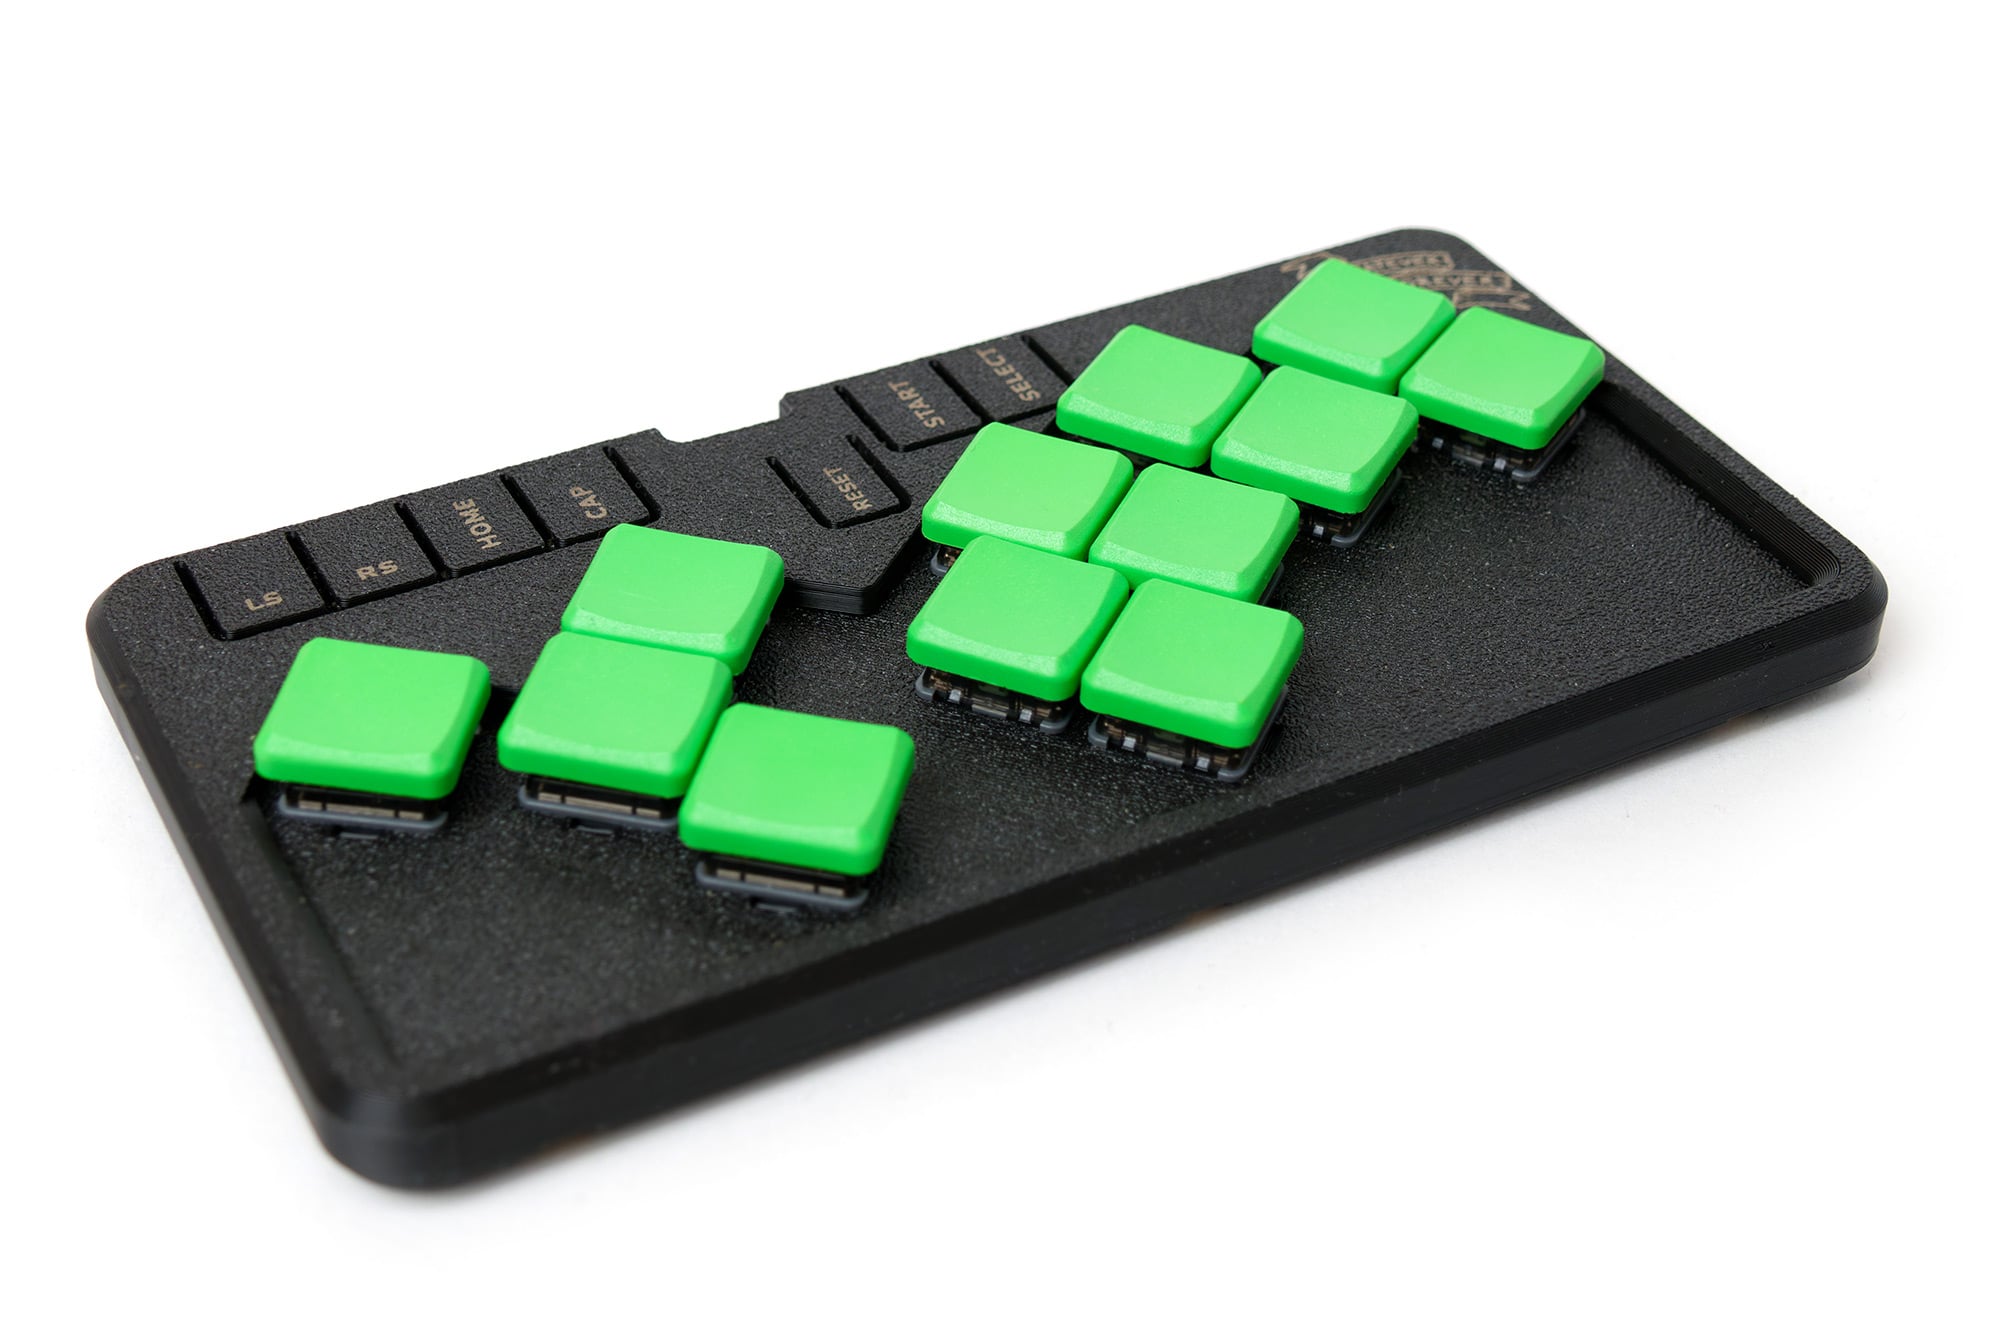
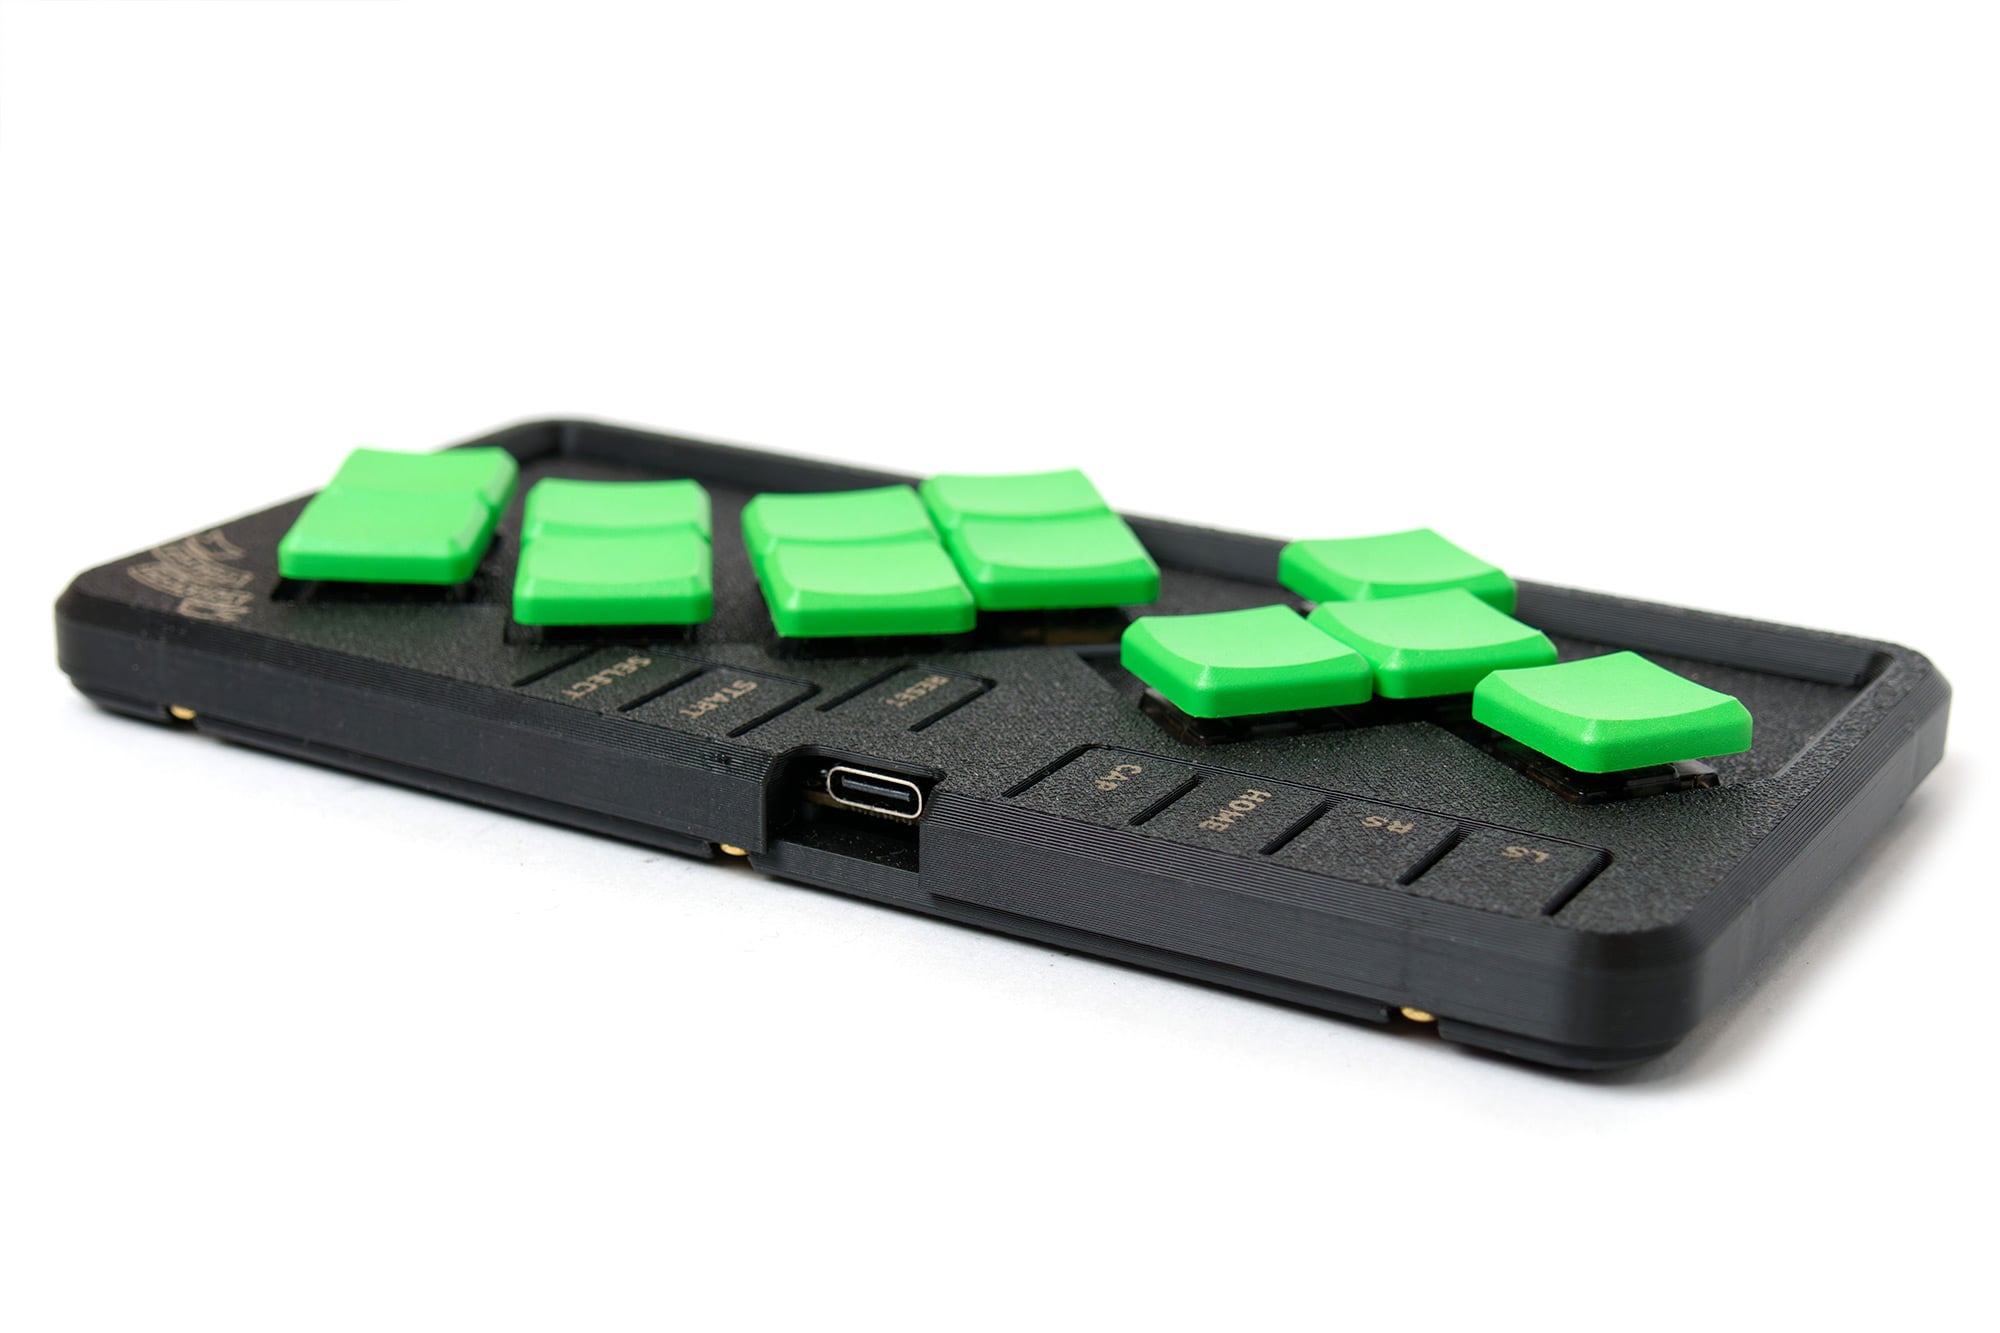
Stress - Pocket Fight Pad DIY Kit
The kit includesStress PCBCase (3d printed, FDM PLA)0xCB Gemini - Waveshare RP2040-Zero compatible microcontroller6x Tactile switch12x Kailh Hotswap Sockets10x M2x5 screws (phillips screwdriver)4x Rubber feet (15x2mm)You also need12x Choc V1 switches12x Choc KeycapsPhotos of the completed kit are for demonstration purposes only. Please note that this kit must be assembled (soldering) and does not include switches or keycaps.PCB design by GroooveBob and case design by SineScire


Prospector Kit - ZMK dongle with full color LCD screen
The Prospector is a customisable status screen designed for wireless ZMK-based keyboards. It features a full-colour LCD screen and an ambient light sensor (not Eco variant). Kit includes: Seeed Studio XIAO nRF52840 Waveshare 1.69inch Round LCD Display Module (with Touch) Adafruit APDS9960 (Proximity, Light, RGB, and Gesture Sensor) Case (MJF printed, There are no visible layer lines, which makes it look more professional.) 4x M2x6 pan/wafer head screws (black), Hex 1.3 4x M2.5x4 pan/wafer head screws (black), Hex 1/16 Eco Kit includes: Seeed Studio XIAO nRF52840 Waveshare 1.69inch Round LCD Display Module (with Touch) Case 6x M2x6 crosshead screws (silver) Build Guide ZMK Module (firmware) by Carrefinho, or by janpfischer Photos of the completed kit are for demonstration purposes only. Please note that this kit must be assembled (soldering wires).Prospector design by Carrefinho

Forager Wireless Split Keyboard Kit
The Forager is a Voyager-inspired 34-key low-profile split keyboard. It is wireless and powered by ZMK firmware. Pre flashed ZMK firmware with ZMK Studio supportPower switch for battery savingReverse polarity protection for the battery connector Hot-swap sockets for Choc V1 switches (change switches without soldering) Choc (18x17mm) spacing for a compact design Magnetic tenting legs Case top plate has switch puller grooves A Seeed XIAO nRF52840 is used as the core of the Forager RGB led to indicate battery level and BLE connection status Reset button on the bottom The ZMK firmware is already flashed and has ZMK Studio support. This allows you to easily change the layout without having to flash a new firmware.You can find the Build-Guide and more information here. The kit includes: Forager PCB (left, right side) fully assembled Case (3D printed with black PLA) 4x tenting feet (3D printed with black PLA) Screws (black countersunk M2x4 screws with spare screw) Rubber feetsTorx T6 screwdriverYou also need: 34x Choc V1 switches 34x Choc V1 keycaps 2x LiPo 1S 3.7V battery (optional with a JST ACH connector)
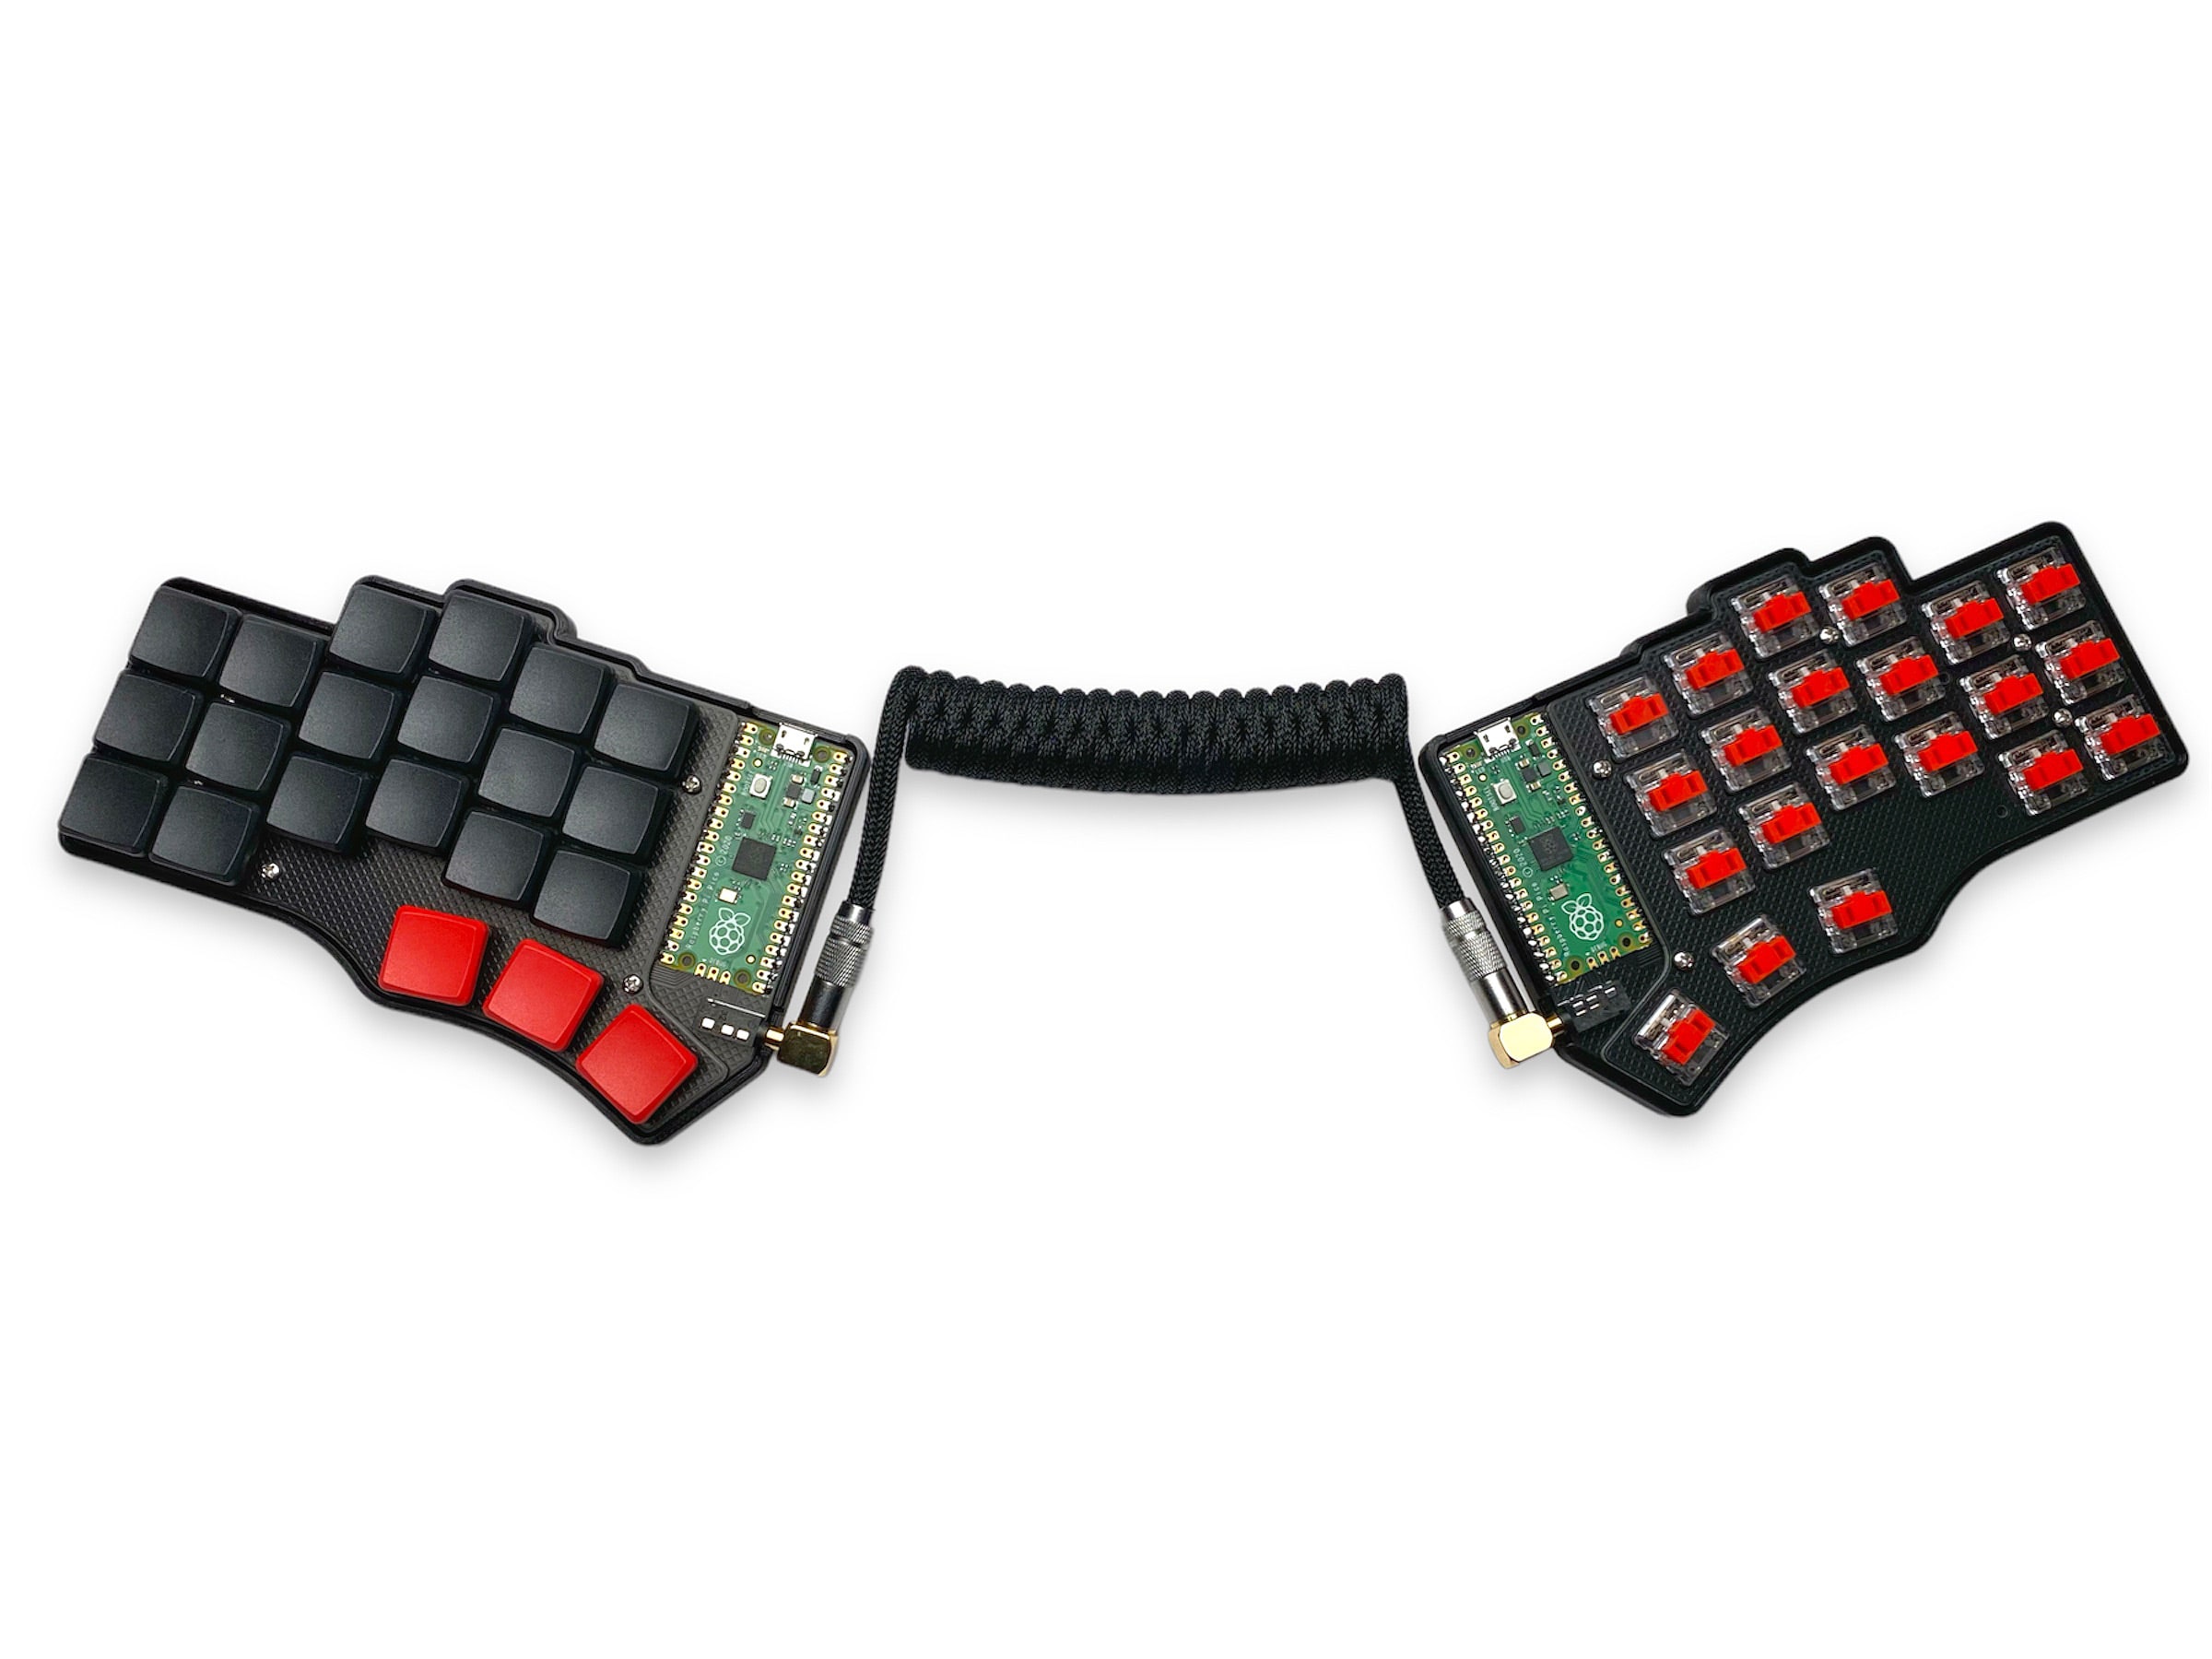
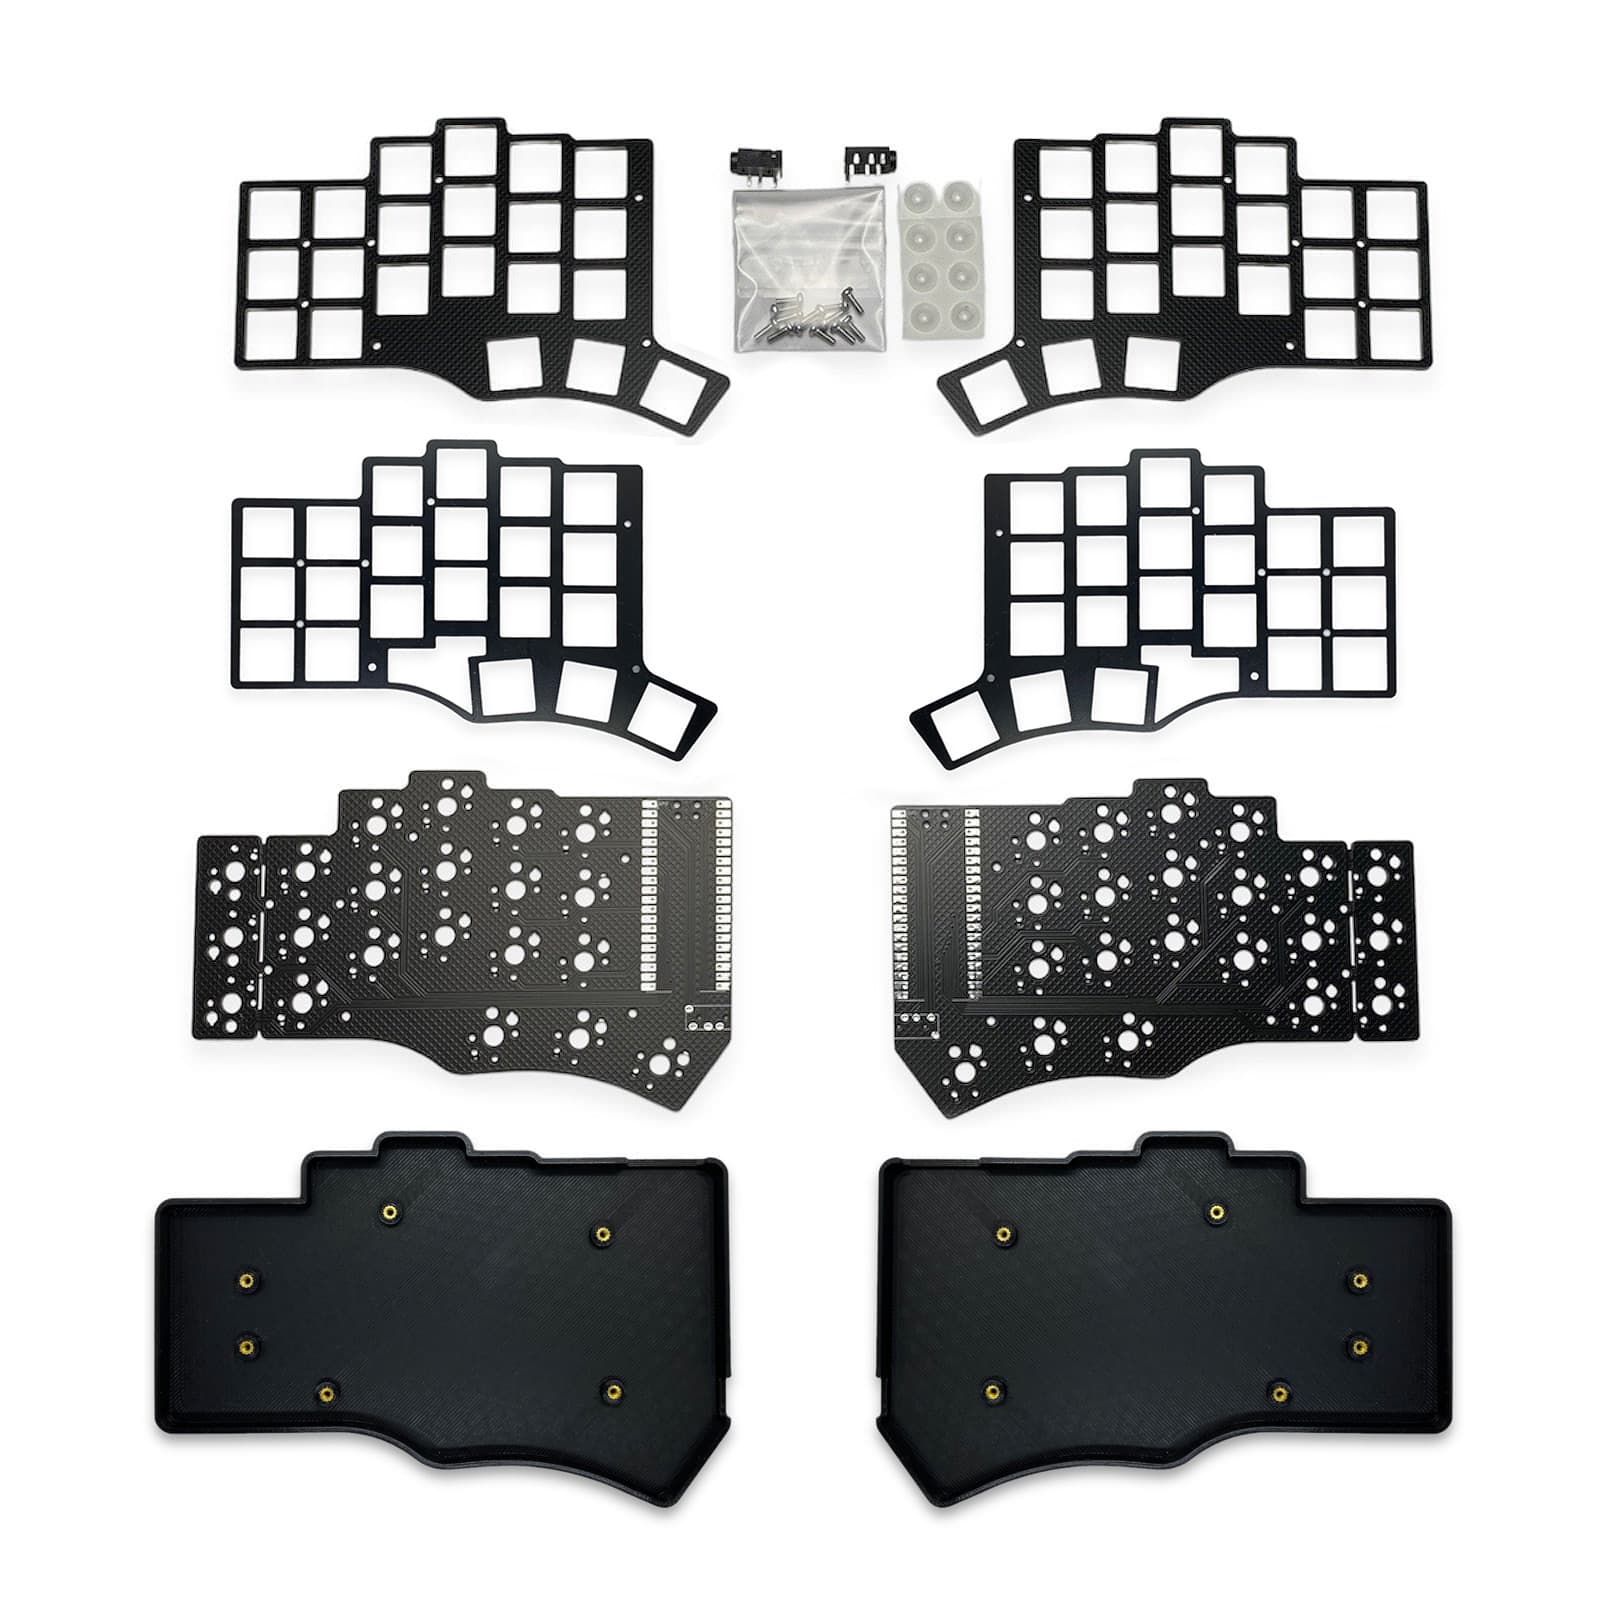
Piantor Split Keyboard Kit
The Piantor Keyboard is a beginner-friendly, easy-to-solder, 42-key or 36-key, diodeless, low profile aggressive column staggered, hotswappable and non-hotswappable, programmable ergonomic mechanical split keyboard powered by Raspberry Pi Pico, Pico W or other compatible RP2040 boards.The improved case has threaded inserts for better durability. Raspberry Pi Pico, switches and keycaps are not included. It is based on the Cantor Keyboard. Features: Support for Choc V1 switches Beginner friendly (less soldering, precompiled VIAL firmware, Gui to change layout) Breakable pinky column (42-key to 36-key) inkl. case is only for 42-keys QMK and VIAL firmware support. Open source Build-Guide Kit includes: Left and right pcb 2x Top plates (FR4 black 1.6mm) 3D printed case (black PLA) with threaded M2 inserts 2x EPDM foam for sound dampening 3D printed middle plate (black PLA) Solder parts (TRRS jack) Screws (stainless M2) Rubber feets Not included: 2x Raspberry Pi Pico 42x Choc V1 switches Keycaps (Choc V1 switches need Choc keycaps, not MX) Choc Hot-Swap Sockets (optional if you need Hot-Swap for the switches) TRRS cable (4-pole) Micro-USB cable Photos of the completed kit are for demonstration purposes only.Please note that this kit must be assembled (soldering) and does not include switches or keycaps. Design by Beekeeb
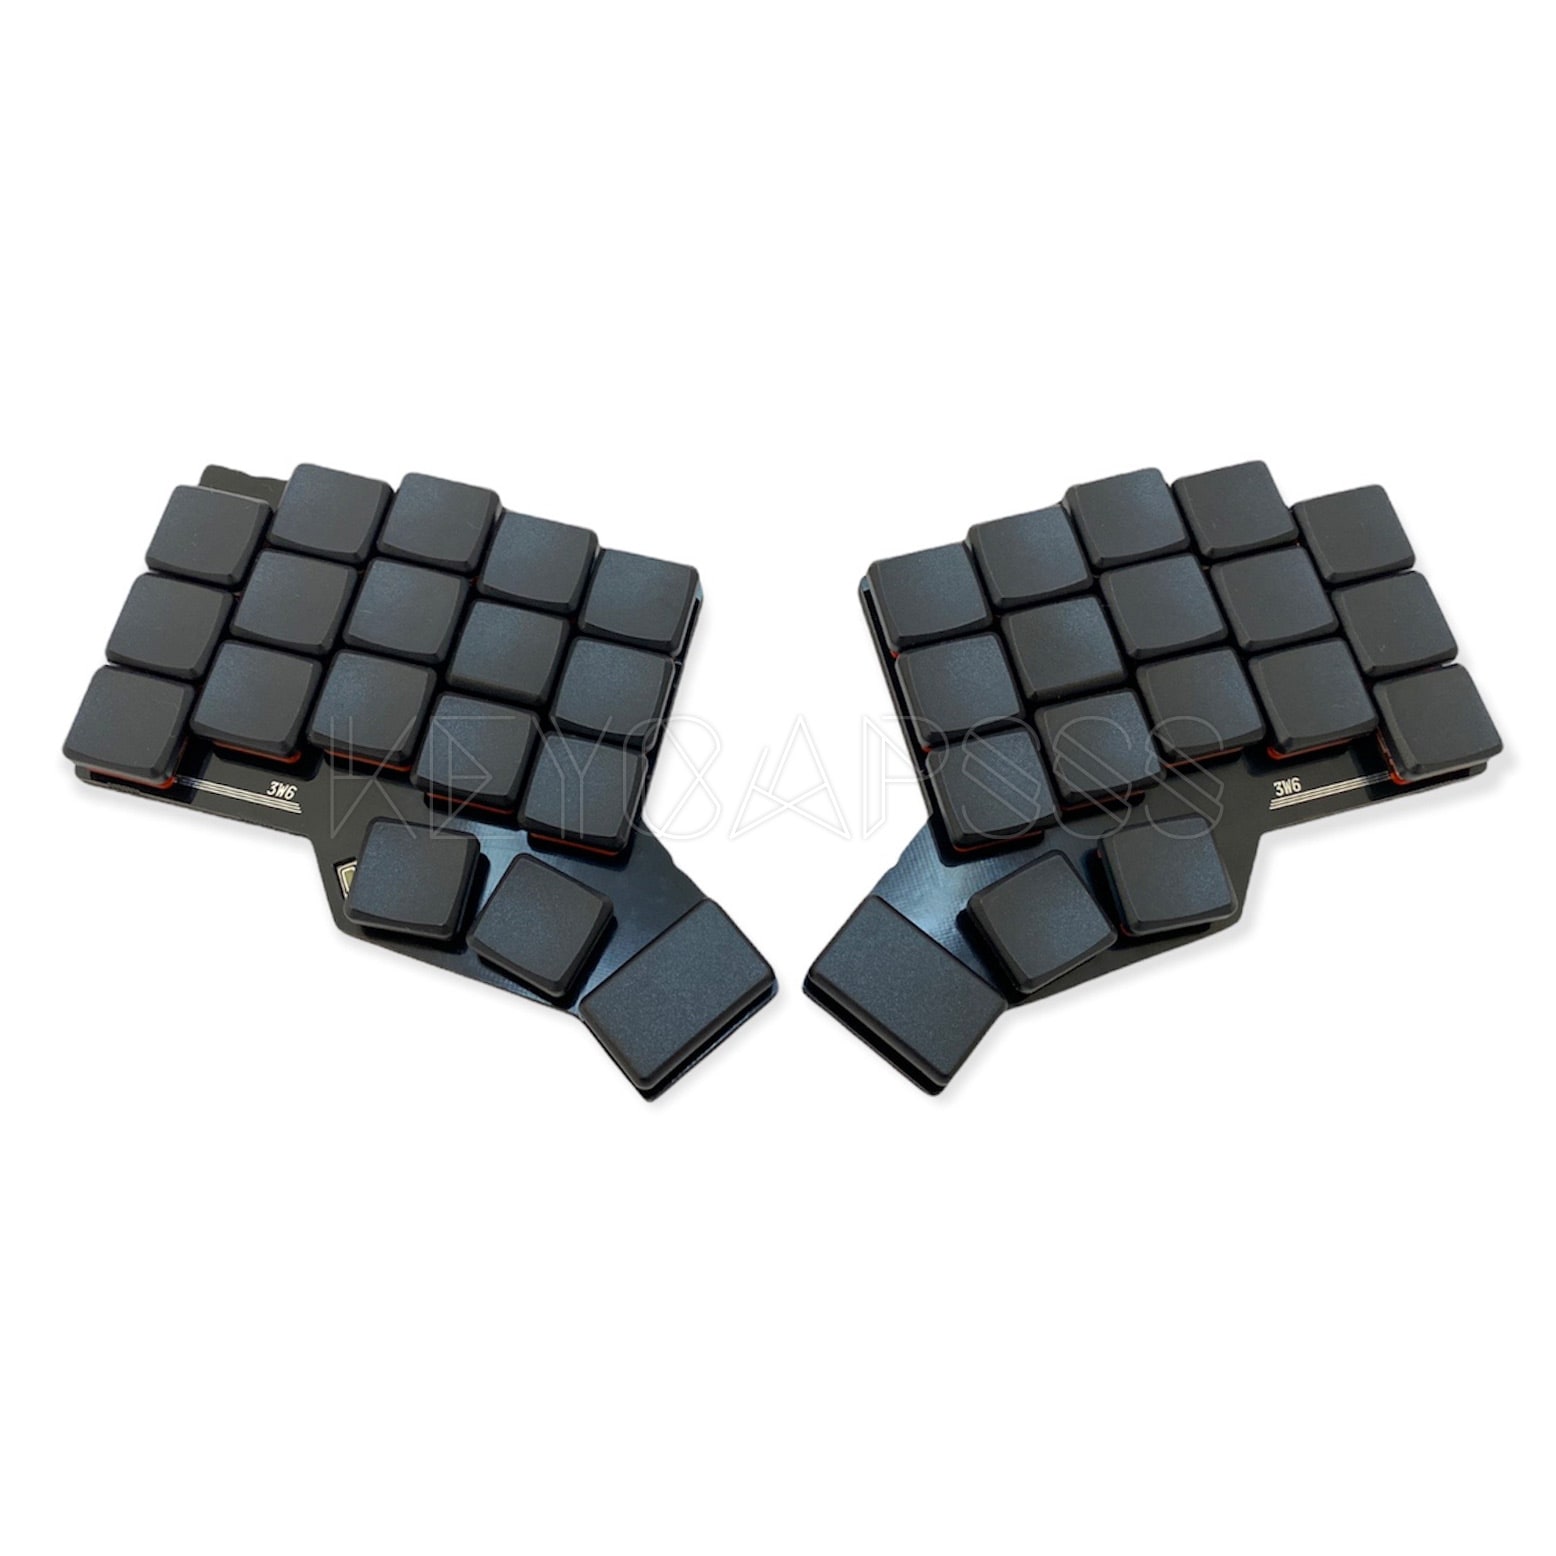
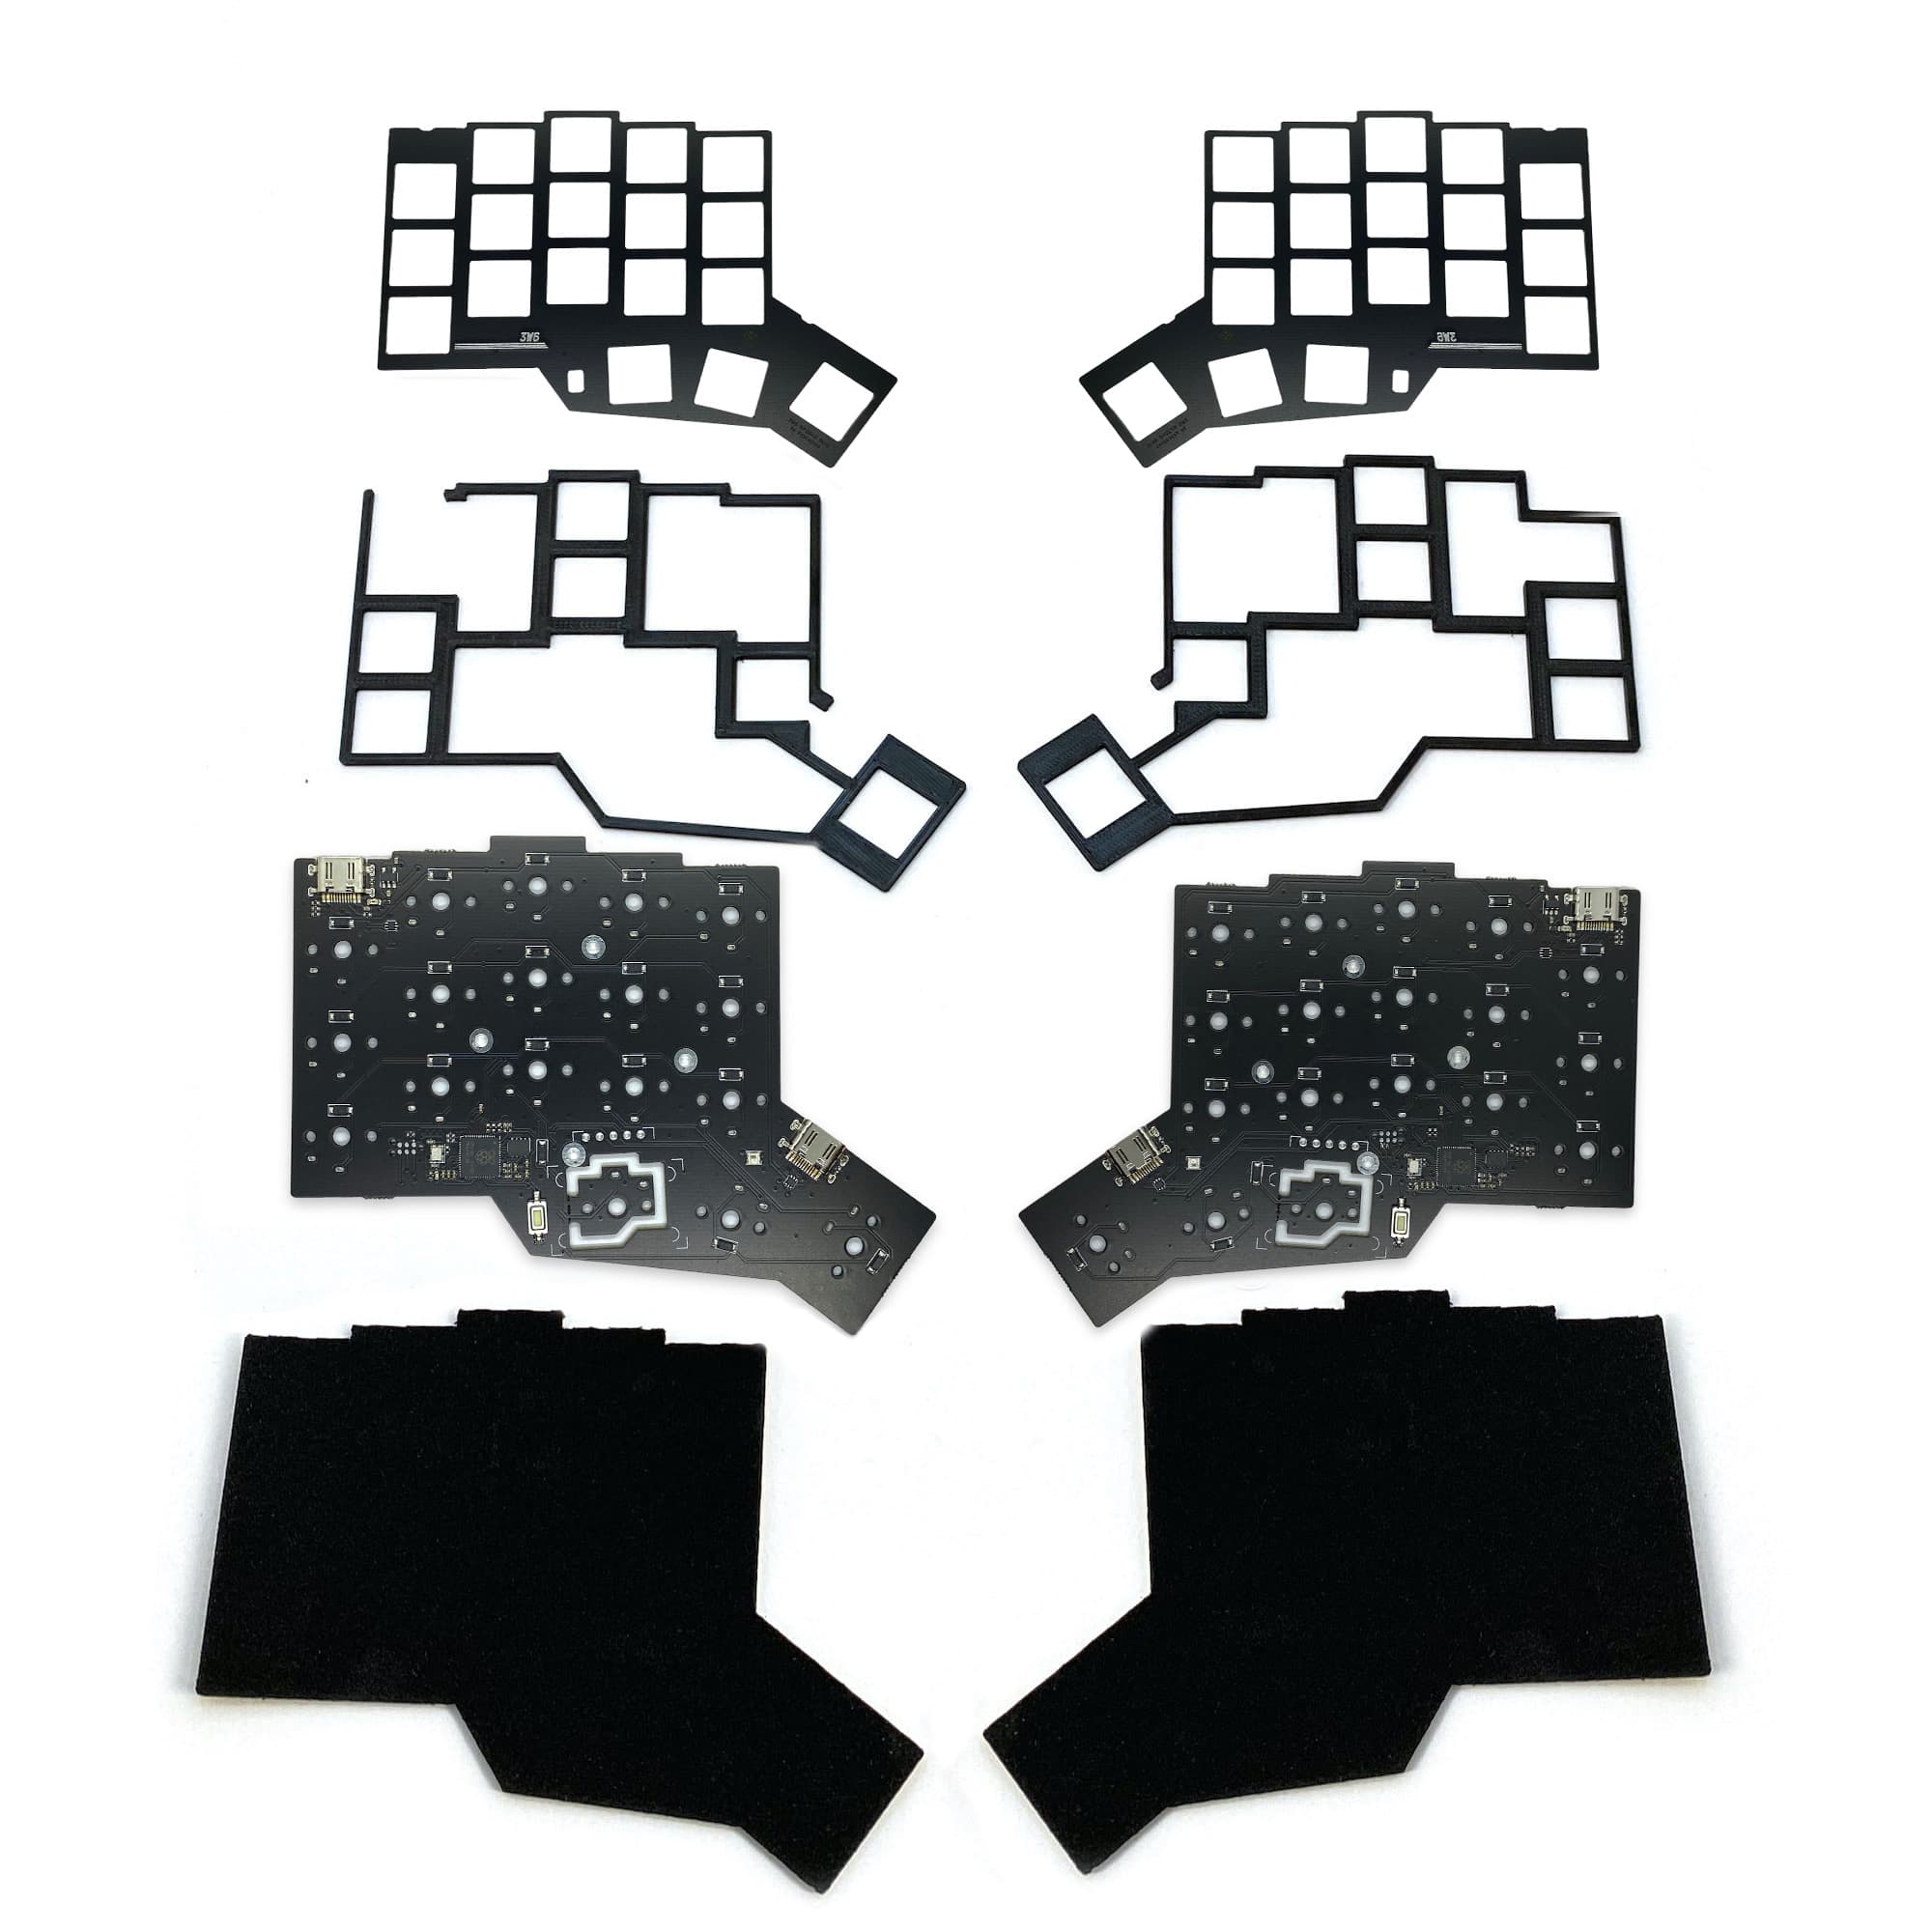
3W6 RP2040 Split Keyboard Kit
This is the new 3w6 RP2040 version. Instead of the old ATmega32U4, it uses a modern RP2040 32-bit dual ARM microcontroller. New features: Onboard controller (RP2040) on both sides 4MB (32Mbit) QSPI flash and 264 KB SRAM Full Duplex UART split transport up to 1.5Mb/s Handedness via eeprom (automatic dectect which one is the master side via VBUS detection) 1x Blue user led (GPIO17) and 1x RGB led (WS2812) (GPIO25) on both sides, for layer or caps lock indication ESD protection on all USB-C ports (also on the serial circuit) Optional Pimoroni Trackball on both sides (The Pimoroni Trackball Rev2024 have a Qw/ST socket at the bottom, which sticks out at the keyboard bottom) VIAL firmware flashed on both halfs, open VIAL GUI and change the layout as you need Features: PCB's are completely assembled, only the Choc V1 switches need to be soldered on USB-C connector on master side for computer <-> keyboard connection USB-C to USB-C connection between split keyboard halfs Support for Choc V1 switches (not V2) Choc spacing (keycaps are closer to each other) Low profile and lightweight Aggressive pinky stagger This split keyboard kit does not support hotswap, no multiple switchtypes, no encoders, no LEDs, no Oled display. Includes: Left and right keyboard PCB (SMD components already assembled) Top plates (black with silver 3W6 logo, FR4 material) Middle plates (3D printed, black PLA) Bottom Foam (self adhesive) You need: 36x Choc V1 switches (no V2) 34x Choc 1U keycaps 2x Choc 1.5U keycaps USB-C cable Short USB-C to USB-C cable to connect both halfs (15-30cm) Solder and solder iron to solder the switches Build-Guide Souce code for VIAL firmware Photos of the completed kit are for demonstration purposes only.Please note that this kit must be assembled (soldering switches) and does not include switches or keycaps. PCB and case design by weteor, RP2040 port by 0xCB
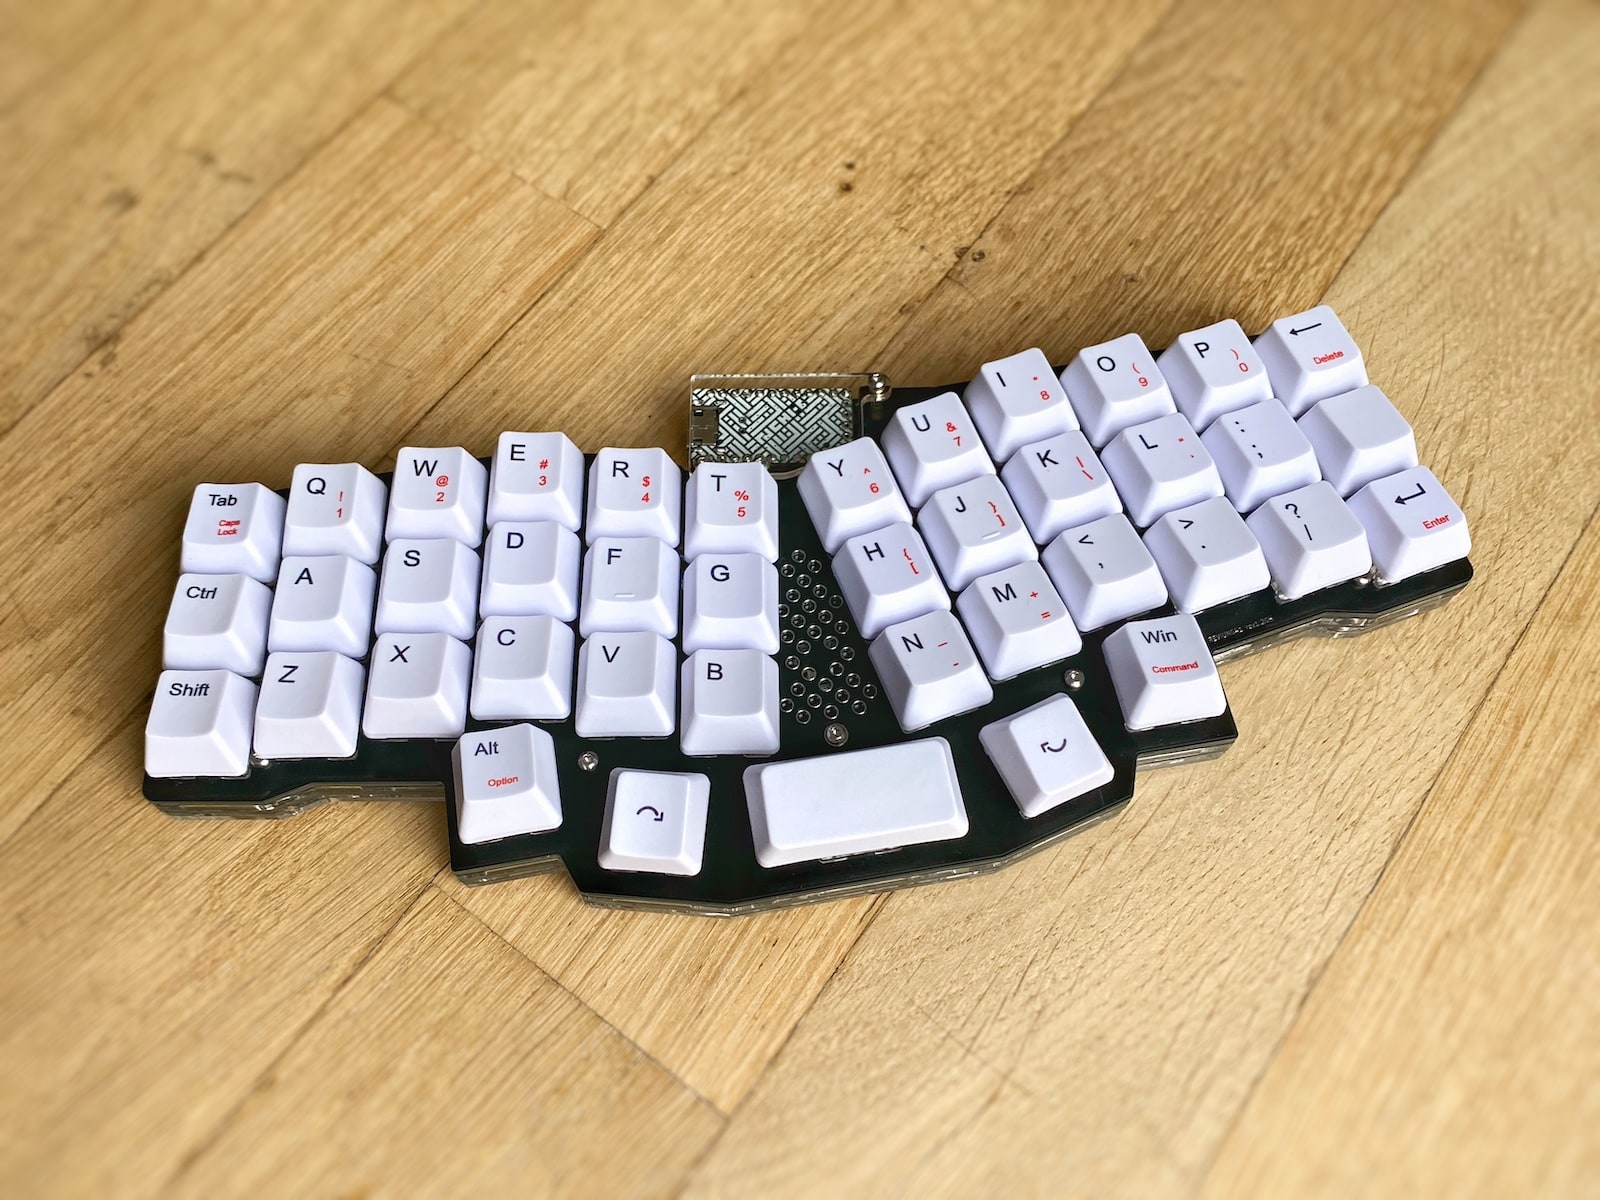
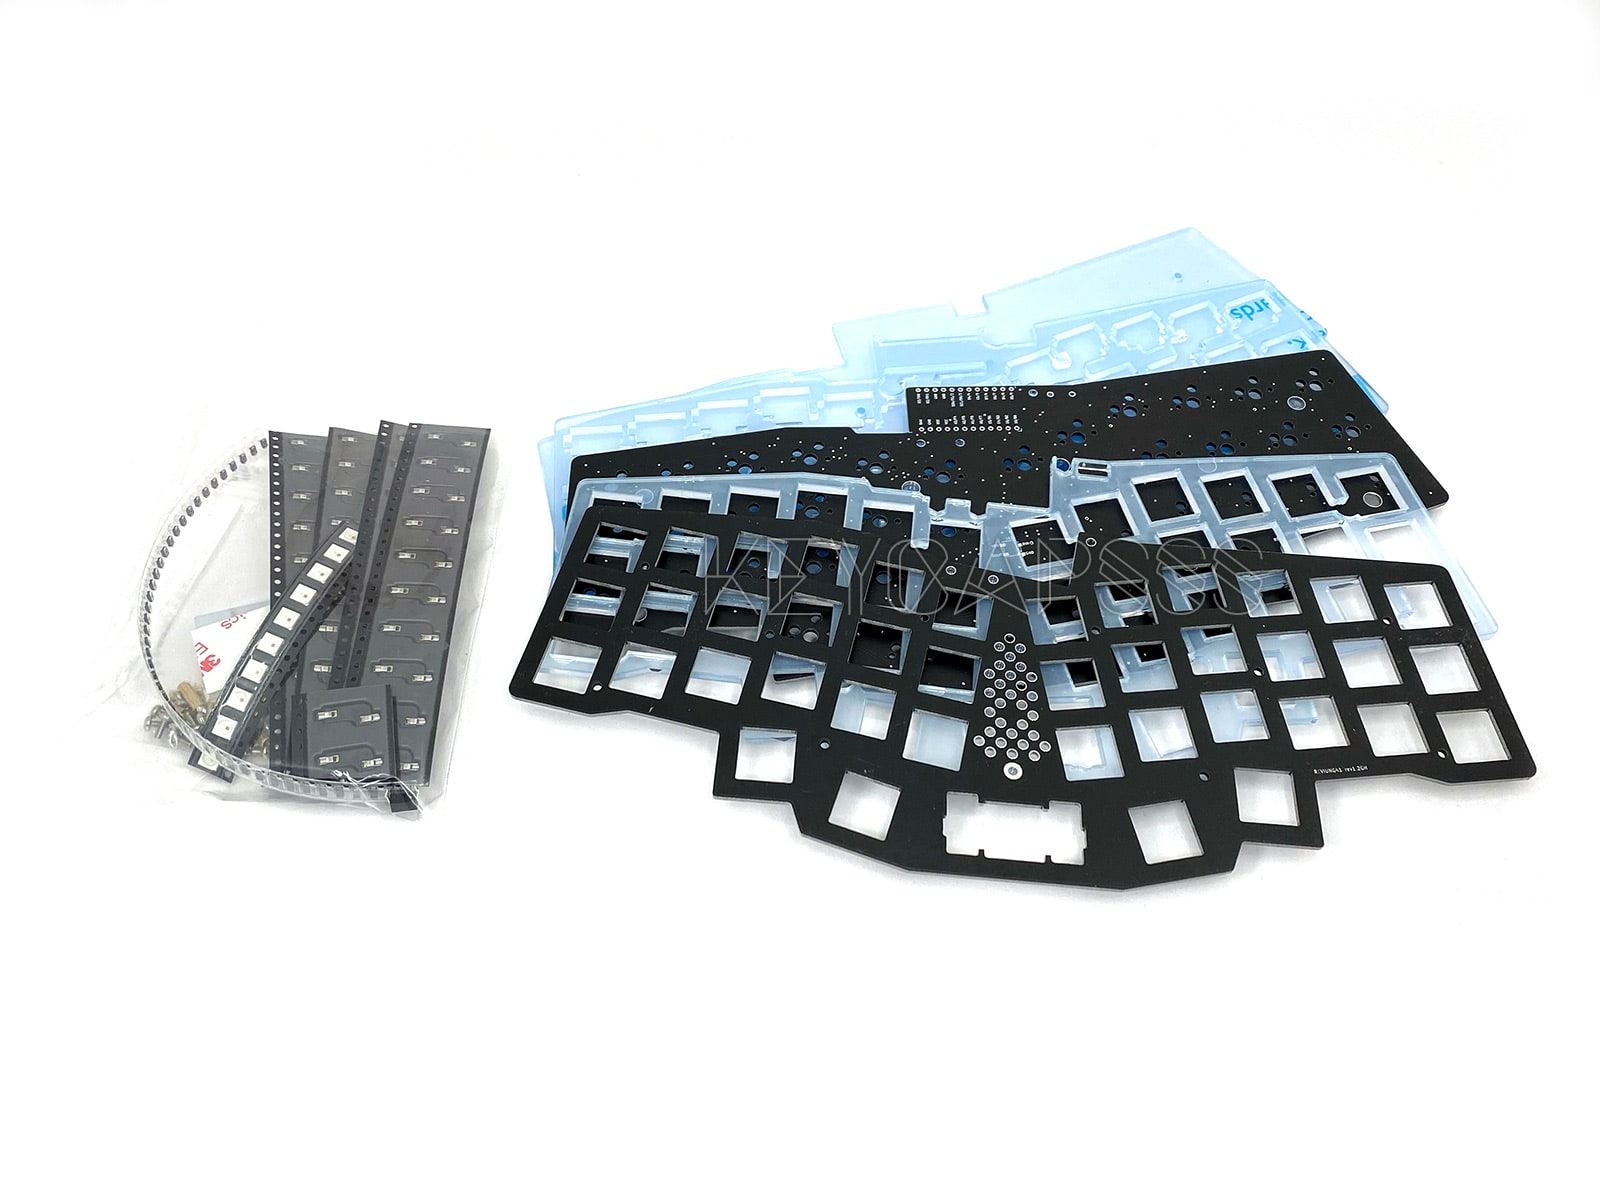
Reviung41 Keyboard Kit
The REVIUNG41 is 41-key column staggered keyboard, with 3x12 layout and 5 thumb keys.It supports switch hotswap with Kailh MX sockets. For the middle key in the thumb cluser you can use a 2U, or 2.25U keycap and install a 2U stabilizer.10x WS2812 RGB led's can be installed for Underglow and one upward facing for a accentuating illumination in the middle of the keyboard. Includes: PCB (black with white silk screen and silver surface finish) Top plate (FR4 material, black with silver surface finish) Bottom acrylic plate (3mm clear) 2x mid acrylic plates (3mm clear) 2mm acrylic MCU cover Spacer and screws (stainless M2 T6 torx) Kailh Hot-Swap Sockets SMD diodes WS2812 led's Reset switch Rubber feet Build-Guide You also need: Recommended: Single Row Socket Headers Optional: 2U stabilizer 41x MX compatible switches with 3 or 5 pins 1x Pro Micro or compatible clone (Puchi-C, or Elite-C) Keycaps USB cable T6 Torx screwdriver Soldering iron Middle acrylic plates This kit comes with a top middle acrylic plate (between the top plate and the main PCB) and bottom middle acrylic plate (between the main PCB and the bottom plate).This supports the entire surface of the keyboard, increasing the rigidity of the keyboard and increasing the weight.Therefore, it improves the typing feeling and the sound. Photos of the completed kit are for demonstration purposes only.Please note that this kit must be assembled (soldering) and does not include switches or keycaps. PCB and case designed by @GTIPS_SH
Currently not available
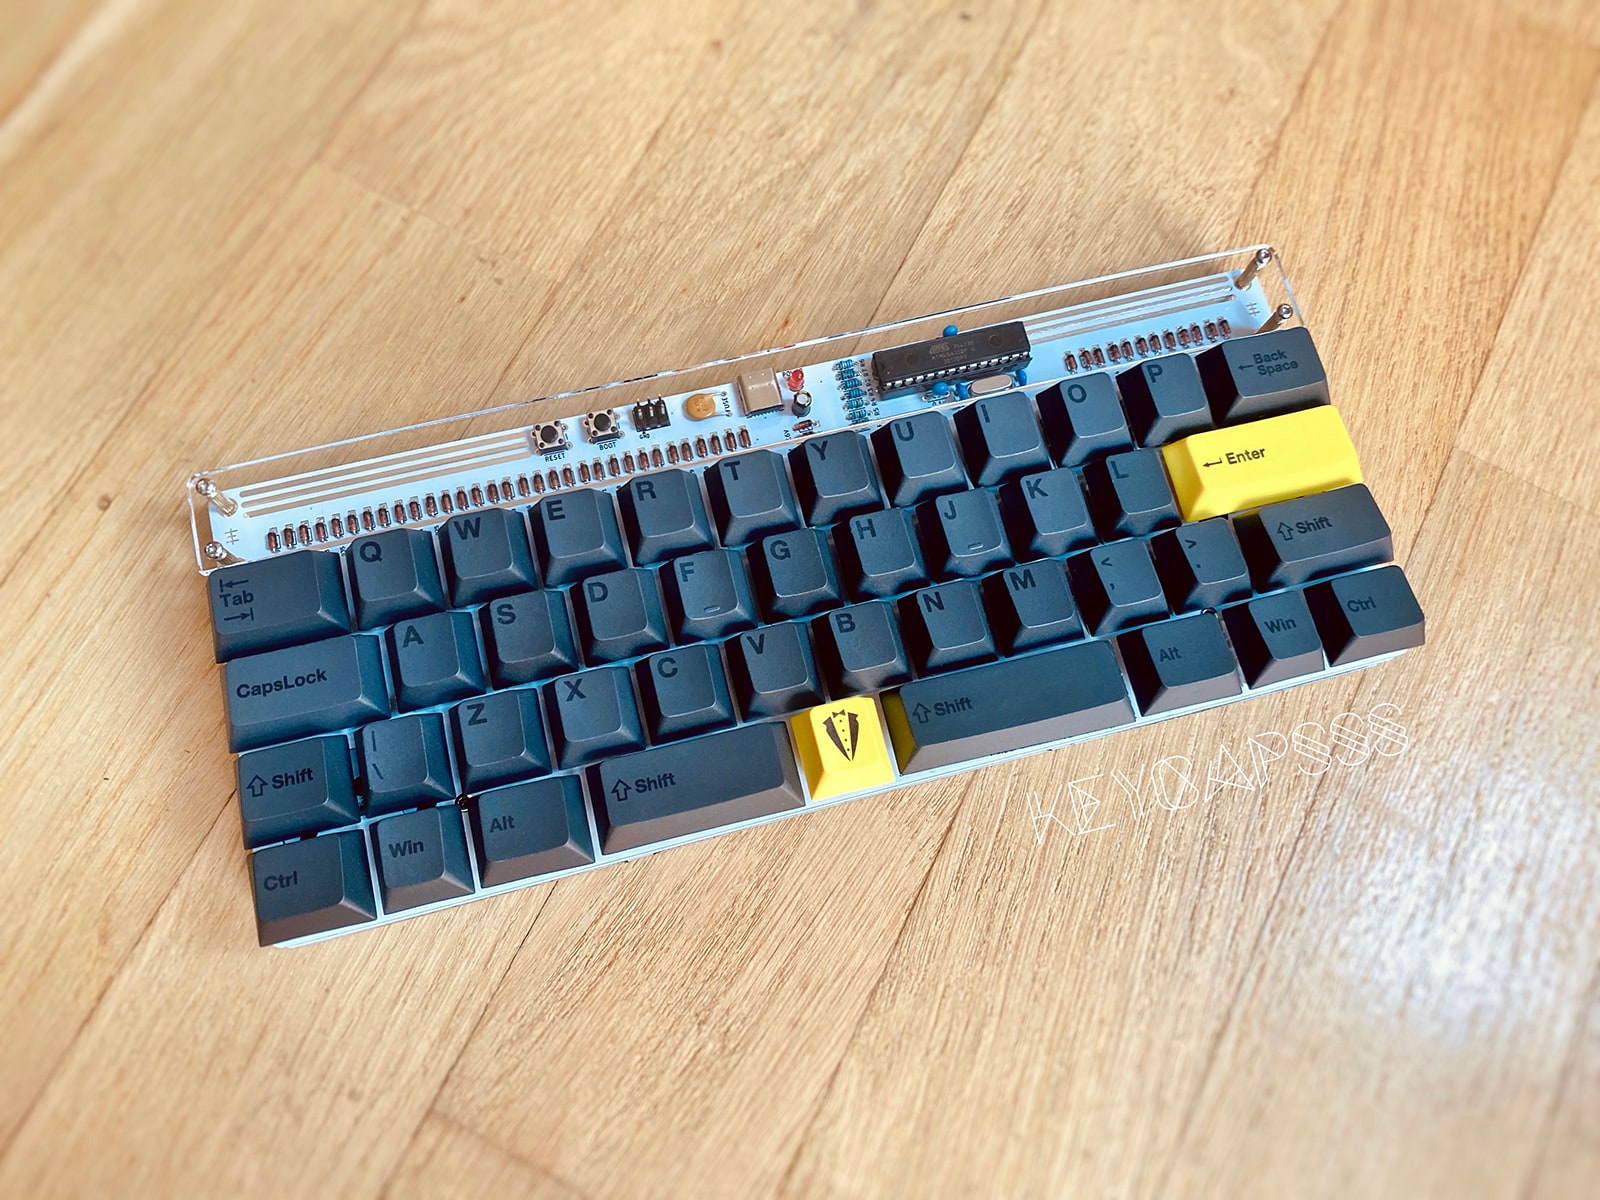
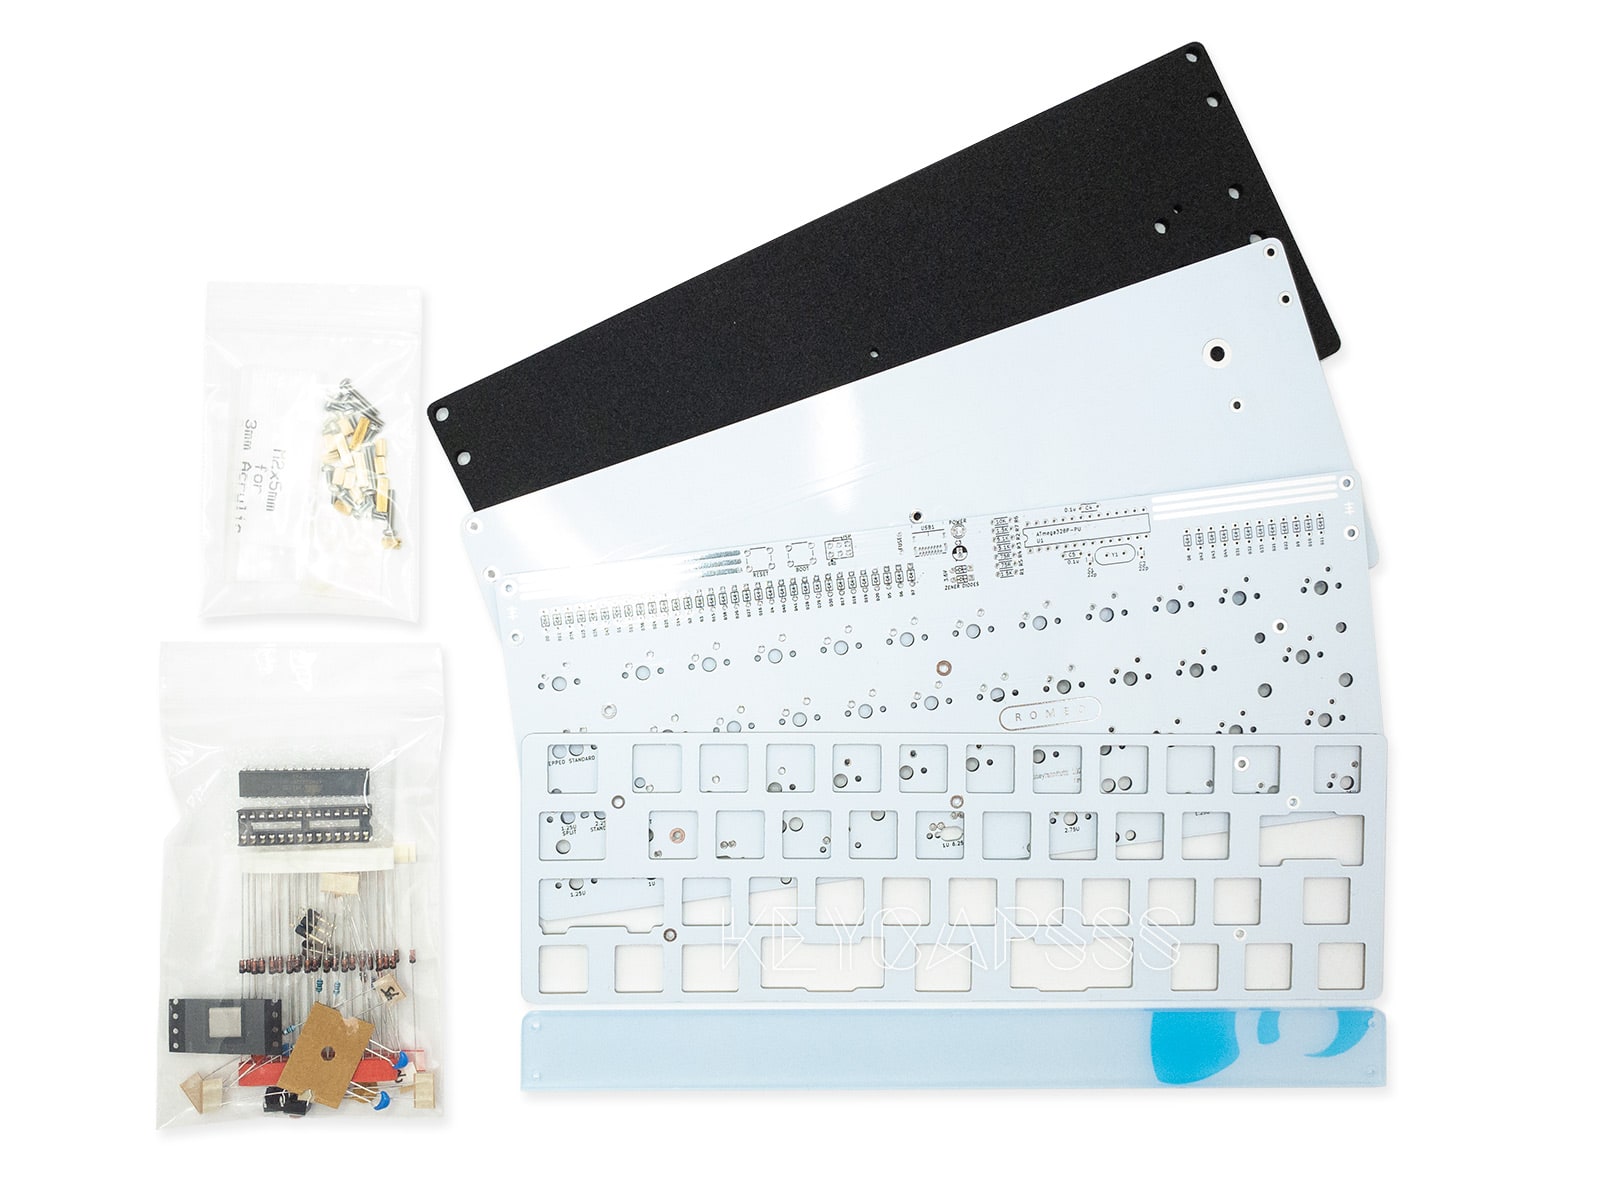
ROMEO 40% Through Hole Keyboard Kit
Only through hole parts USB-C Pre-flashed QMK firmware with VIA support for easy layout editing With top switch plate, switch alignment and stabilization Noise dampening foam is not included 2 possible layouts - standard spacebar (6.25u) and split spacebar (2.25u - 1u - 2.75u) Kit includes: Top plate (switch mount), mid plate and bottom plate (FR-4 Fiberglass) All solder parts ATmega328P microcontroller is pre-flashed with bootloader (USBaspLoader) and QMK firmware (VIA keymap) Acrylic guard plate 3mm (has bluish protection film) Spacer and screws (stainless steel with T6 Torx) Clear rubber feeds The USB-C connector is a bit difficult to solder. I can do it for you."Soldering service for USB-C connector" You also need: USB-C cable 41switches (standard spacebar), or 44 switches (split spacebar) MX style with 3 or 5 pins Keycaps Optional: Dampening foam Optional: Screw in stabilizers (Plate mount not supported) T6 Torx screwdriver Soldering iron Photos of the completed kit are for demonstration purposes only.Please note that this kit must be assembled (soldering) and does not include switches or keycaps. Download the VIA software for WIN/OSX from the VIA website and to easily change the keymap.VIA Demo Video Design by Coseyfannitutti
Currently not available
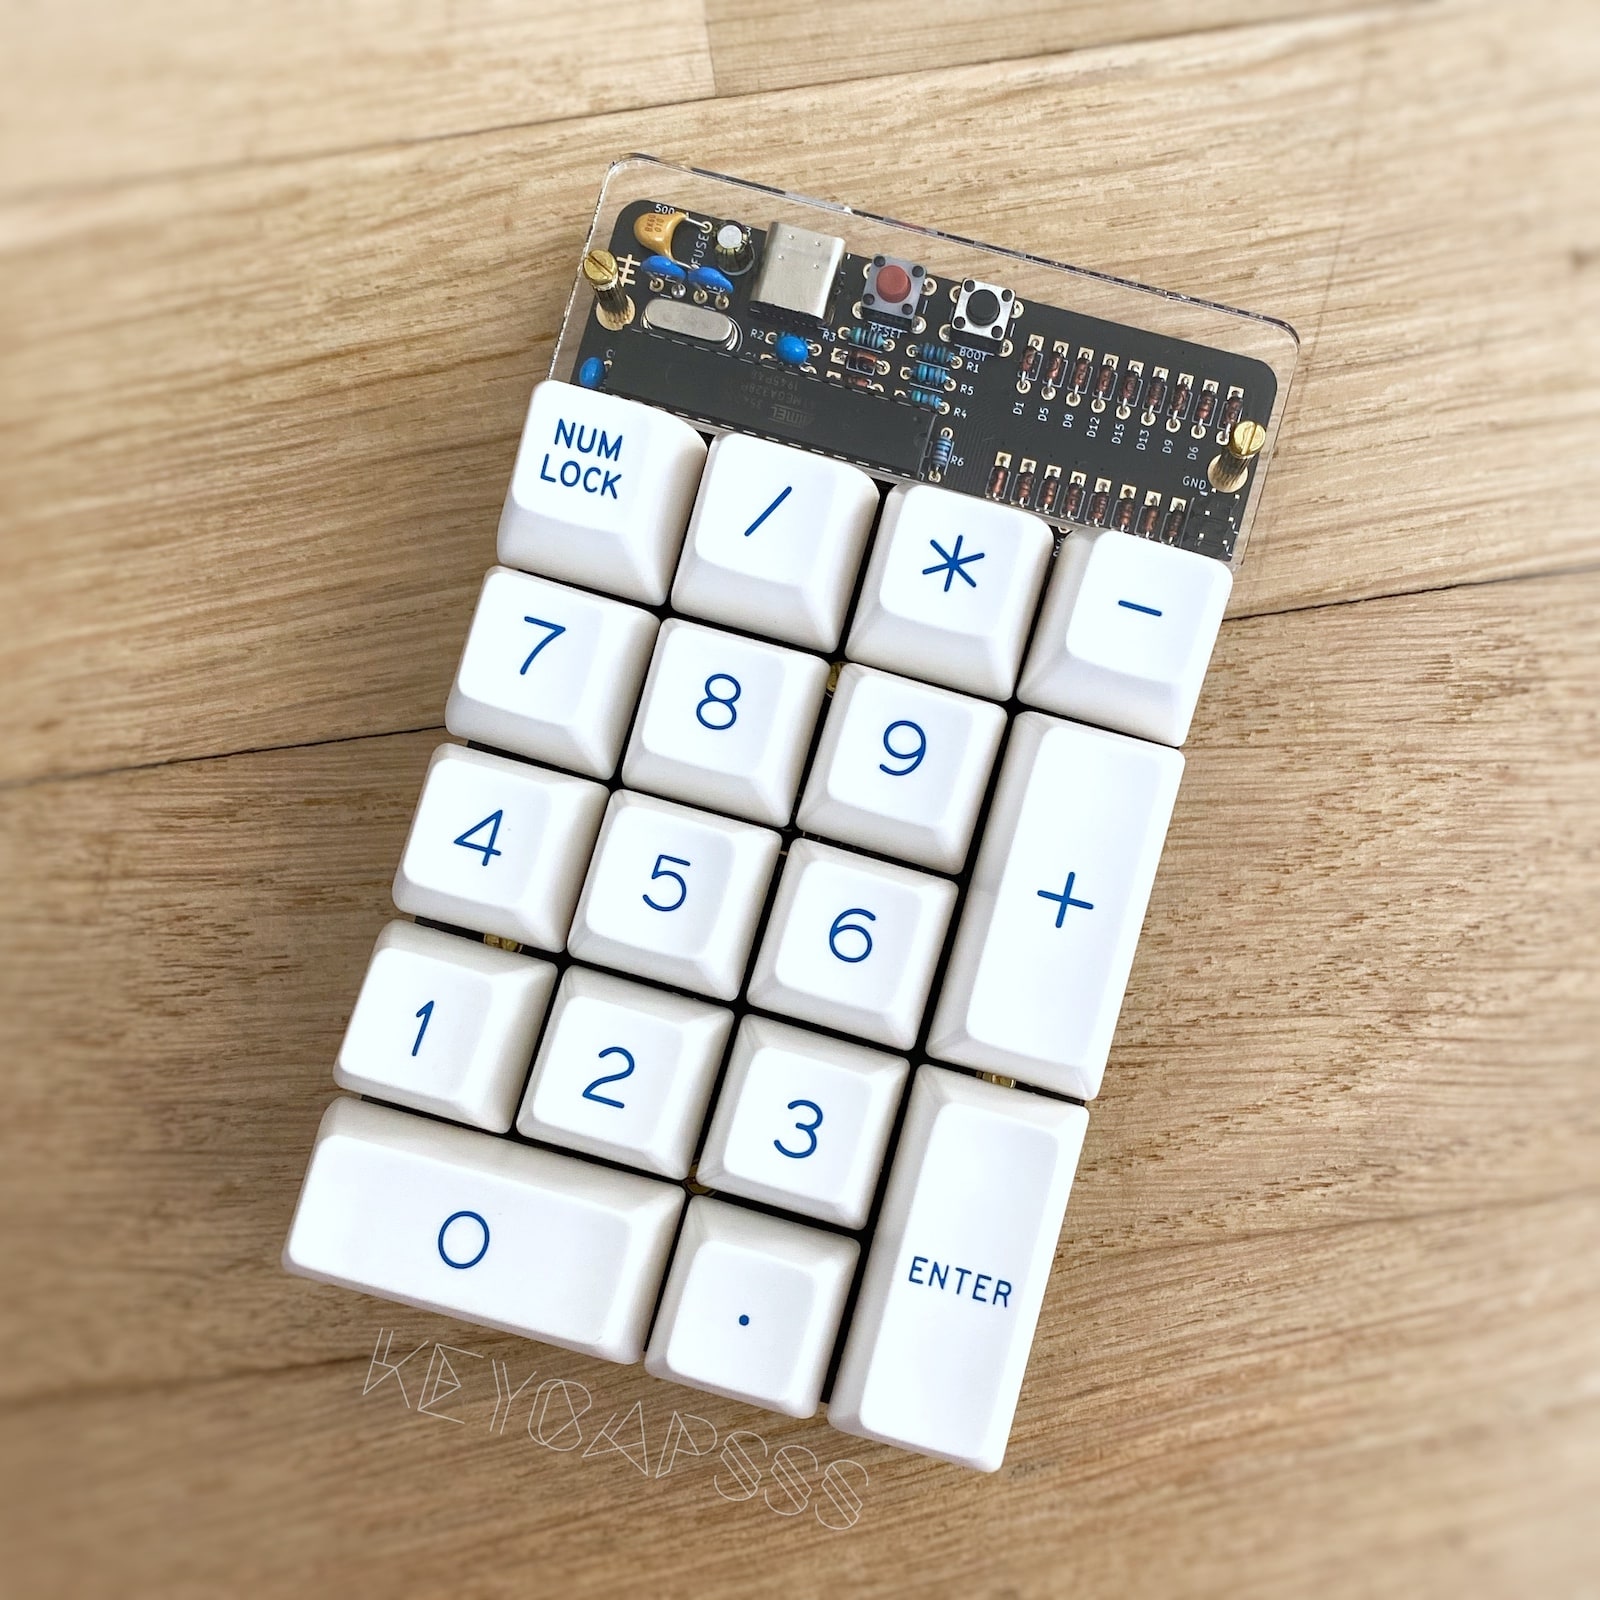
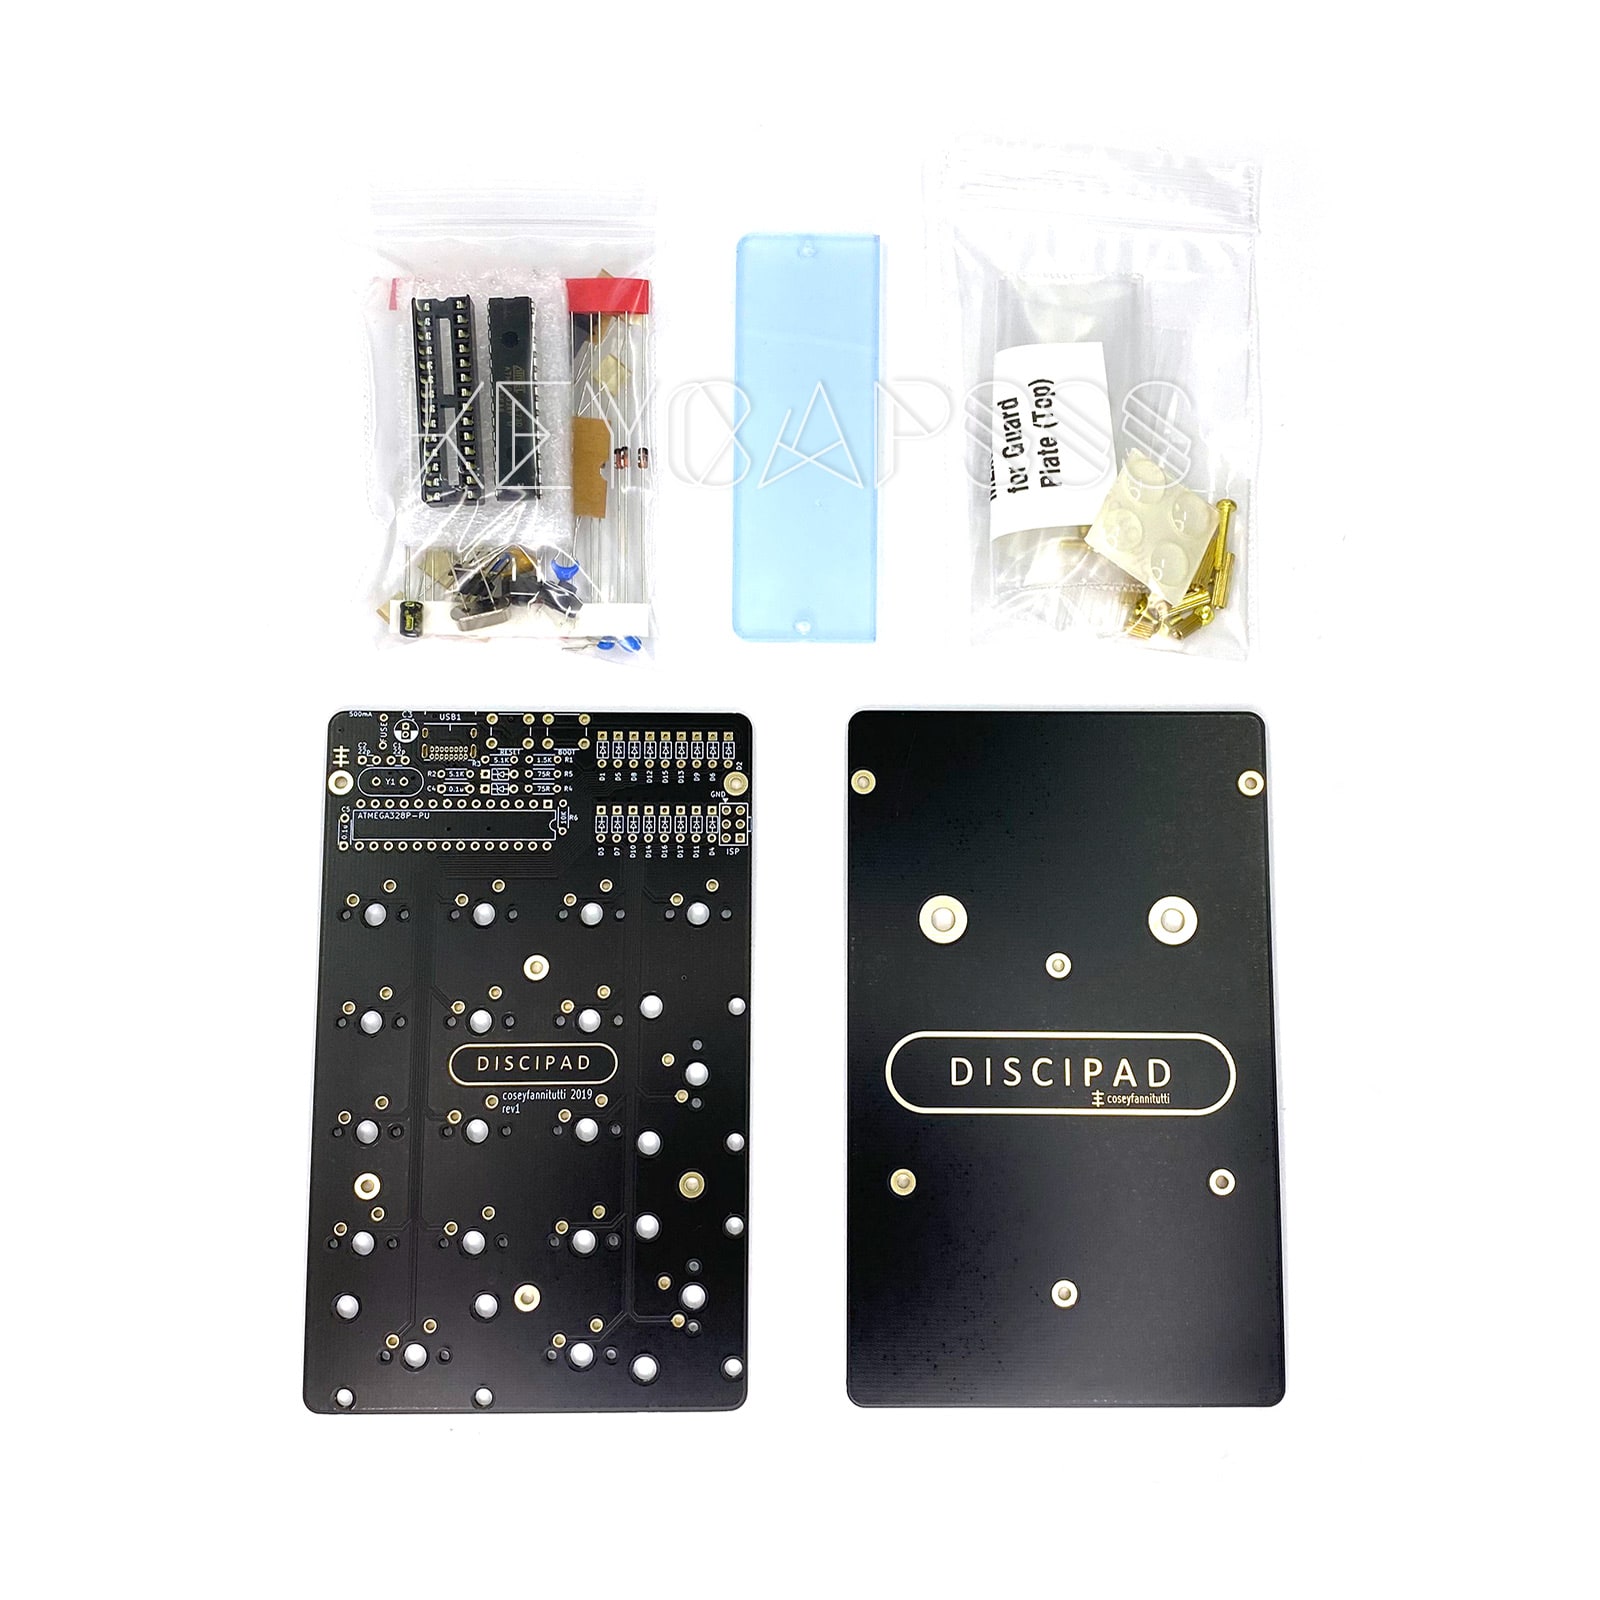
Discipad Numpad Kit
The Discipad is a very beginner friendly project that allows to create a useful and feature complete mechanical keypad. The PCB features an eye-catching exposed array of components on the top, supports up to 17 individual keys and comes with VIA-Firmware preflashed on the microcontroller unit (MCU). Product features: USB-C connector Easy to solder through-hole parts ATMEGA328P MCU Gold plated pcb Customizable Open Source Firmware (Supported: QMK, VIA, VIAL) The MCU comes preflashed with VIA firmware which allows for full configuration without needing to programm. Kit Includes: Mid and bottom pcb (black/gold) Top plate to support 3Pin switches 3mm clear acrylic guard plate Solder parts Spacer and screws Pre-flashed Atmega328P (USBaspLoader Bootloader & VIA Firmware) Self adhesive rubber feet Note: For transport the acryl guard plate has a bluish protection film applied, which should be removed before assembly. You need: 17x MX switches (3 or 5 pin) no Choc V2 Keycaps (MX) USB-C cable T6 Torx screwdriver Soldering equipment Important: The USB-C can be difficult to solder properly without using flux. If you want me to do it for you add the USB-C Soldering Service You optionally need: 3x 2u stabilizers Dampening foam Guides Case assembling video guide Note: This is a different pad but the process is the same How to enter Bootloader Mode Download Links VIA Software / Visit the VIA Website for more information. VIAL Software Discipad QMK Firmware files Photos of the completed kit are for demonstration purposes only. Please note that this kit must be assembled (soldering) and does not include switches or keycaps.Discipad design by Coseyfannitutti
Currently not available
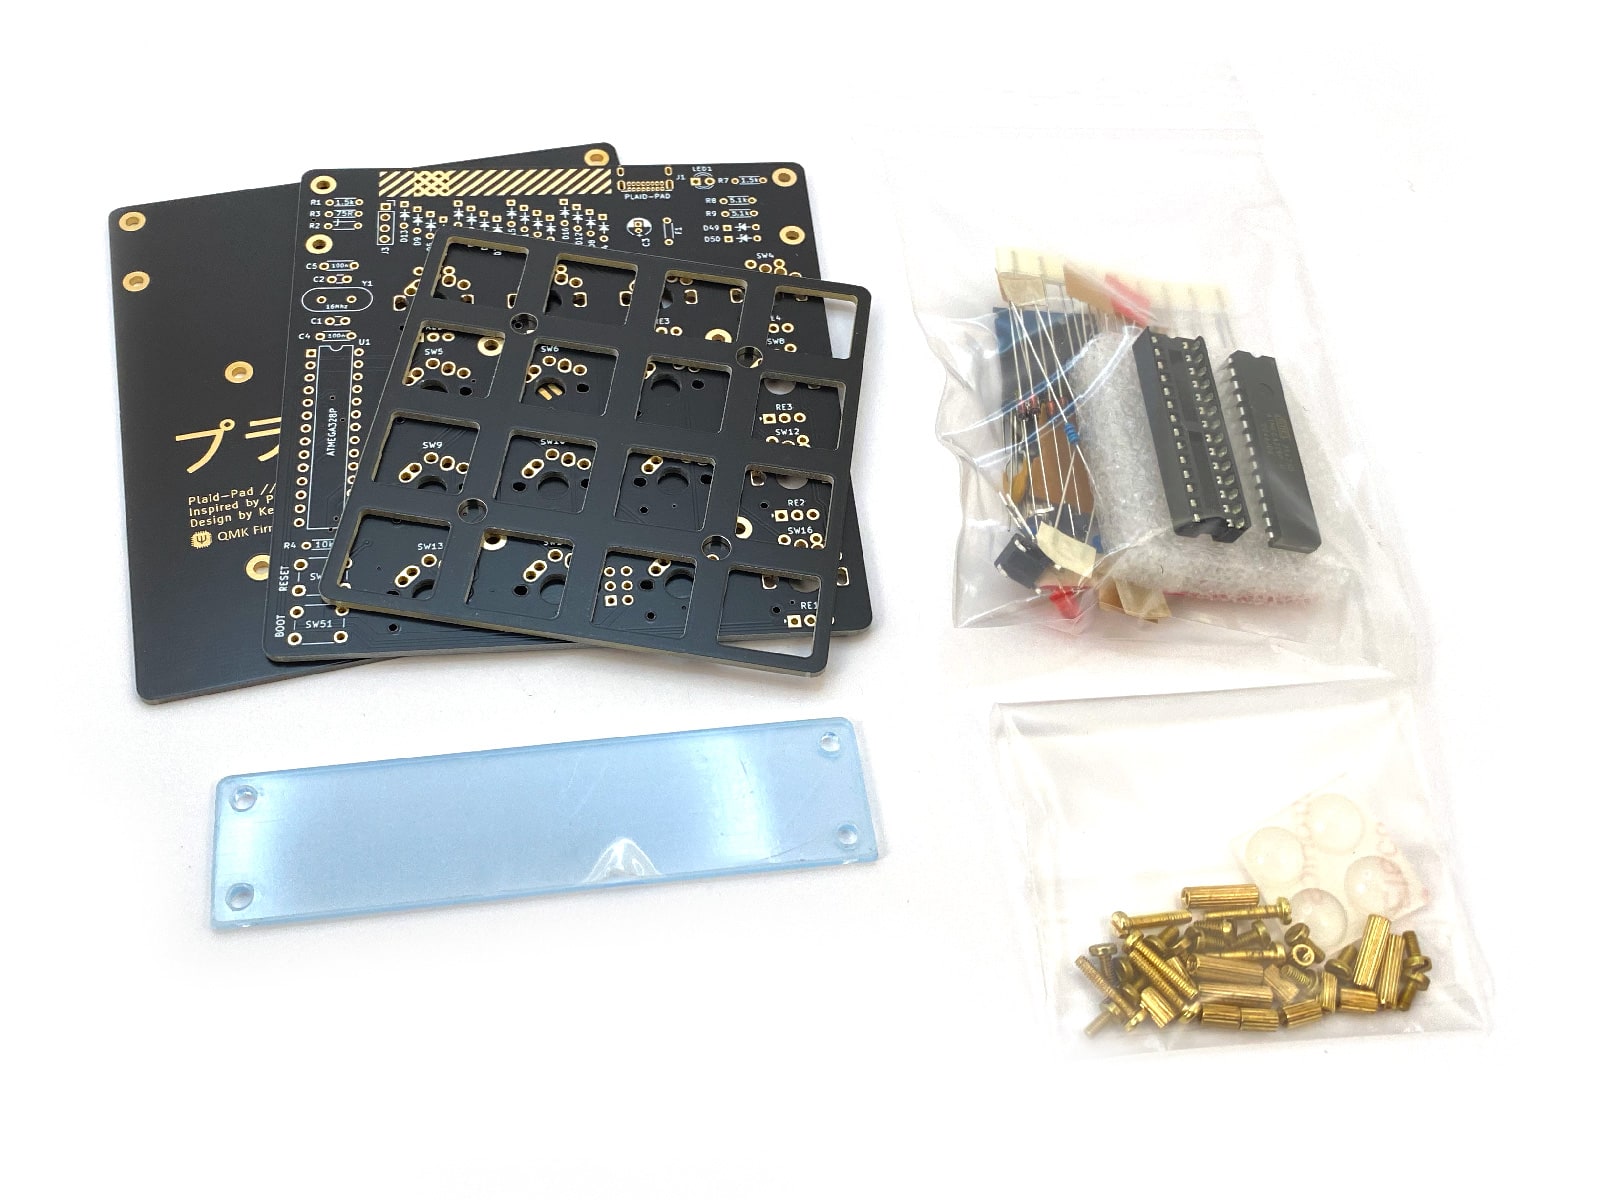
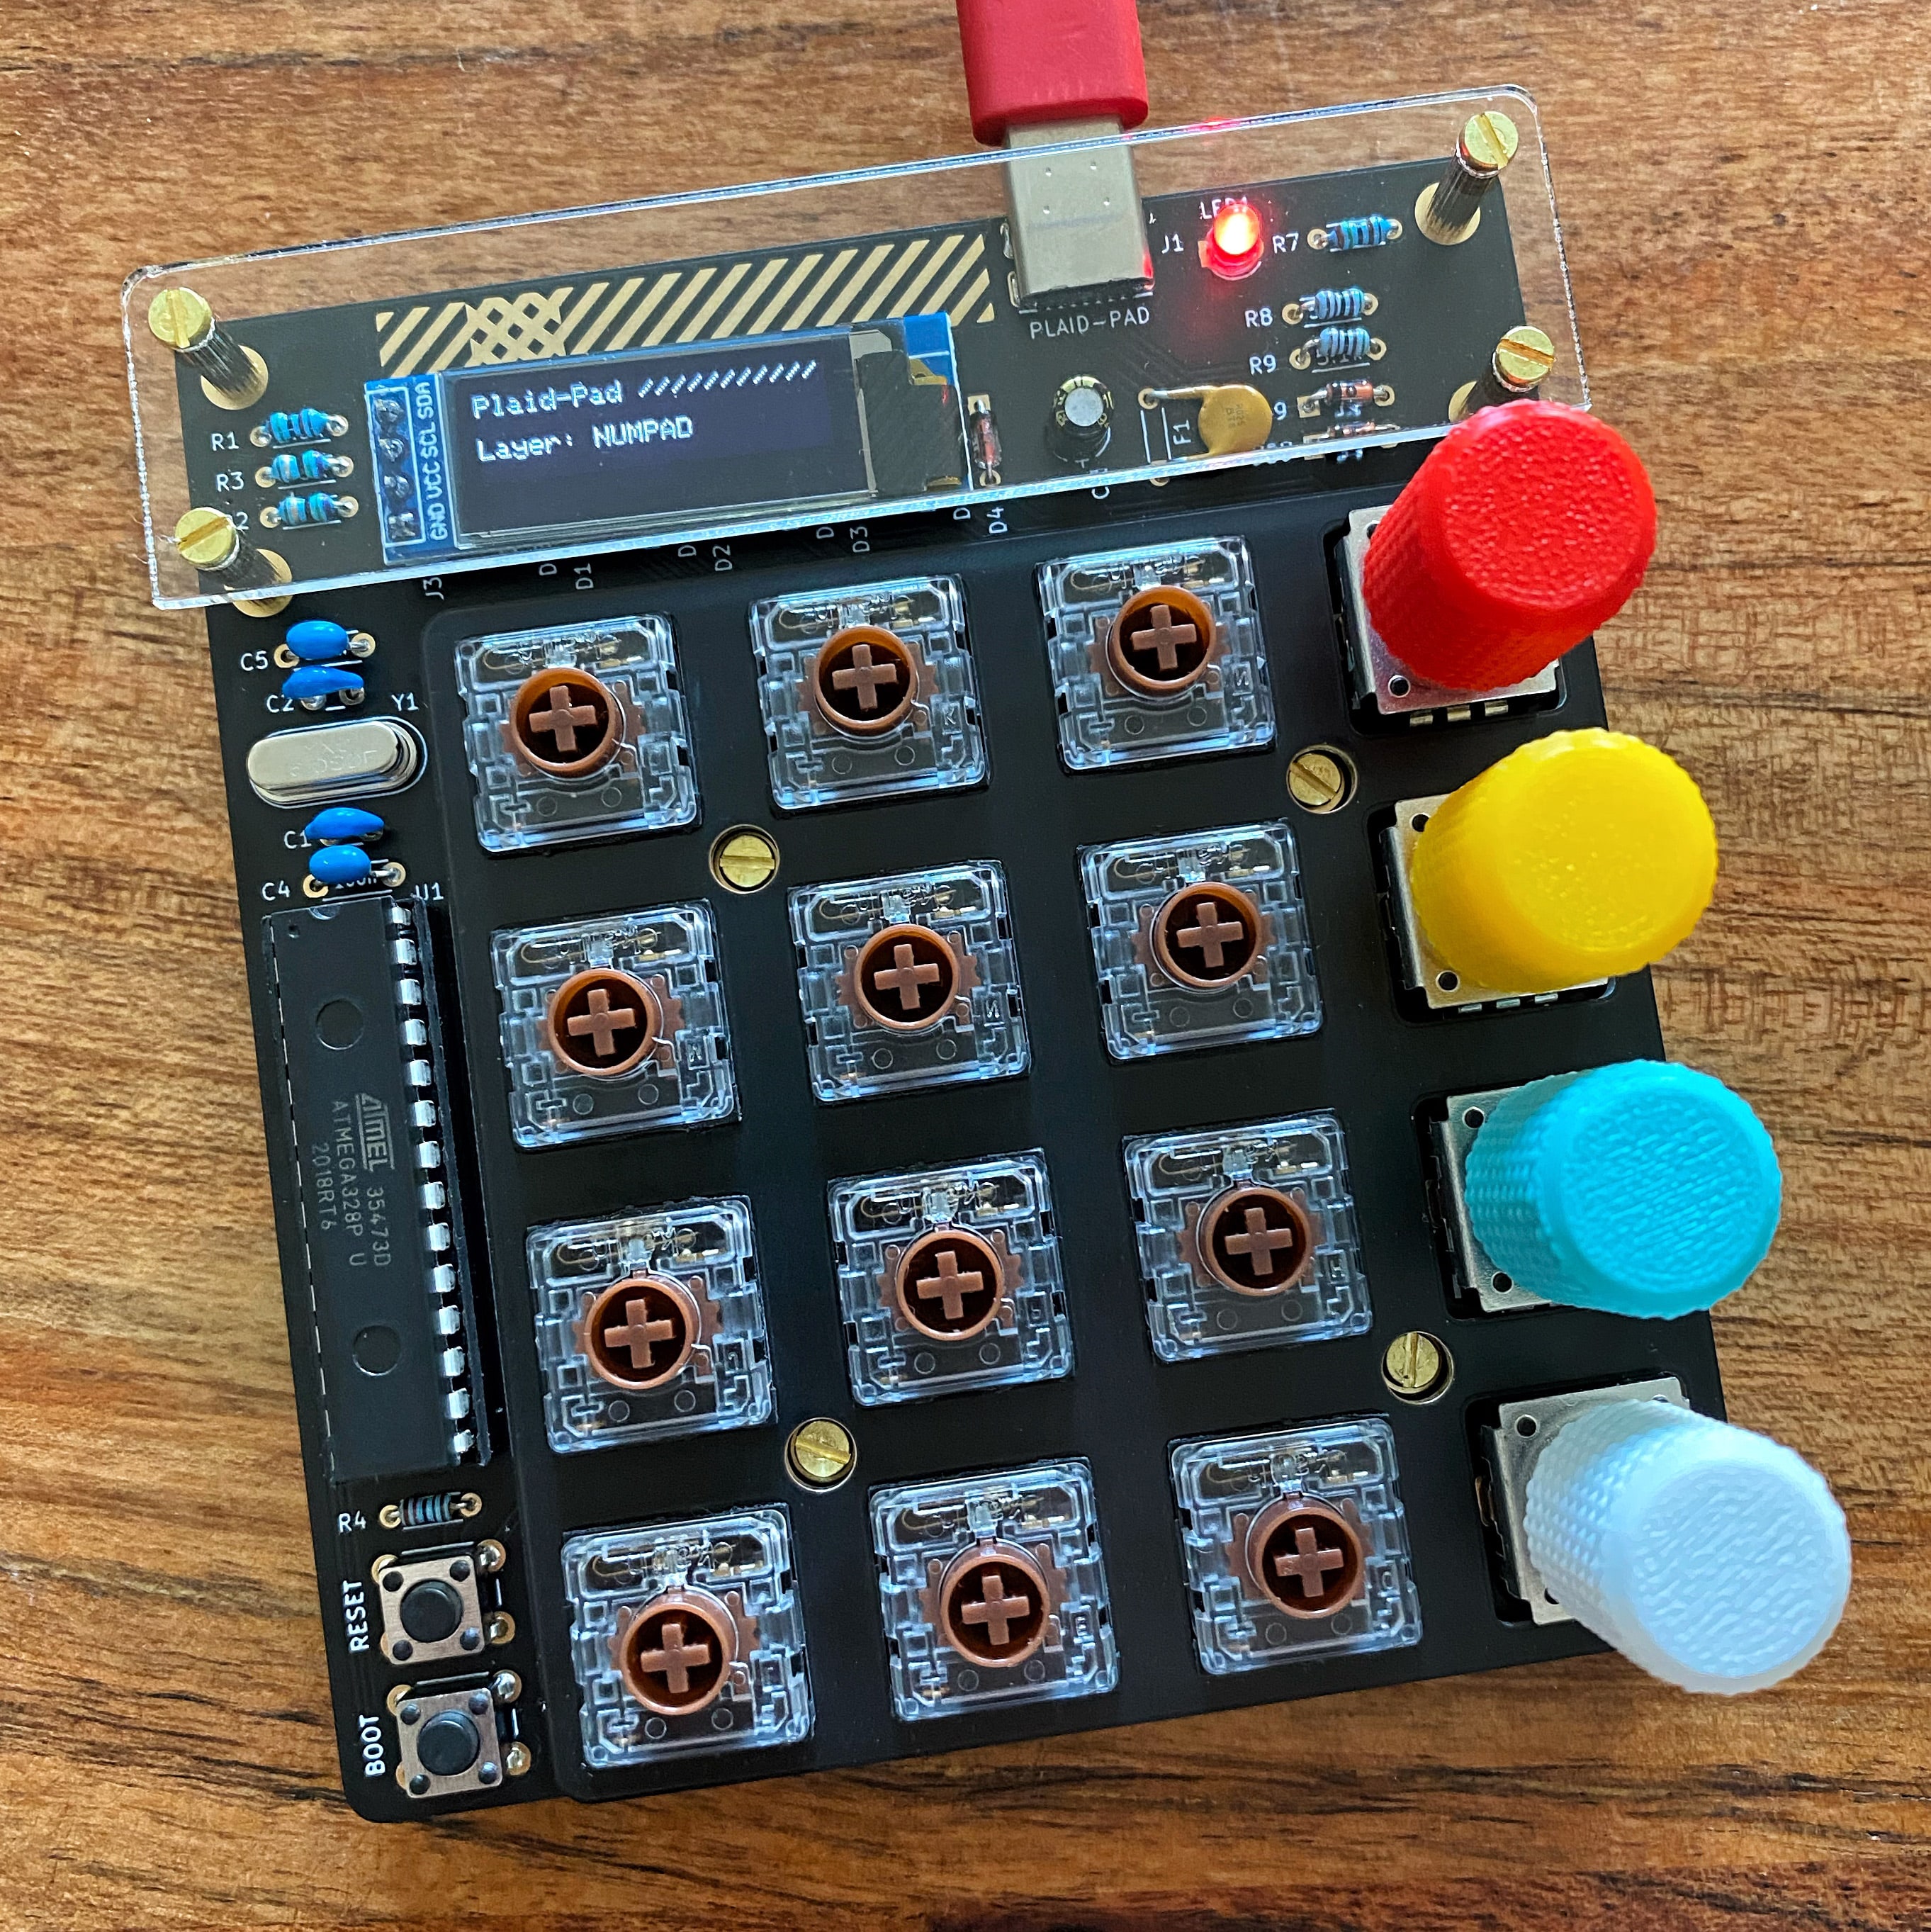
Plaid-Pad 4x4 Macro Pad / Numpad Kit
This is the Rev3 of the Plaid-Pad pcb.More info's in the changelog below. Preflashed firmware, with support for VIAL Configurator, easy customize keymap without coding, compiling or flashning The rotary encoder are assign to F17-F24 and you can customize the behavior with Karabiner-Elements (OSX) or AutoHotkey (WIN), or now with VIAL If you don't like the aditional software, you can customize all keys and rotary encoder with the QMK firmware Support for a 0.91 Inch oled display (SSD1306) (not included) Black kit has a gold plated pcb and brass slotted screws White kit has a silvery plated pcb and stainless steel screws (T6 Torx) USB-C connector MX (3-Pin, 5-Pin), Choc and ChocV2 switch support Supports up to 4 Rotary Encoder (top row, or right column) Positions for the Rotary Encoder are interchangeable with switches Only through-hole parts (easy to solder) ATMEGA328P MCU QMK Firmware (keymap files) Great companion to the Plaid keyboard Build Guide This is the pre installed keymap for the Plaid-Pad.You can find more keymaps here. The USB-C connector is a bit difficult to solder. I can do it for you. "Soldering service for USB-C connector" Includes: Top, mid and bottom pcb (choose color) 2mm clear acrylic guard plate (has bluish protection film) Solder parts with pre flashed Atmega328 (USBaspLoader and QMK firmware with VIA support) Spacer and screws (white kit: stainless steel with T6 Torx, black kit: brass slotted screws) Rubber feeds You also need: 16x switches (3pin, or 5pin) Optional: rotary encoder (0-4x) Optional: Oled display (SSD1306 - 0.91 Inch 128x32 I2C) USB-C cable Keycaps Slotted screwdriver (black variant), or T6 Torx screwdriver (white variant) Soldering iron & solder Files for a simple 3d printable case, drawings for the guard plate and dampening foam are available here. Photos of the completed kit are for demonstration purposes only.Please note that this kit must be assembled (soldering) and does not include switches or keycaps. CHANGELOG Rev3 Support for a SSD1306 oled display (I2C Pins C4/C5) Removed the 2 indicator LEDs (Pin C4/C5) Added a power indicator LED Changed case mounting style back to the previous style (spacer mounted between mid PCB and bottom plate) - fix ChocV2 issue from REV2.1 Rev2.1 Bigger solder pads for the USB-C connector (a bit easier to solder) Support for Choc V2 switches (issue that the keycap touch the mounting screw, if bottoming out) Changed case mounting style (spacer go through the pcb and screwed on the top and bottom plate) Rev2 (Rev1.1) Pcb's with the label Rev1.1 are Rev2 (fixed with the second ordered batch) Optional: up to 4 Rotary Encoder Support for 3pin switches with the new top plate Add a small PLAID-PAD text beneath the USB-C connector Rev1 Initial pcb design Optional up to 2 Rotary Encoder With the software "Plaid Pad MIDI" (by Mitchell van Manen), you can use the Plaid-Pad as a Midi device.
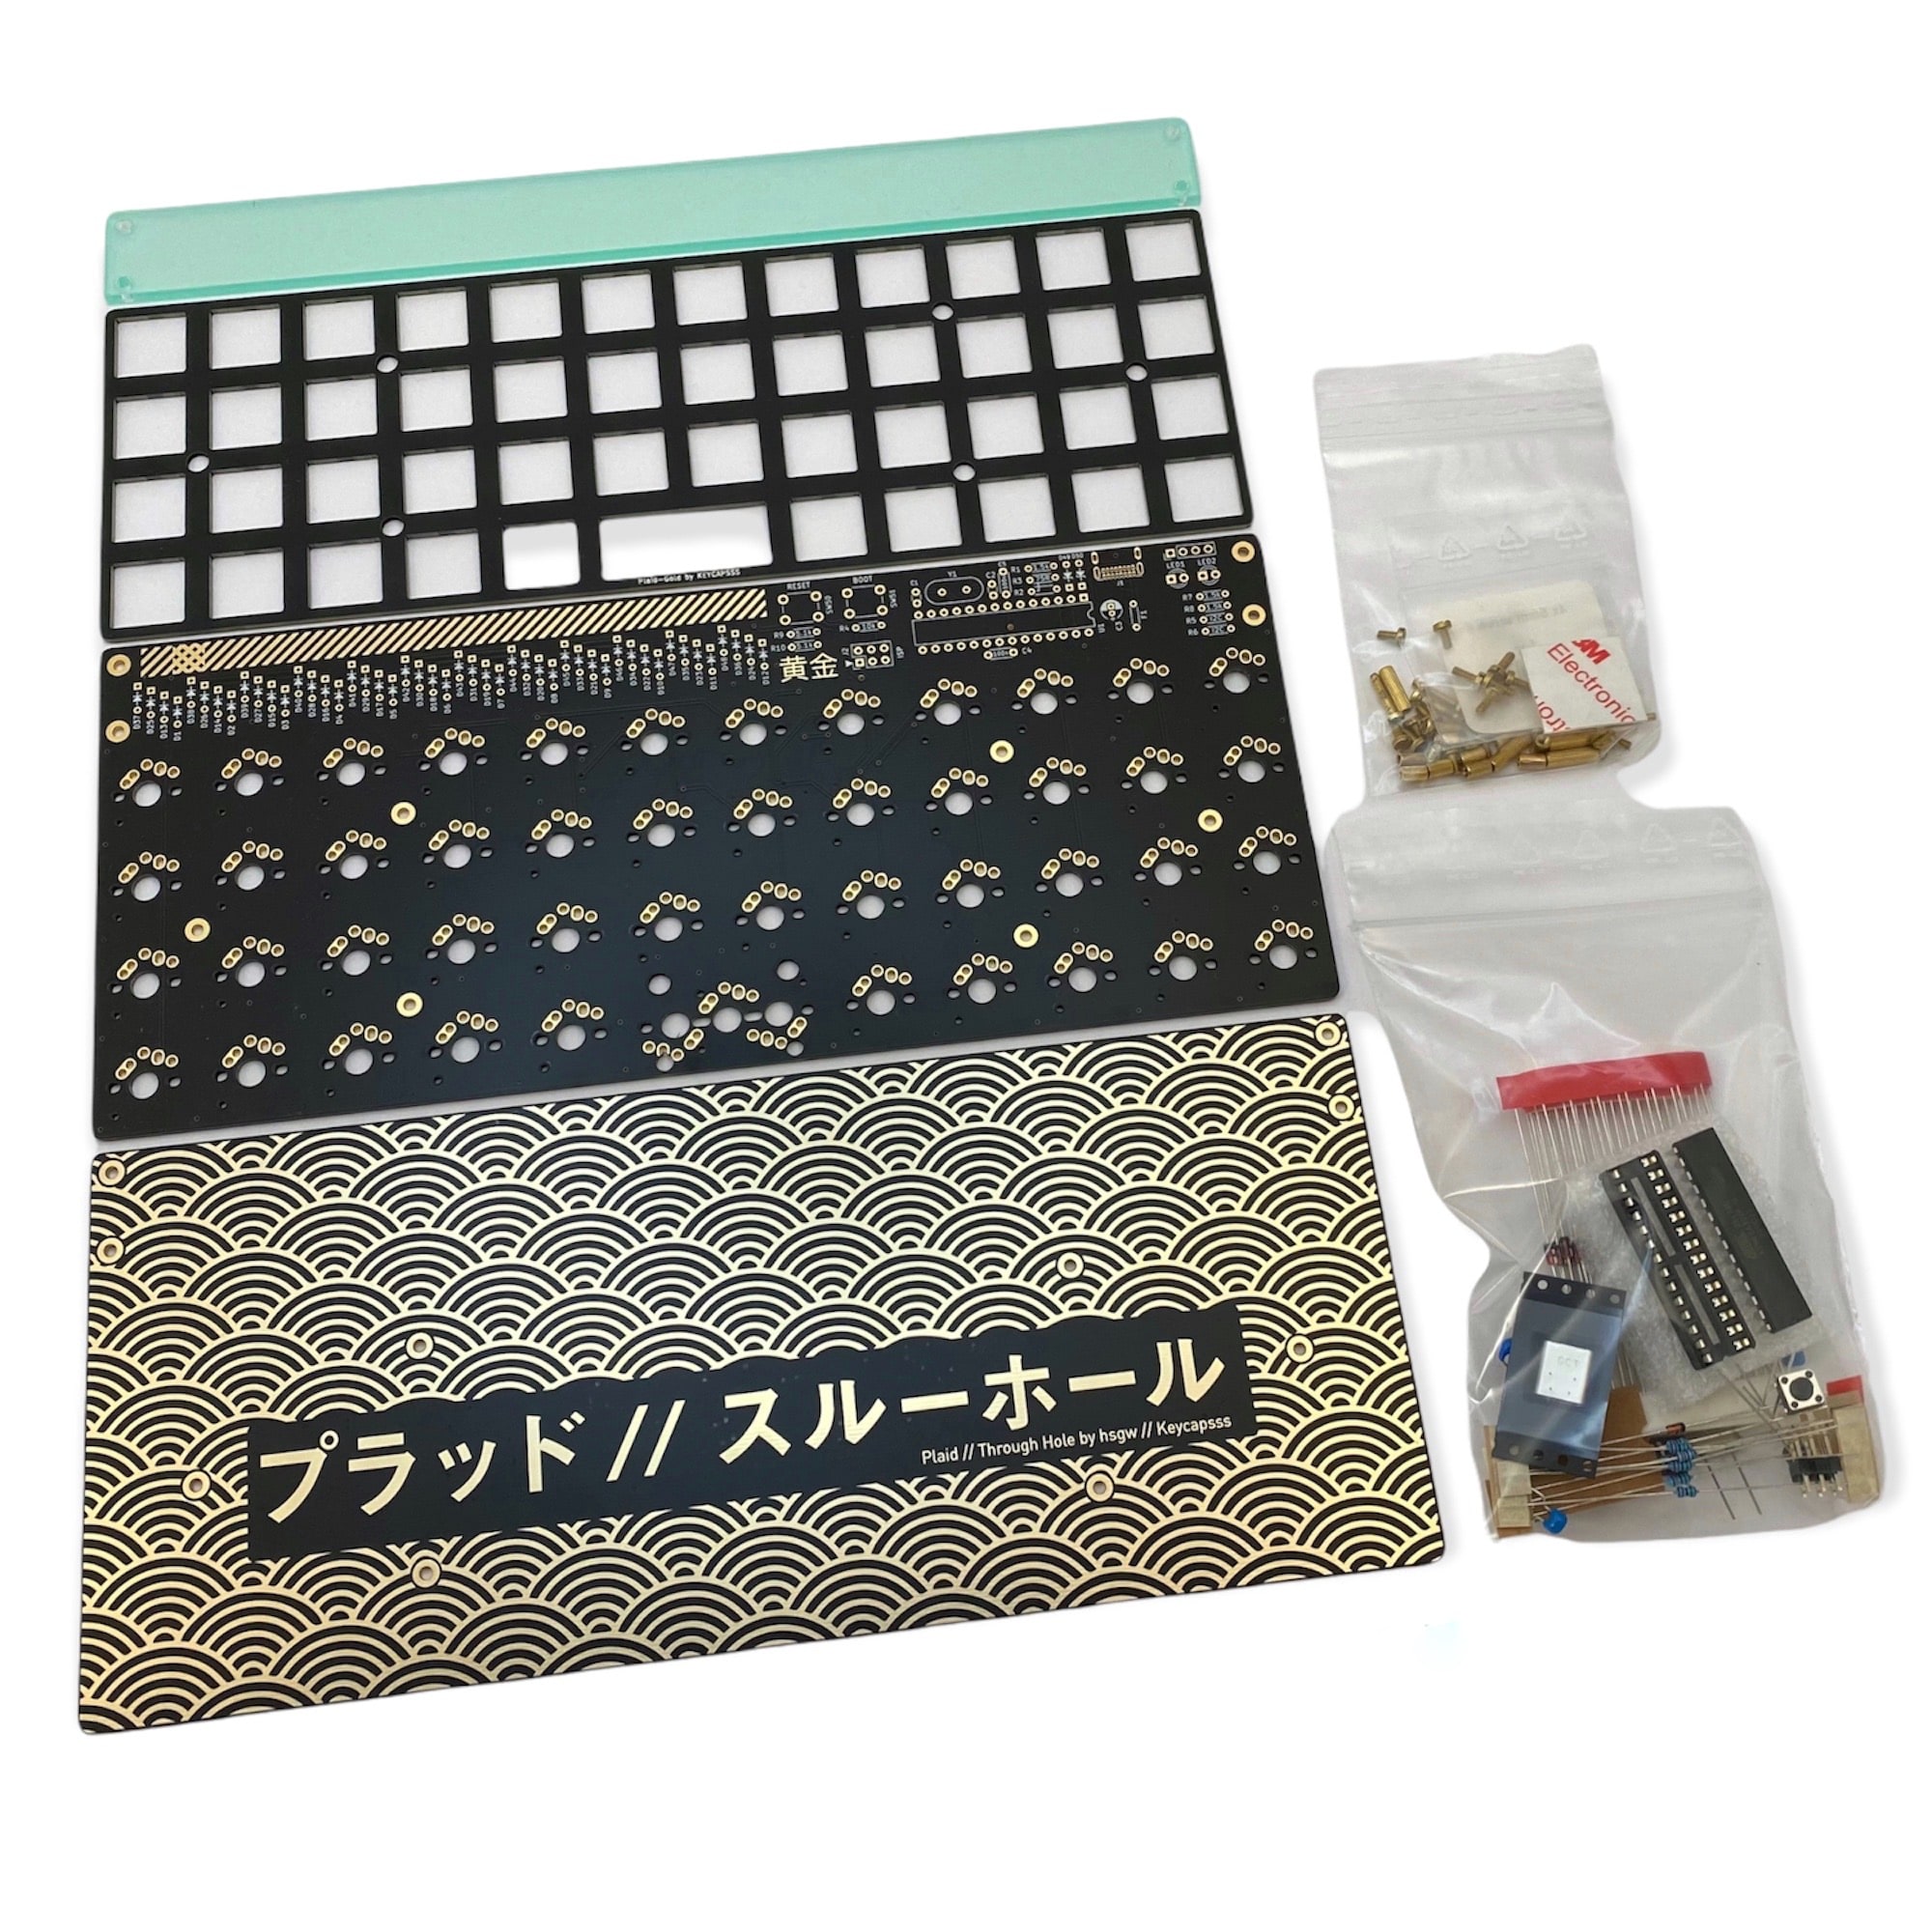
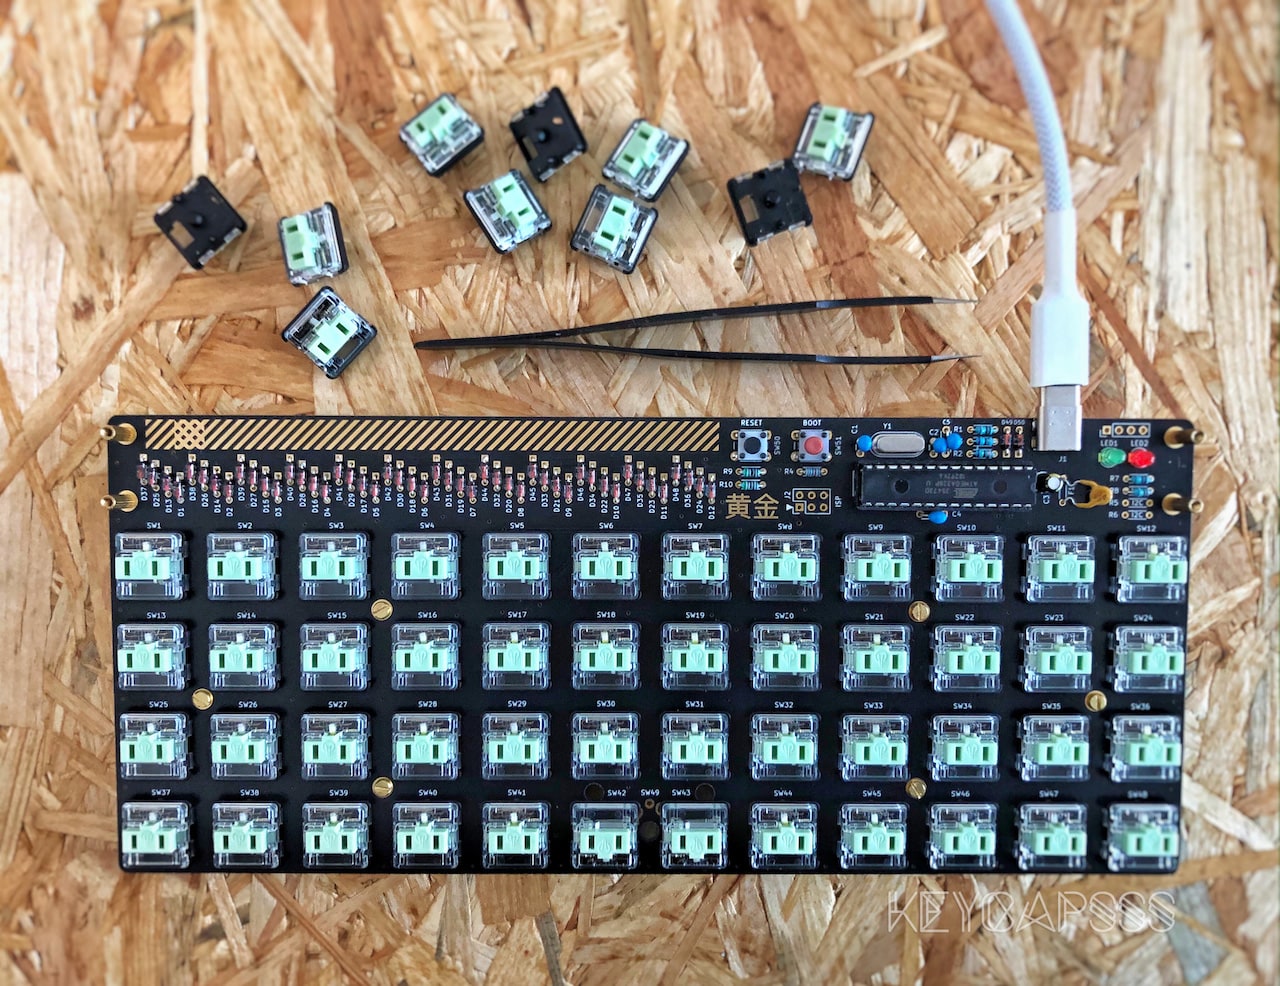
Plaid Gold Keyboard Kit - USB-C MX/Choc
With most modern kits its hard to say what it takes to get a beautiful, working mechanical keyboard. But the Plaid - designed by Takuya Urakawa - is a feature complete ortholinear 40% mechanical keyboard that has nothing to hide. Unlike the original Plaid Kit the Plaid Gold Kit offers additional switch options as well as an updated USB-C connection while maintaining the accessibility of the build. It features only easy-to-solder through hole components, but is still fully equiped with everything you need to use it on a daily basis. If you need an additional macropad the Plaid-Pad will be the perfect companion. Product features: Through-hole components 4x12 ortholinear layout MX Style (3 or 5 pin), Choc, or Choc V2 switches Easy change the keymap with VIAL GUI, no coding required QMK, VIA and VIAL compatible Microcontroller Unit (ATMEGA328P) USB-C connectivity Bottom plate with two different artworks on both sides Kit Includes: Main PCB, top and bottom plate All required solder components Transparent acrylic guard plate (3mm) Brass spacers and screws Self adhesive rubber feet Note: For transport the acryl guard plate has a bluish protection film applied, which should be removed before assembly.The USB-C can be difficult to solder properly without using flux. If you want me to do it for you add the USB-C Soldering Service. You need: 48x MX or Choc switches USB-C cable Keycaps Slotted screwdriver Soldering equipment You optionally need: 2U Stabilizer (No Plate mount!) Plaid dampening foam Guides: Soldering GuideYou can follow the Build-Guide for the normal Plaid pcb. The only differnece are the two additional resistors (R9 & R10 are 5.1kOhm). Installing the bottom PCB and acrylic coverThe case assembly is very similiar to the Plaid-Pad. Here is a video of it. How to enter Bootloader Mode Download Links: VIAL Software Photos of the completed kit are for demonstration purposes only. Please note that this kit must be assembled (soldering) and does not include switches or keycaps.
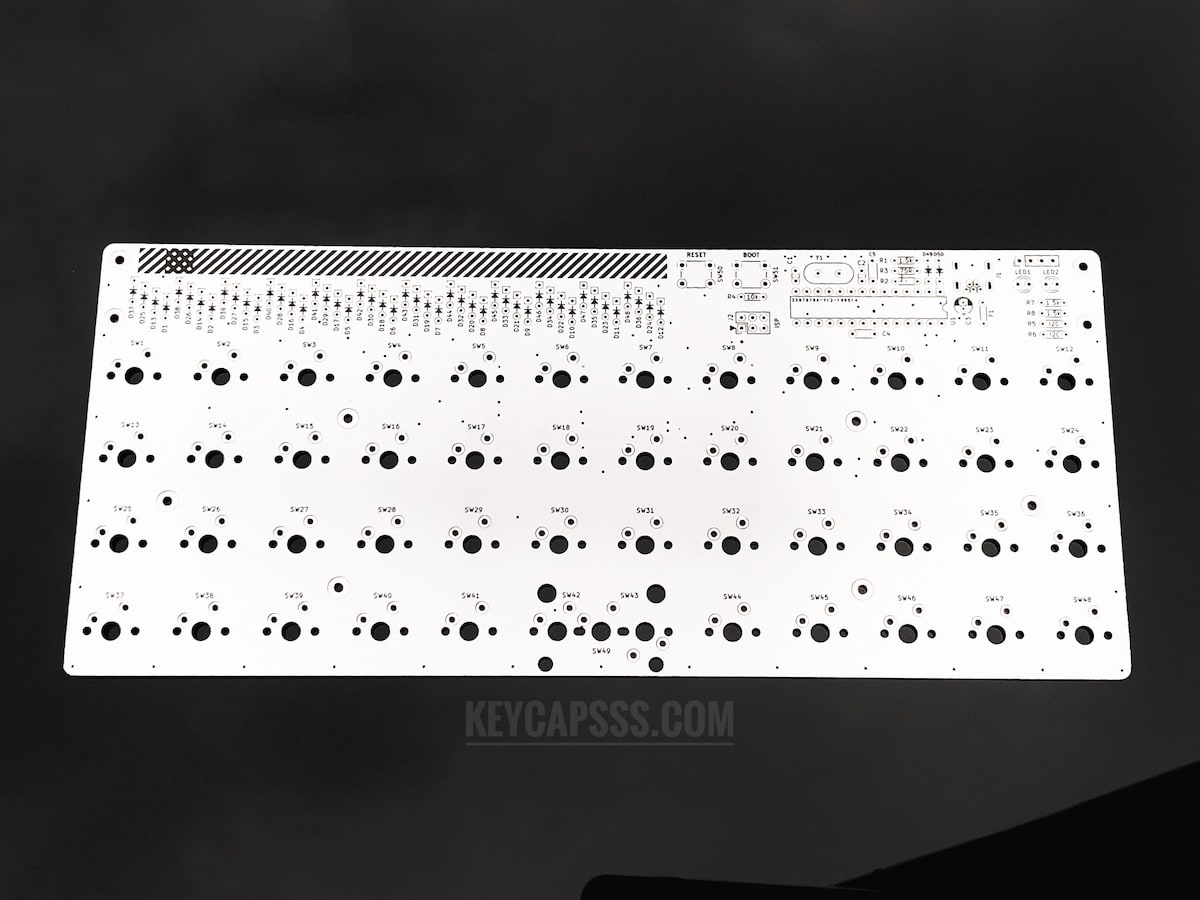
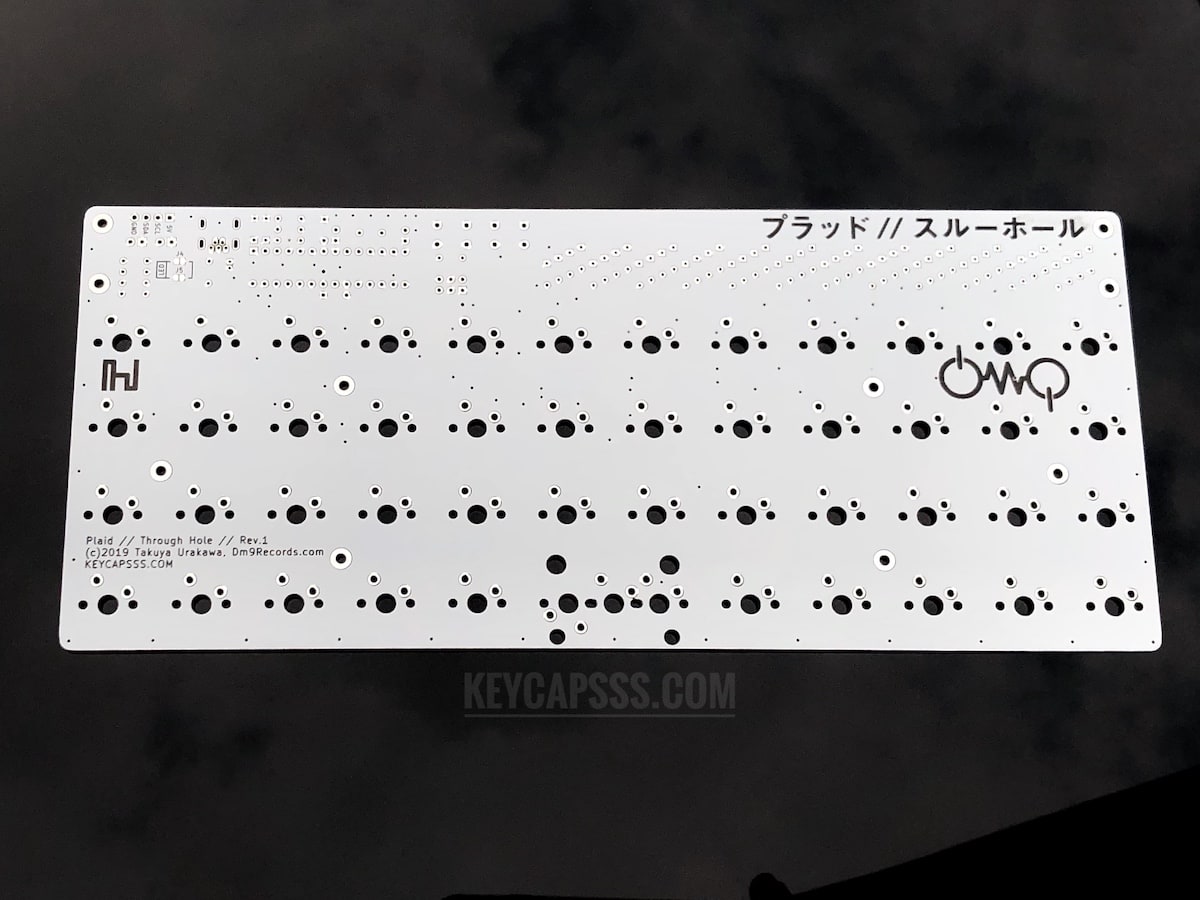
Plaid Keyboard Kit
Bootloader and VIA (VIAL compatible) keymap already flashed on the ATMEGA328p chip. VIAL Keyboard Configurator Solder parts on the pcb, connect it with a pc and start typing. Only through-hole components 4x12 ortholinear layout Grid & MIT layout ONLY for PCB mount MX switches (5pin) For plate mounted switch (3 pin) you need a top plate (for example carbon) QMK firmware compatible (update firmware via USB) MCU: ATMEGA328p Includes: Main PCB Bottom (PCB or 3mm acrylic plate) Solder parts Transparent acrylic guard plate 2mm (has bluish protection film) Brass spacer and screws (T6 Torx) Solder Guide How to install the guard plate (Instead of the two nuts, use the M2x10mm standoff) You also need: 48x switches (MX, not Choc) Mini USB cable Keycaps T6 Torx screwdriver Soldering iron Photos of the completed kit are for demonstration purposes only.Please note that this kit must be assembled (soldering) and does not include switches or keycaps. PCB design by Takuya Urakawa
Currently not available
