Plaid-Pad 4x4 Macro Pad / Numpad Kit
Description
This is the Rev3 of the Plaid-Pad pcb.
More info's in the changelog below.
- Preflashed firmware, with support for VIAL Configurator, easy customize keymap without coding, compiling or flashning
- The rotary encoder are assign to F17-F24 and you can customize the behavior with Karabiner-Elements (OSX) or AutoHotkey (WIN), or now with VIAL
- If you don't like the aditional software, you can customize all keys and rotary encoder with the QMK firmware
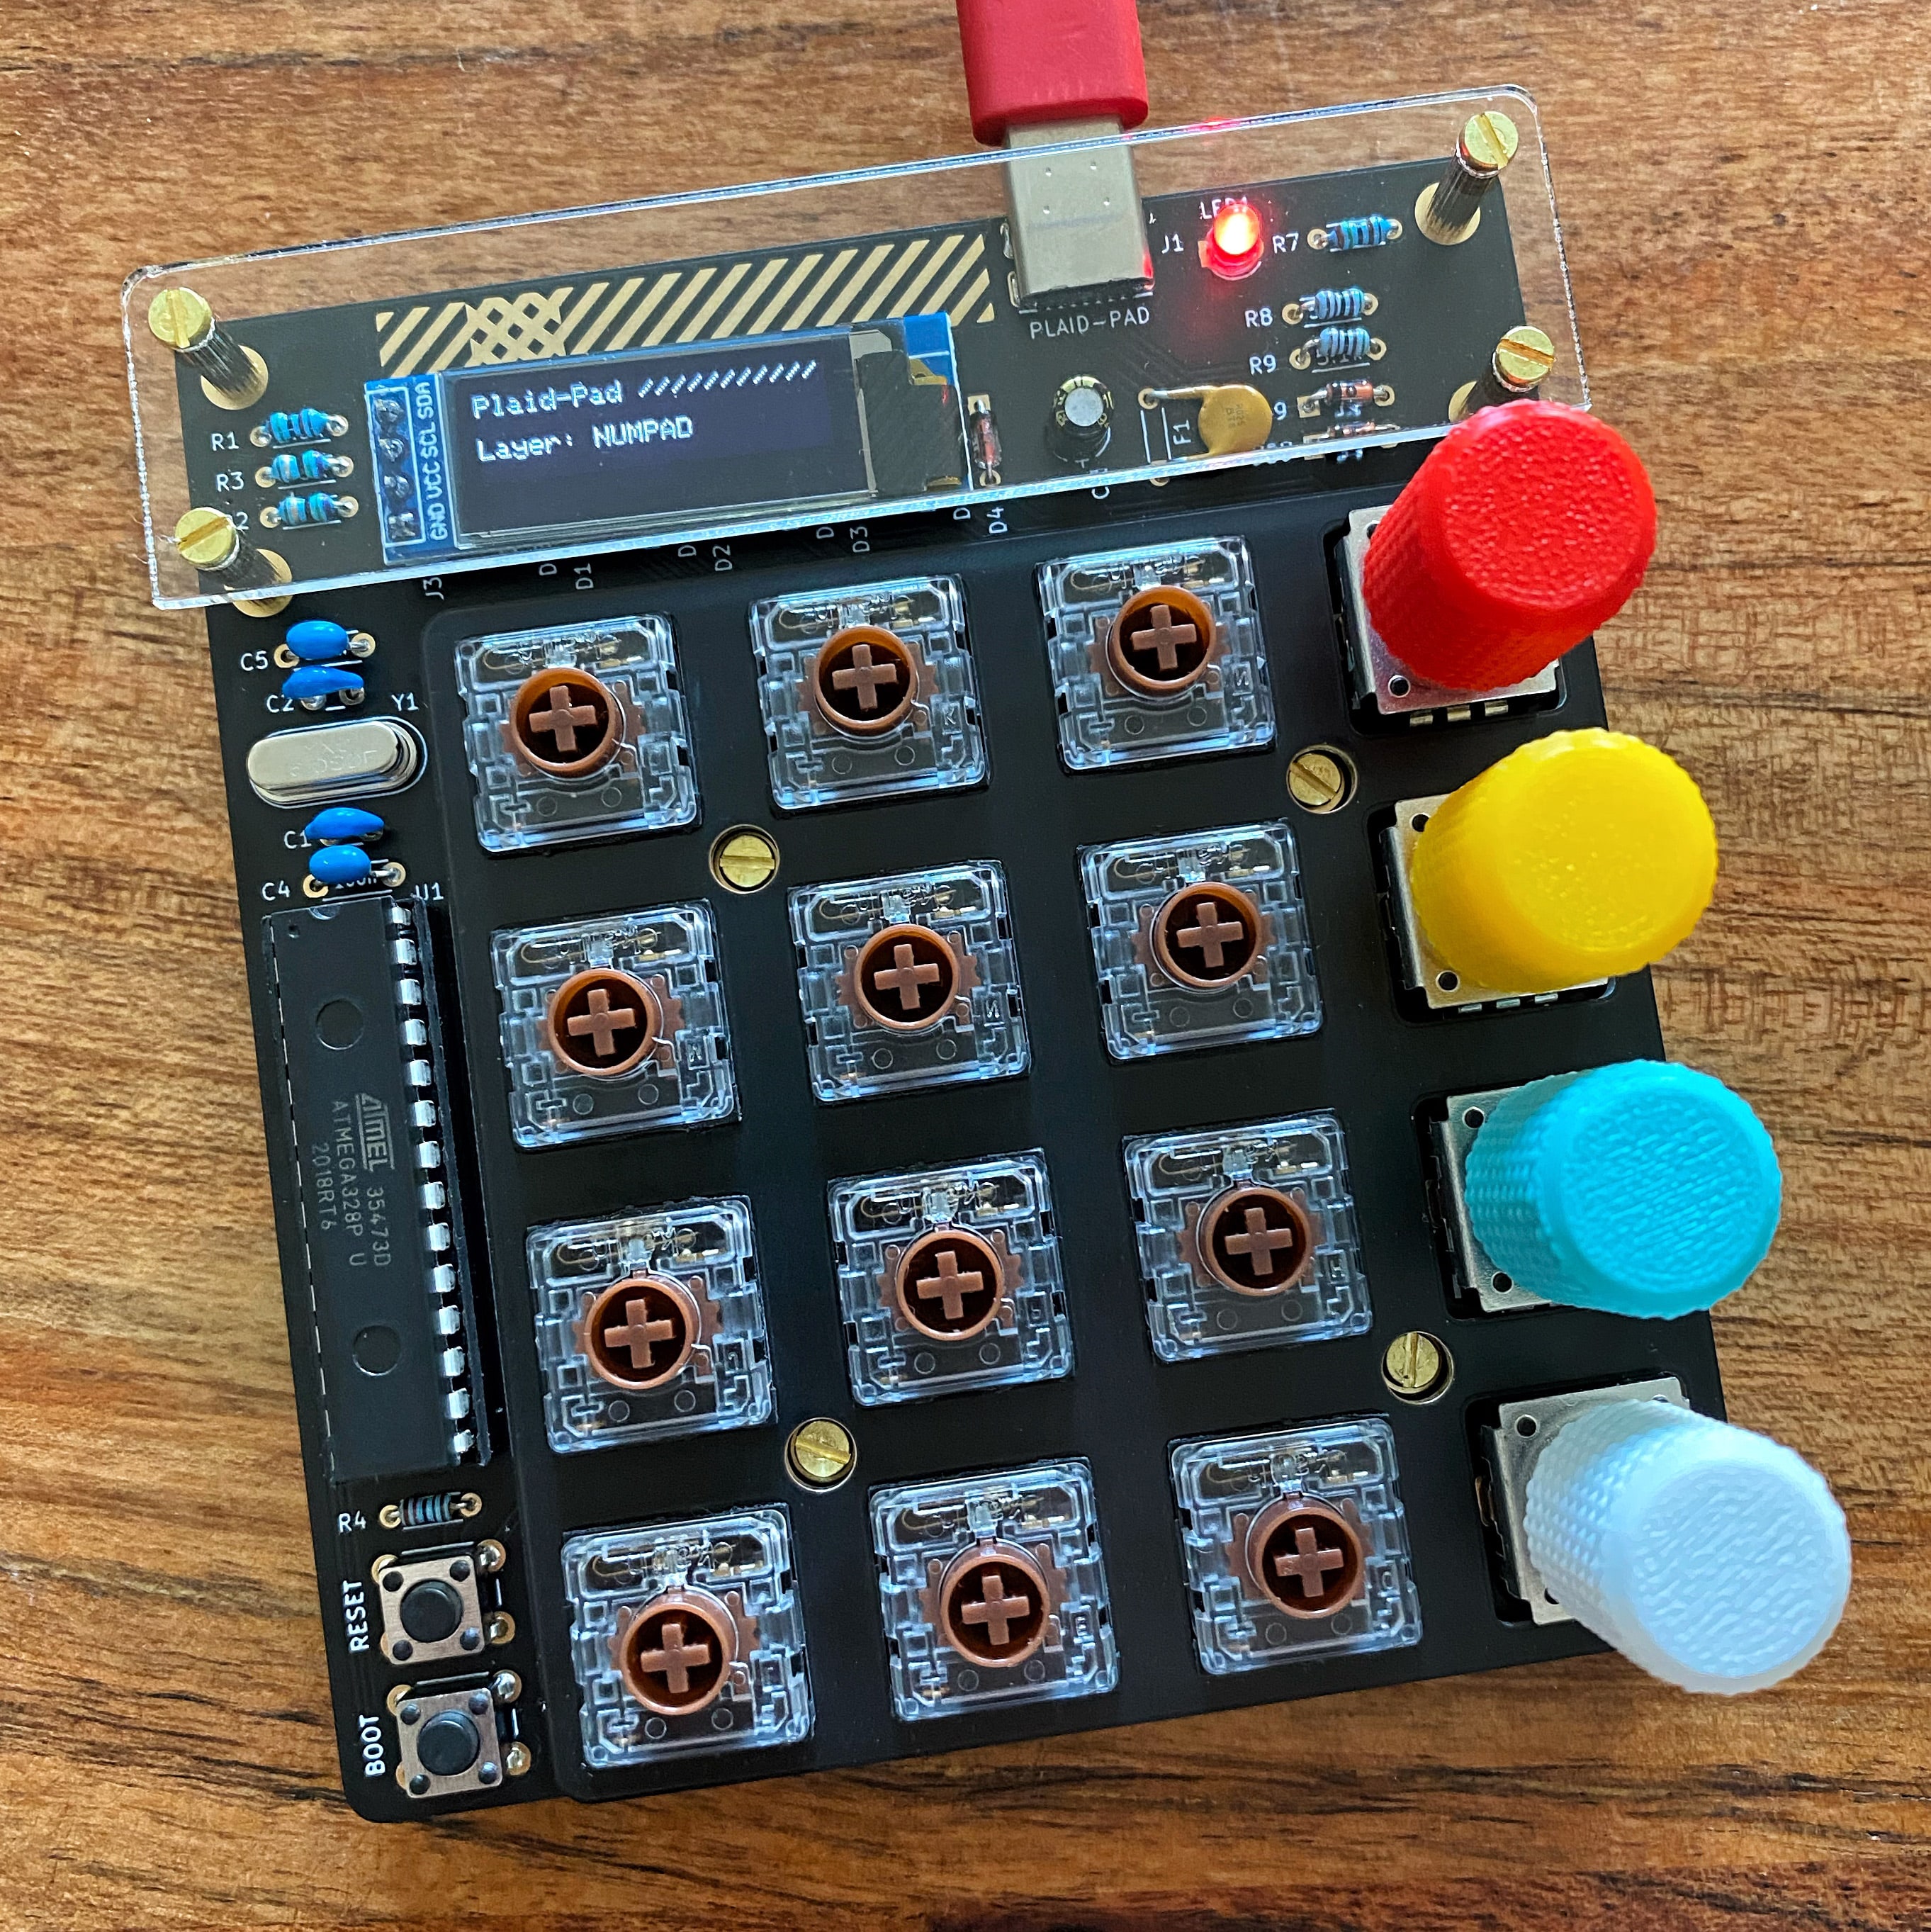
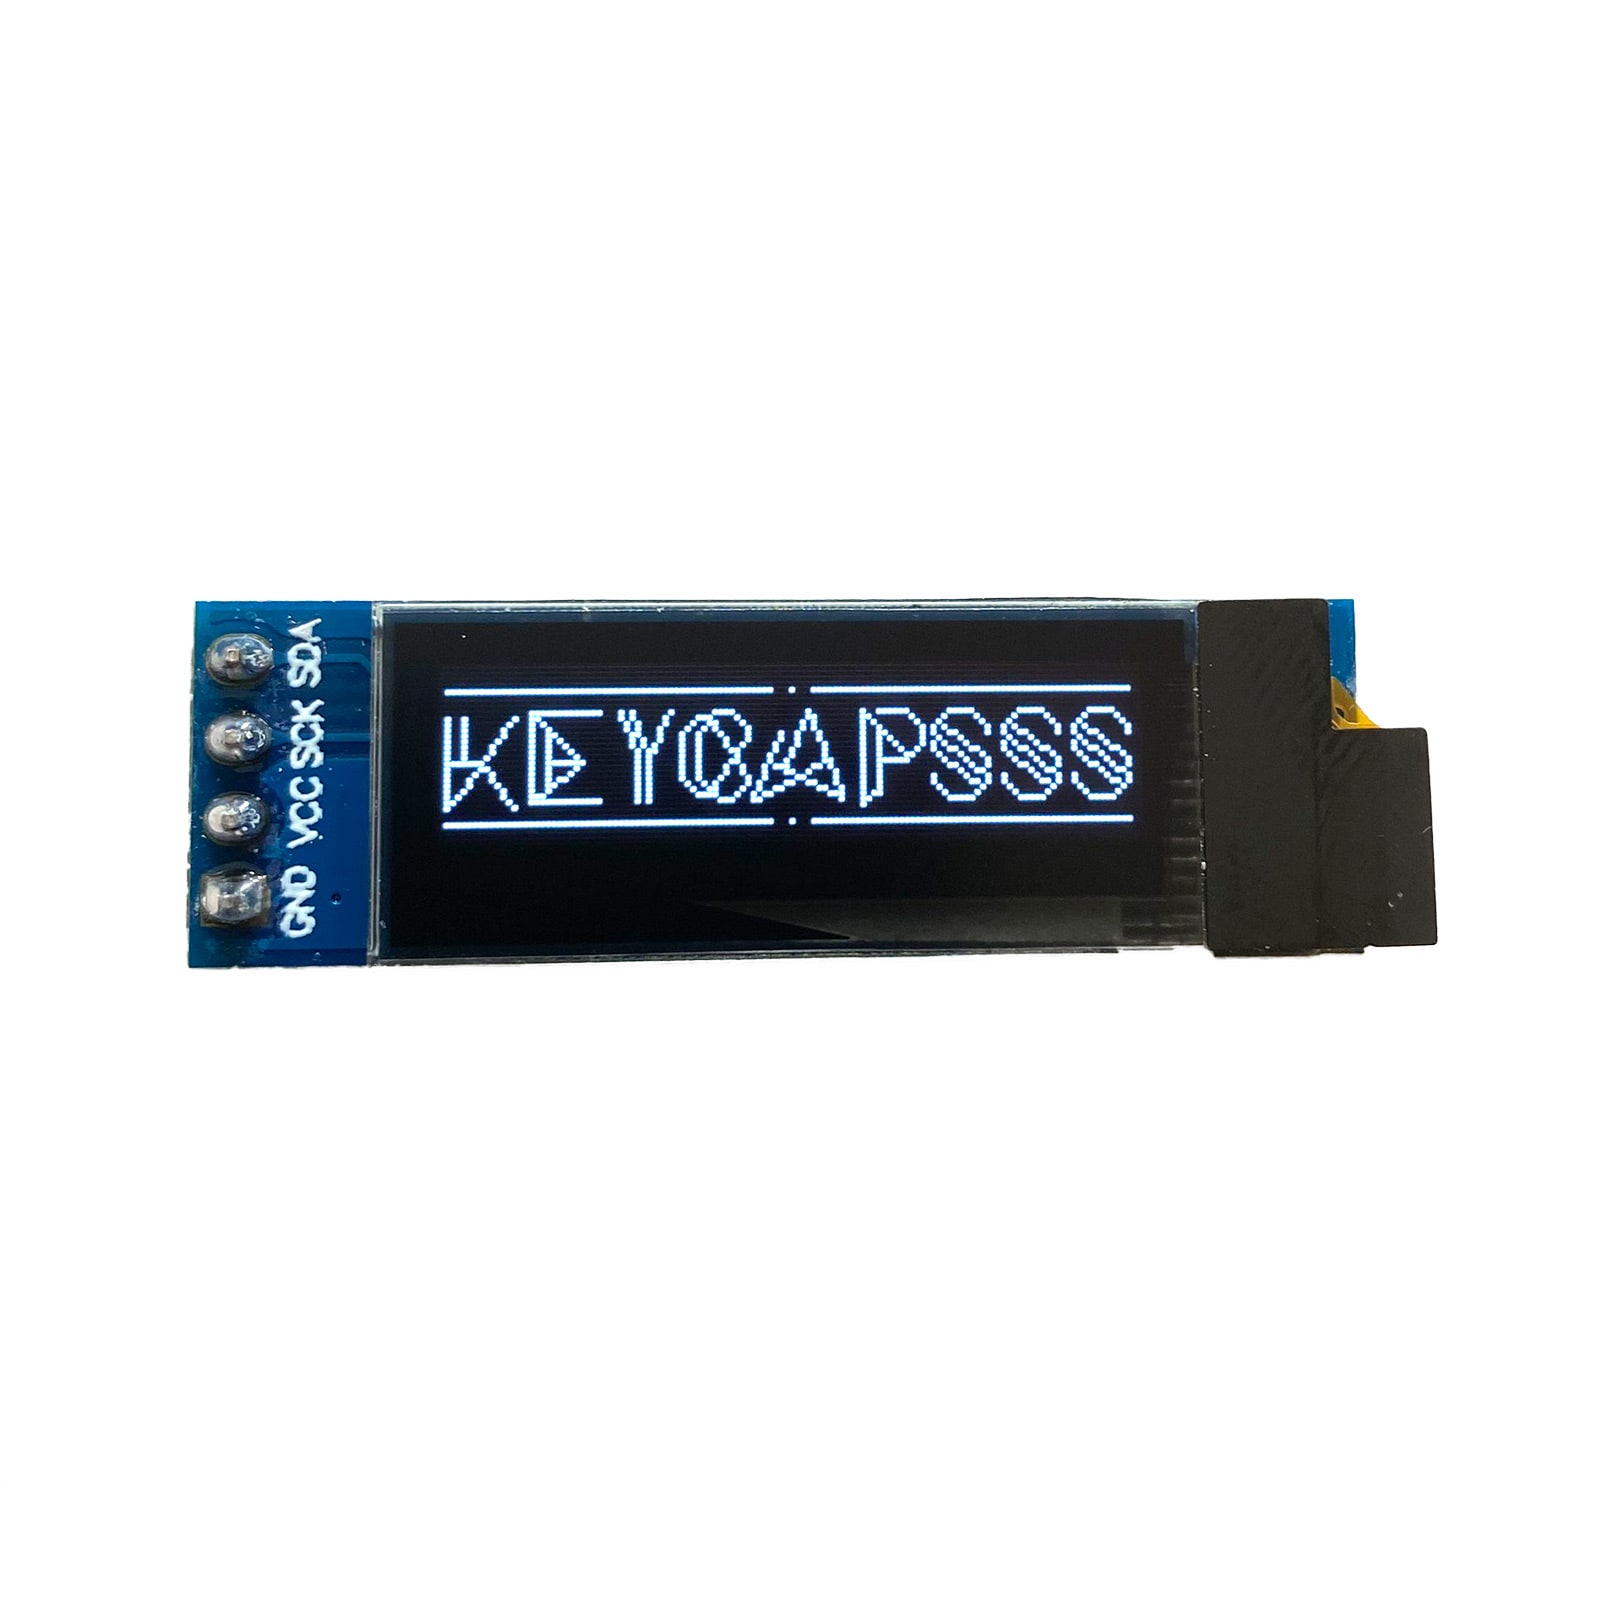
- Support for a 0.91 Inch oled display (SSD1306) (not included)
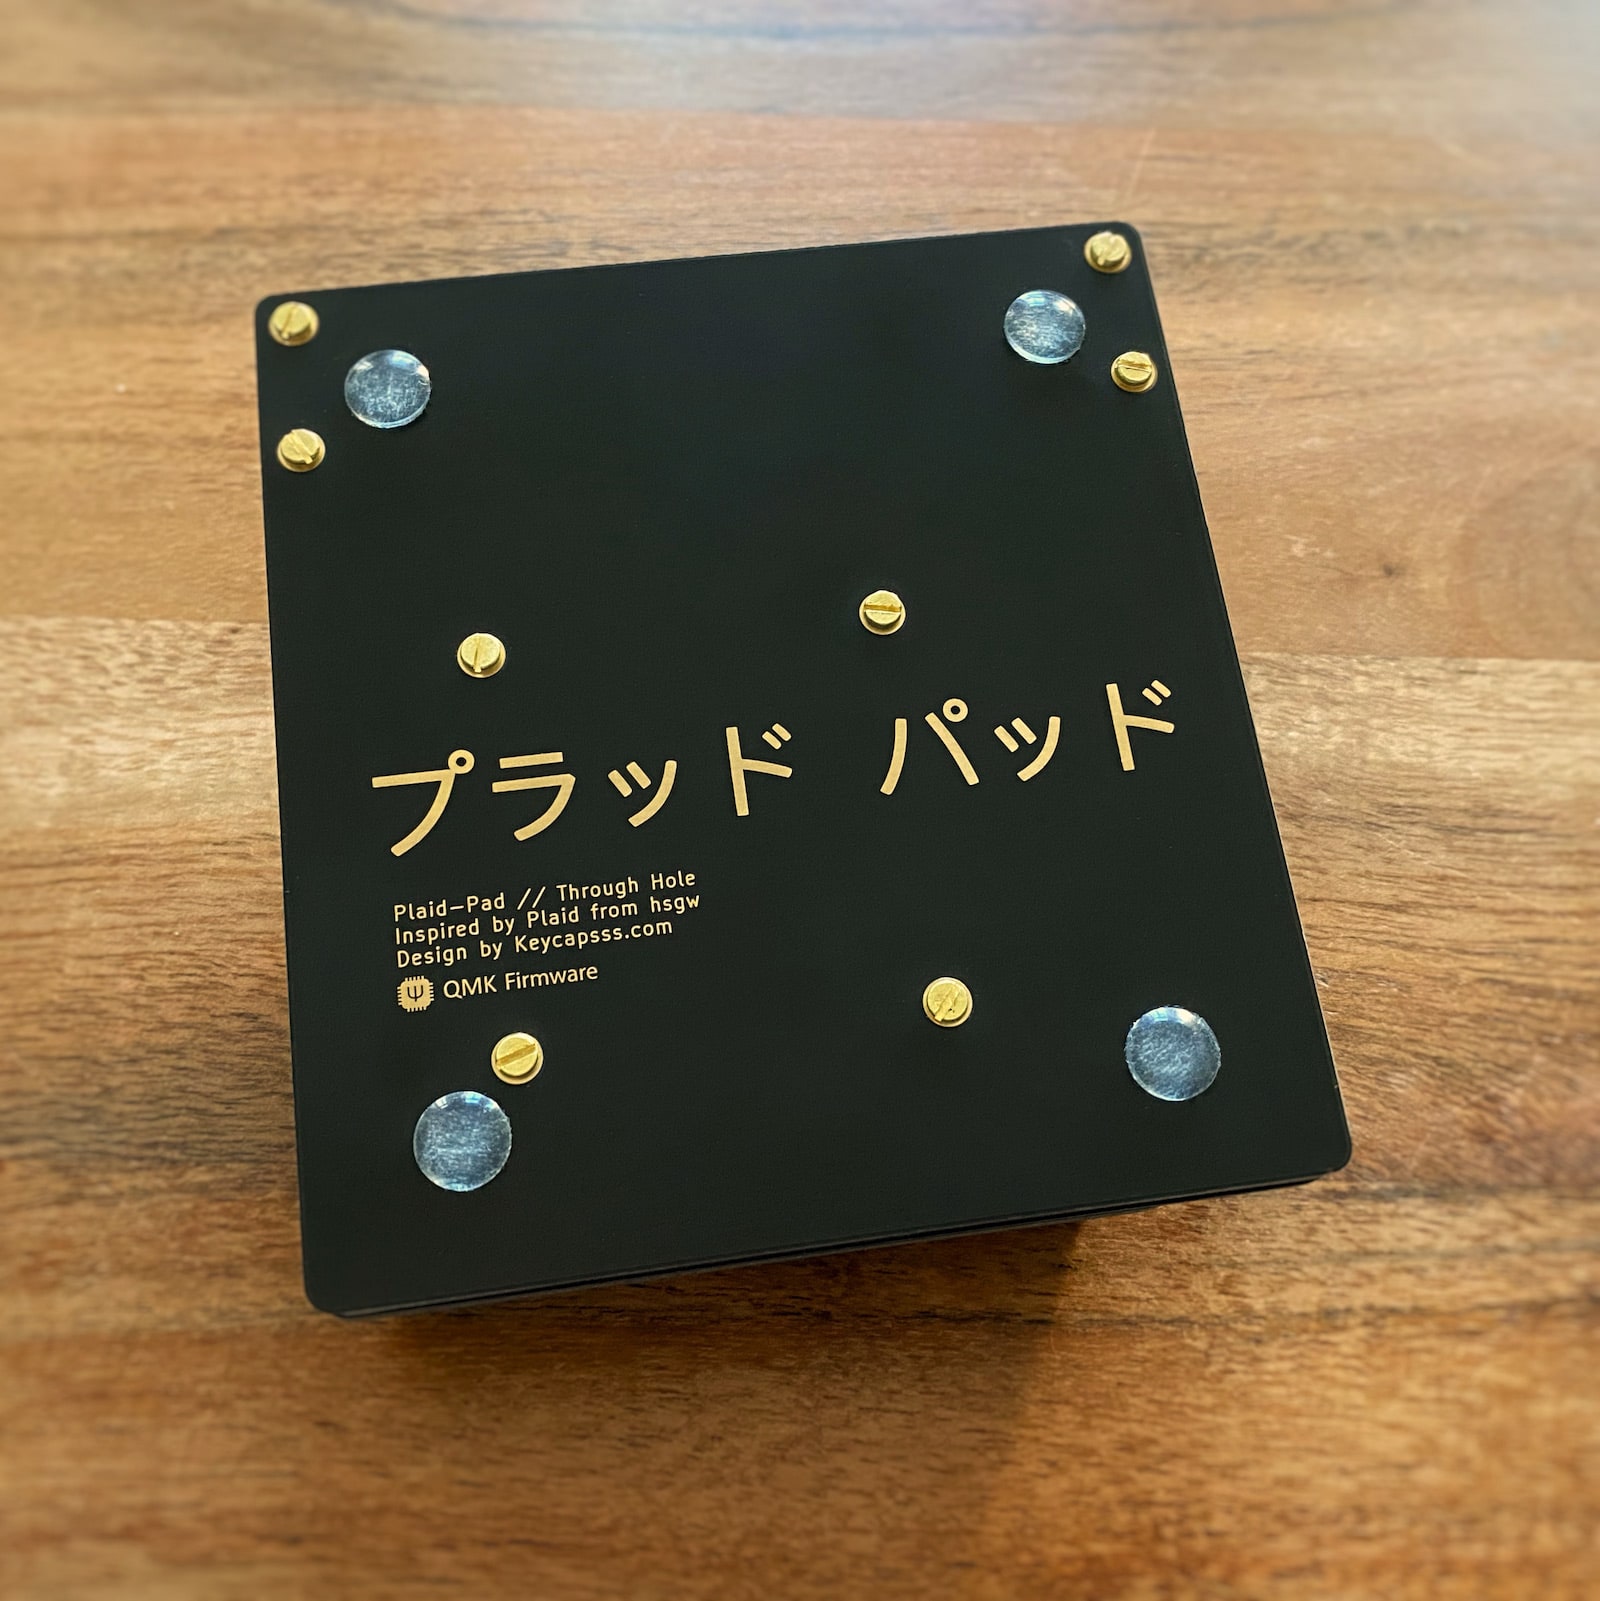
- Black kit has a gold plated pcb and brass slotted screws
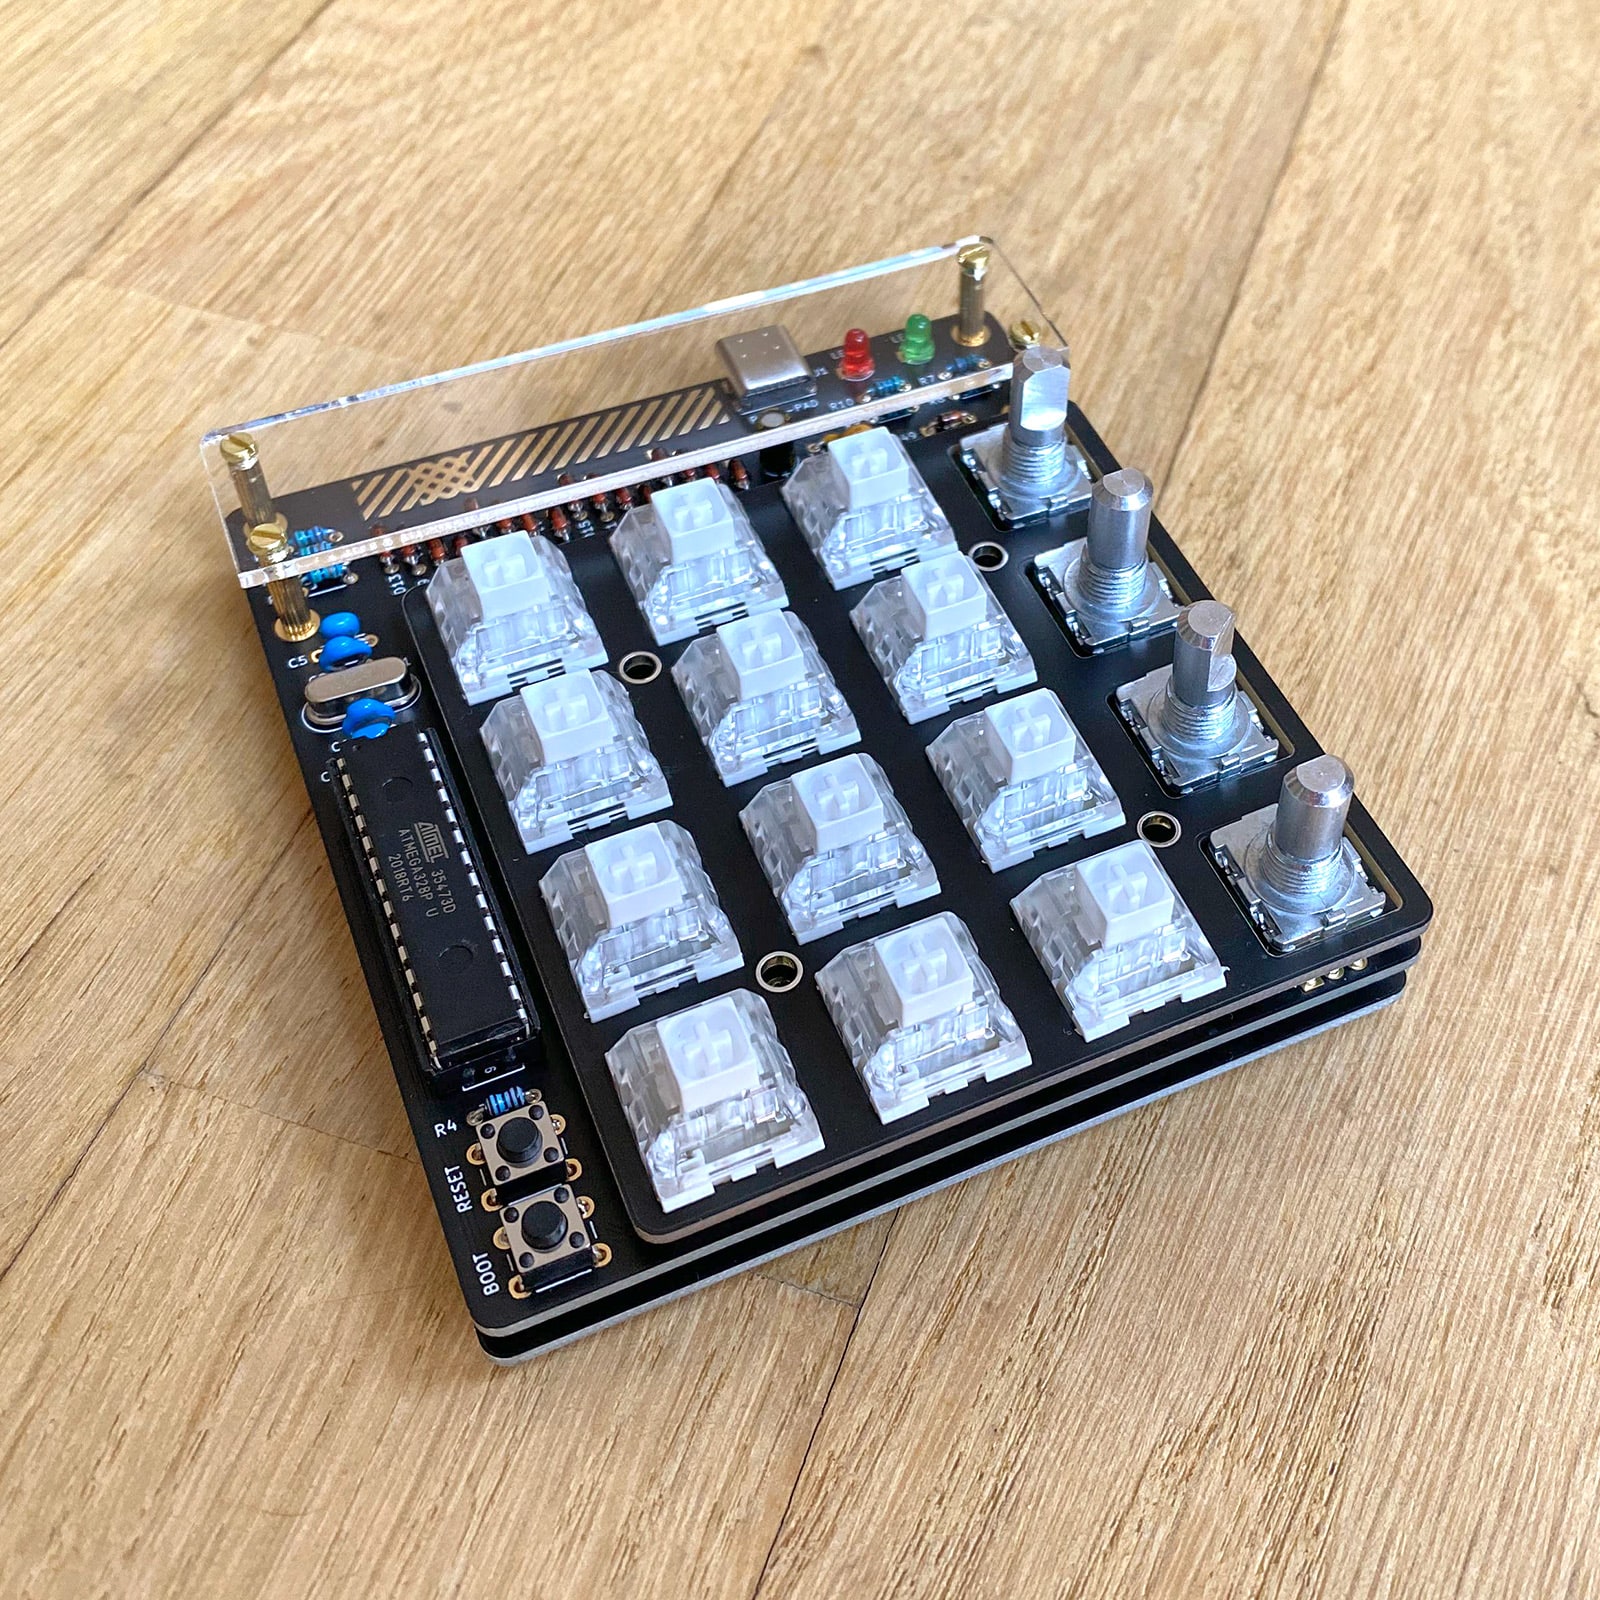
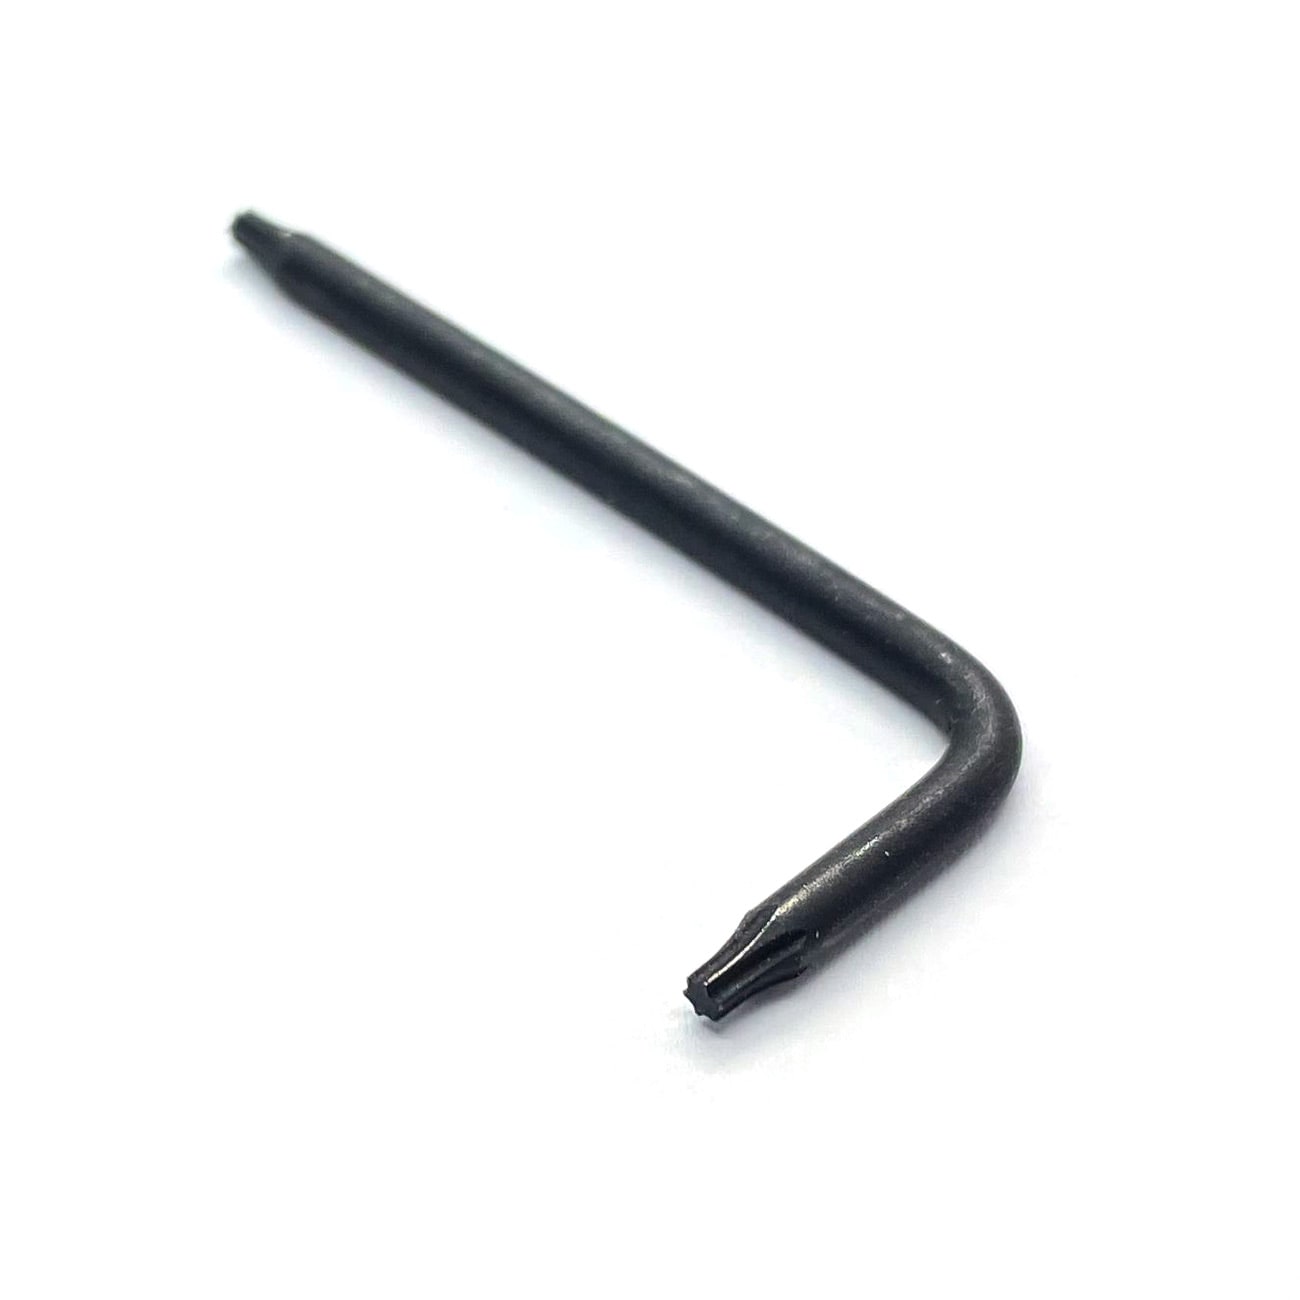
- White kit has a silvery plated pcb and stainless steel screws (T6 Torx)
- USB-C connector
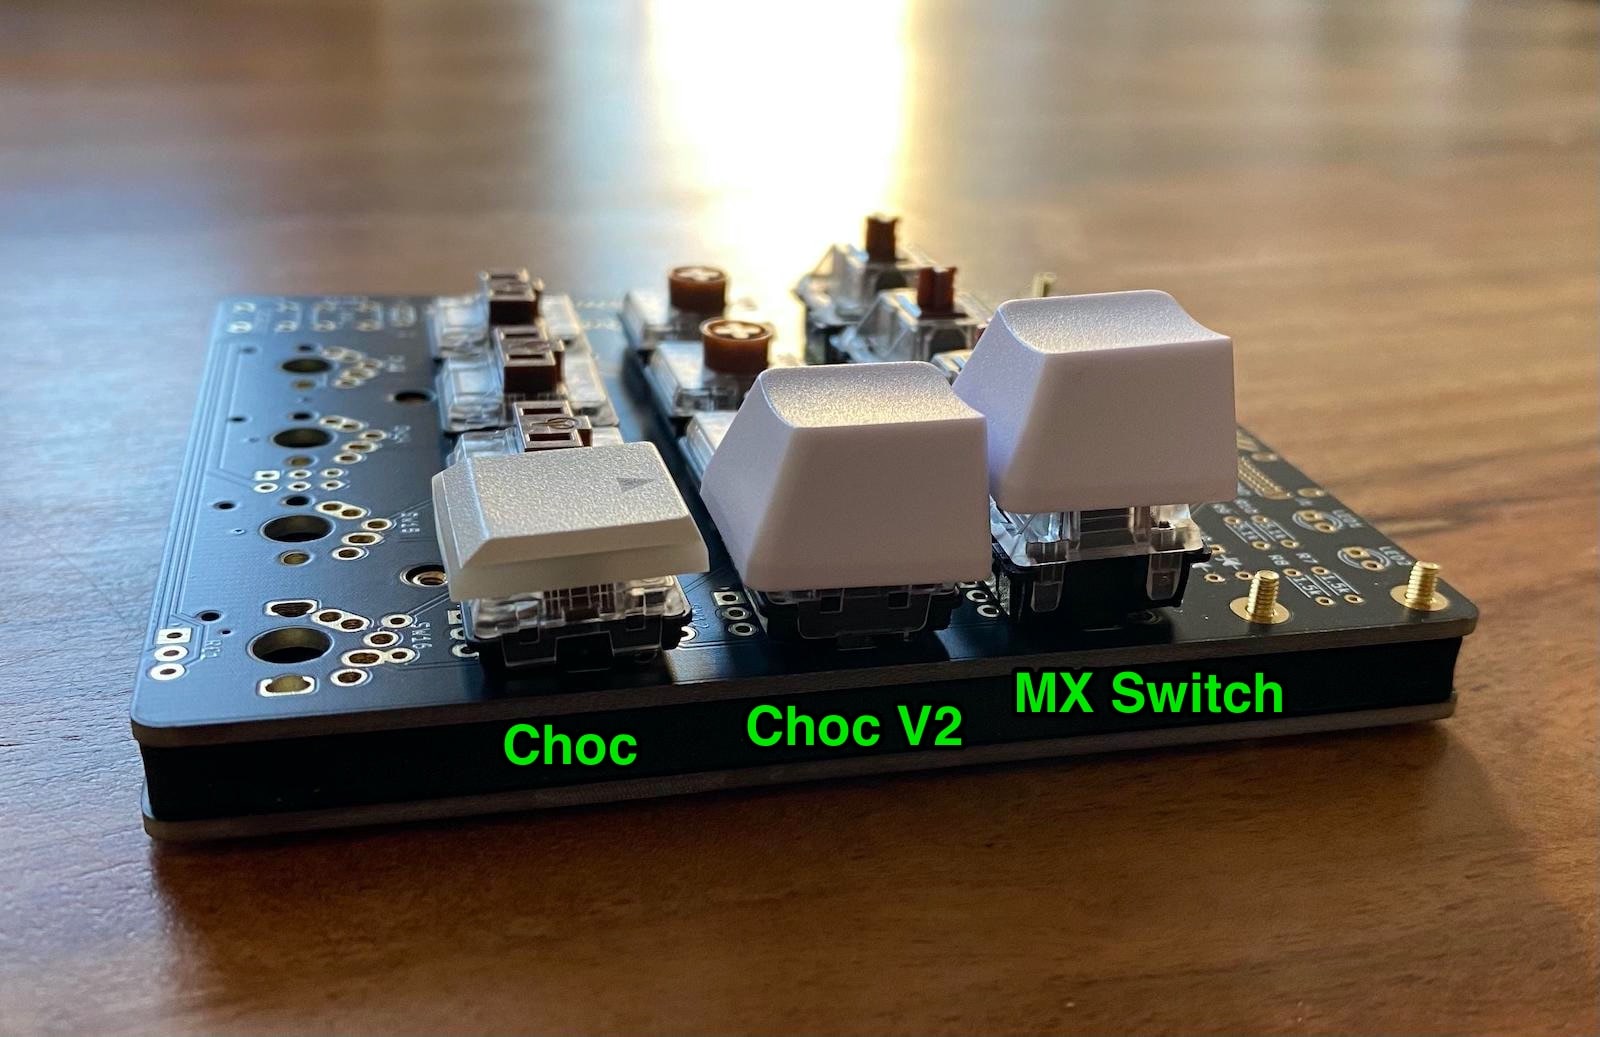
- MX (3-Pin, 5-Pin), Choc and ChocV2 switch support
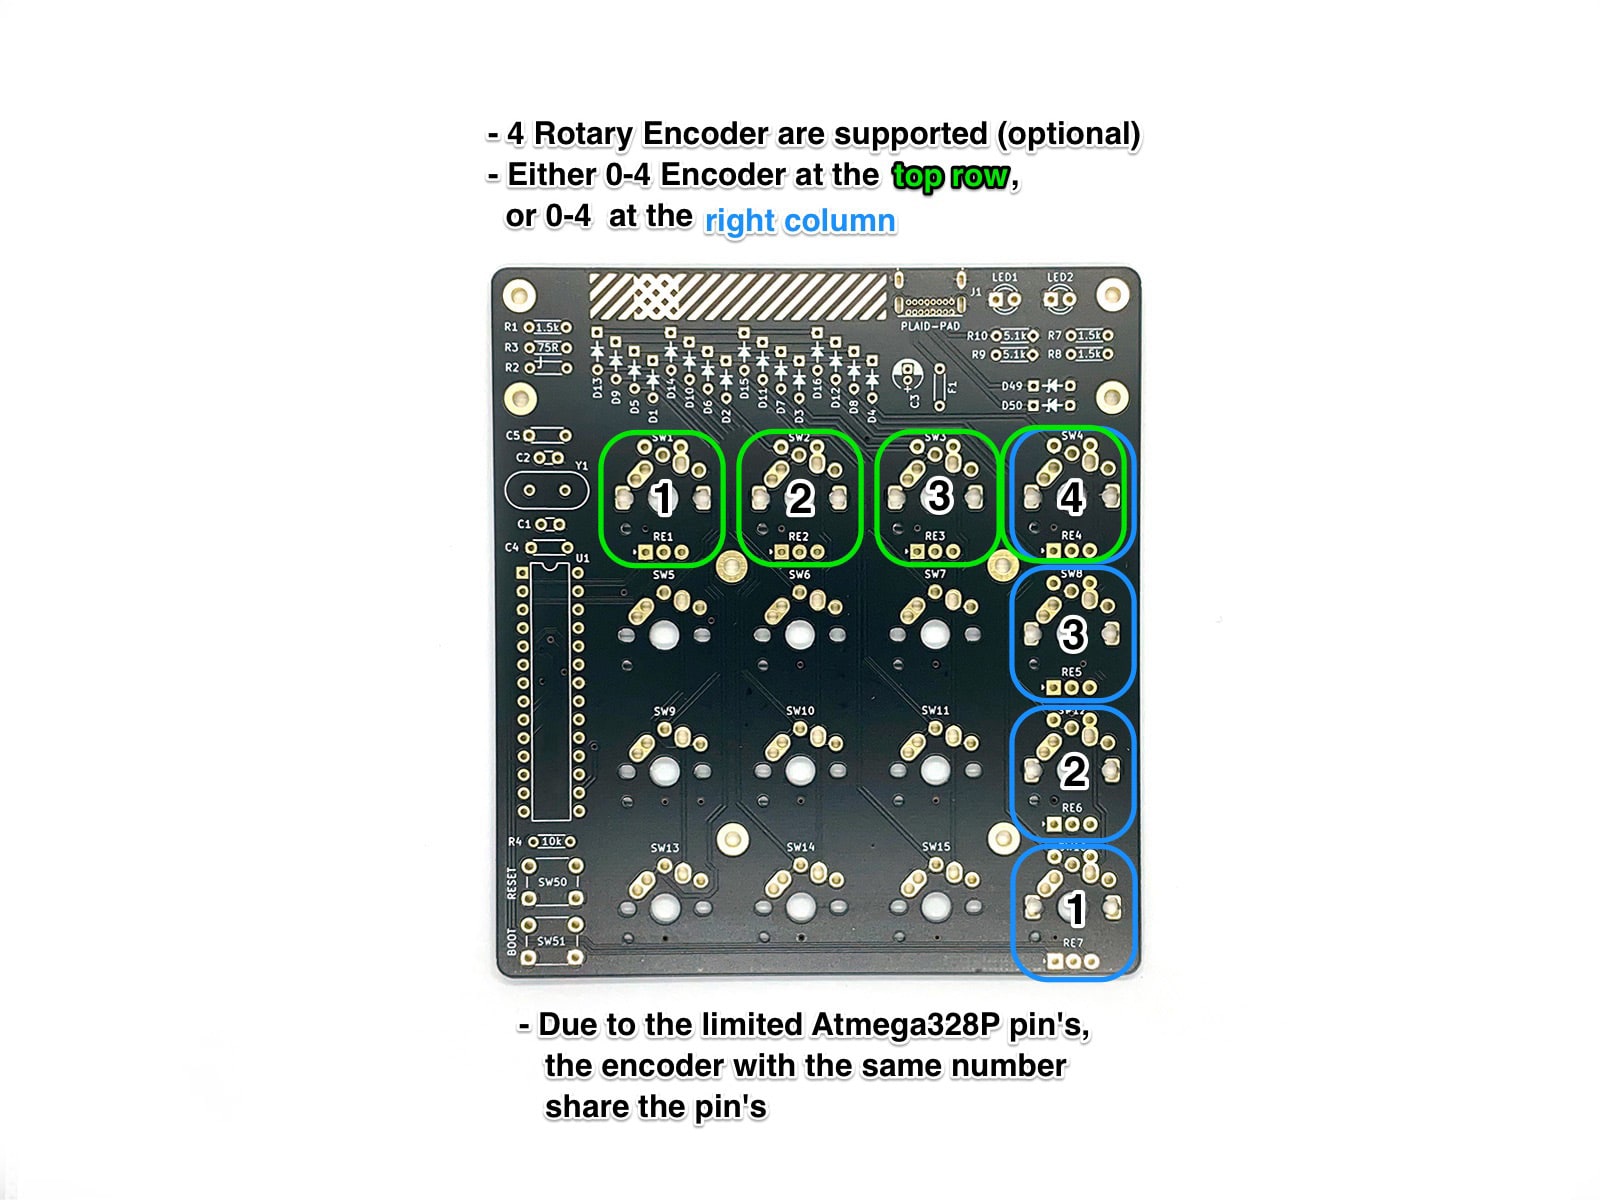
- Supports up to 4 Rotary Encoder (top row, or right column)
- Positions for the Rotary Encoder are interchangeable with switches
- Only through-hole parts (easy to solder)
- ATMEGA328P MCU
- QMK Firmware (keymap files)
- Great companion to the Plaid keyboard

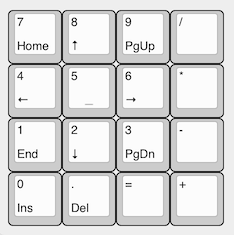
This is the pre installed keymap for the Plaid-Pad.
You can find more keymaps here.
The USB-C connector is a bit difficult to solder. I can do it for you.
"Soldering service for USB-C connector"
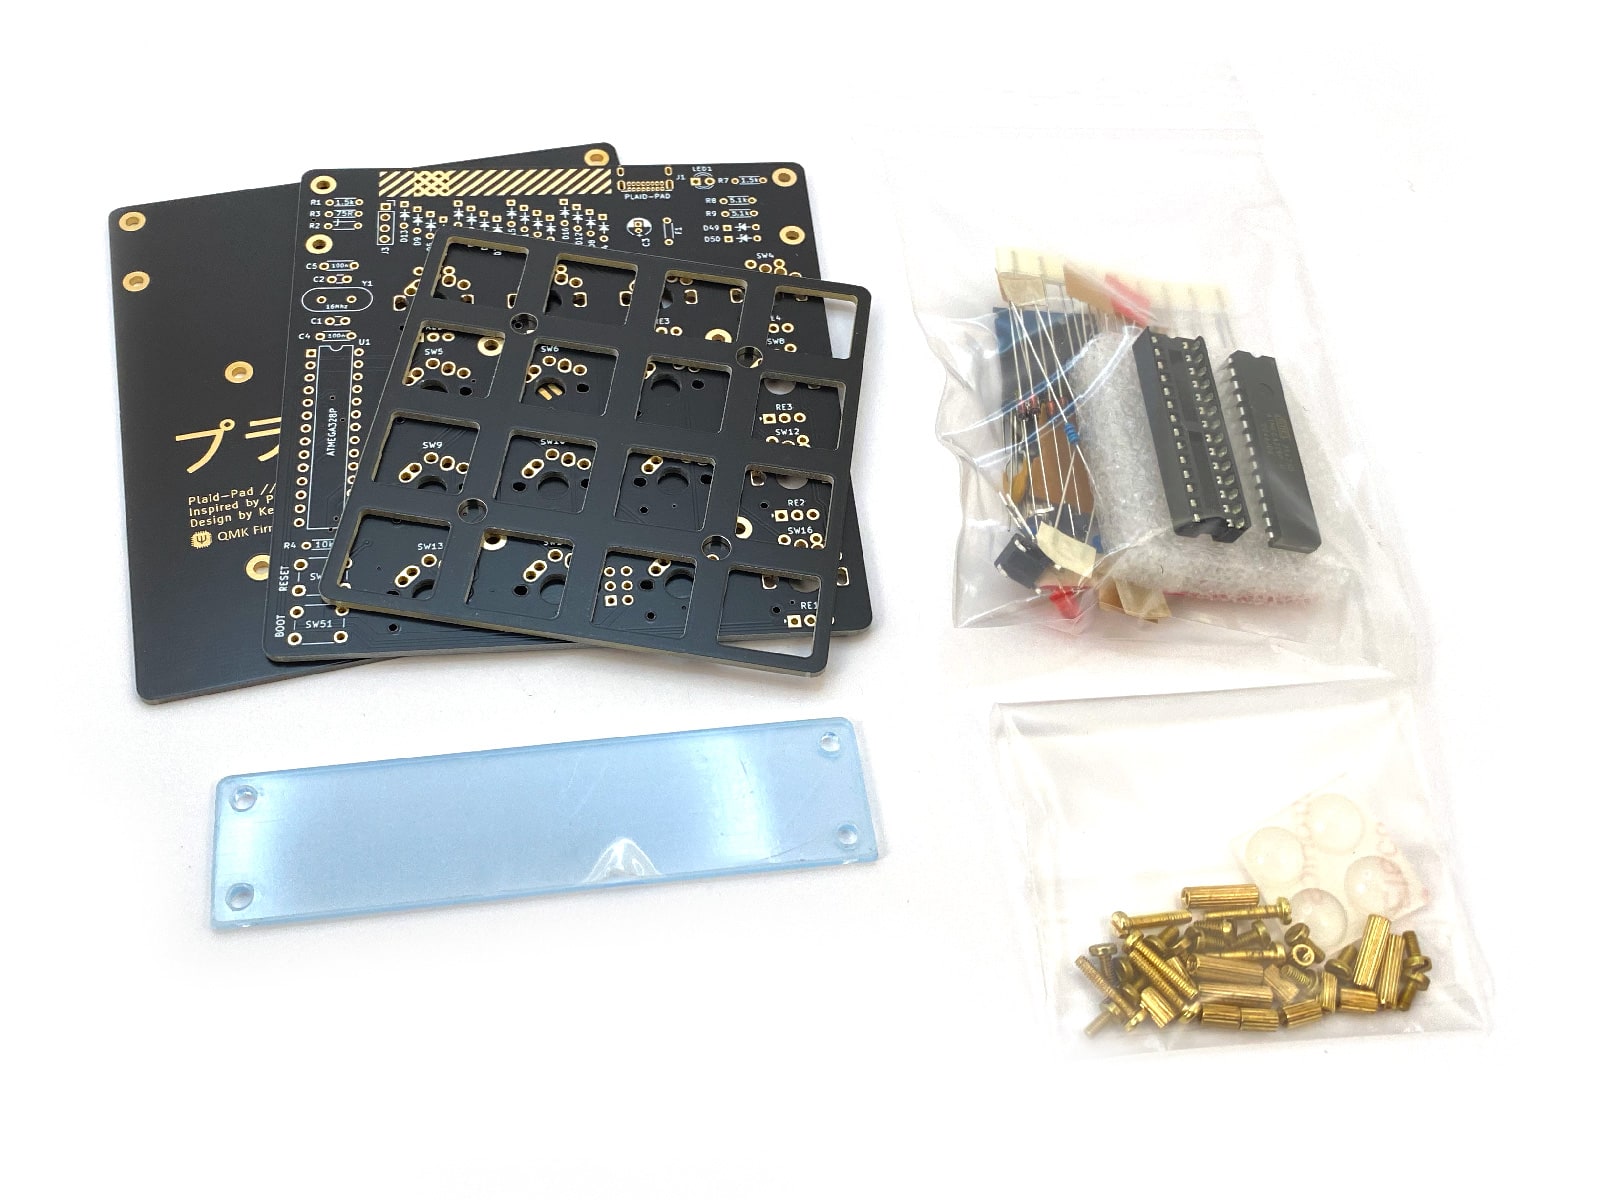
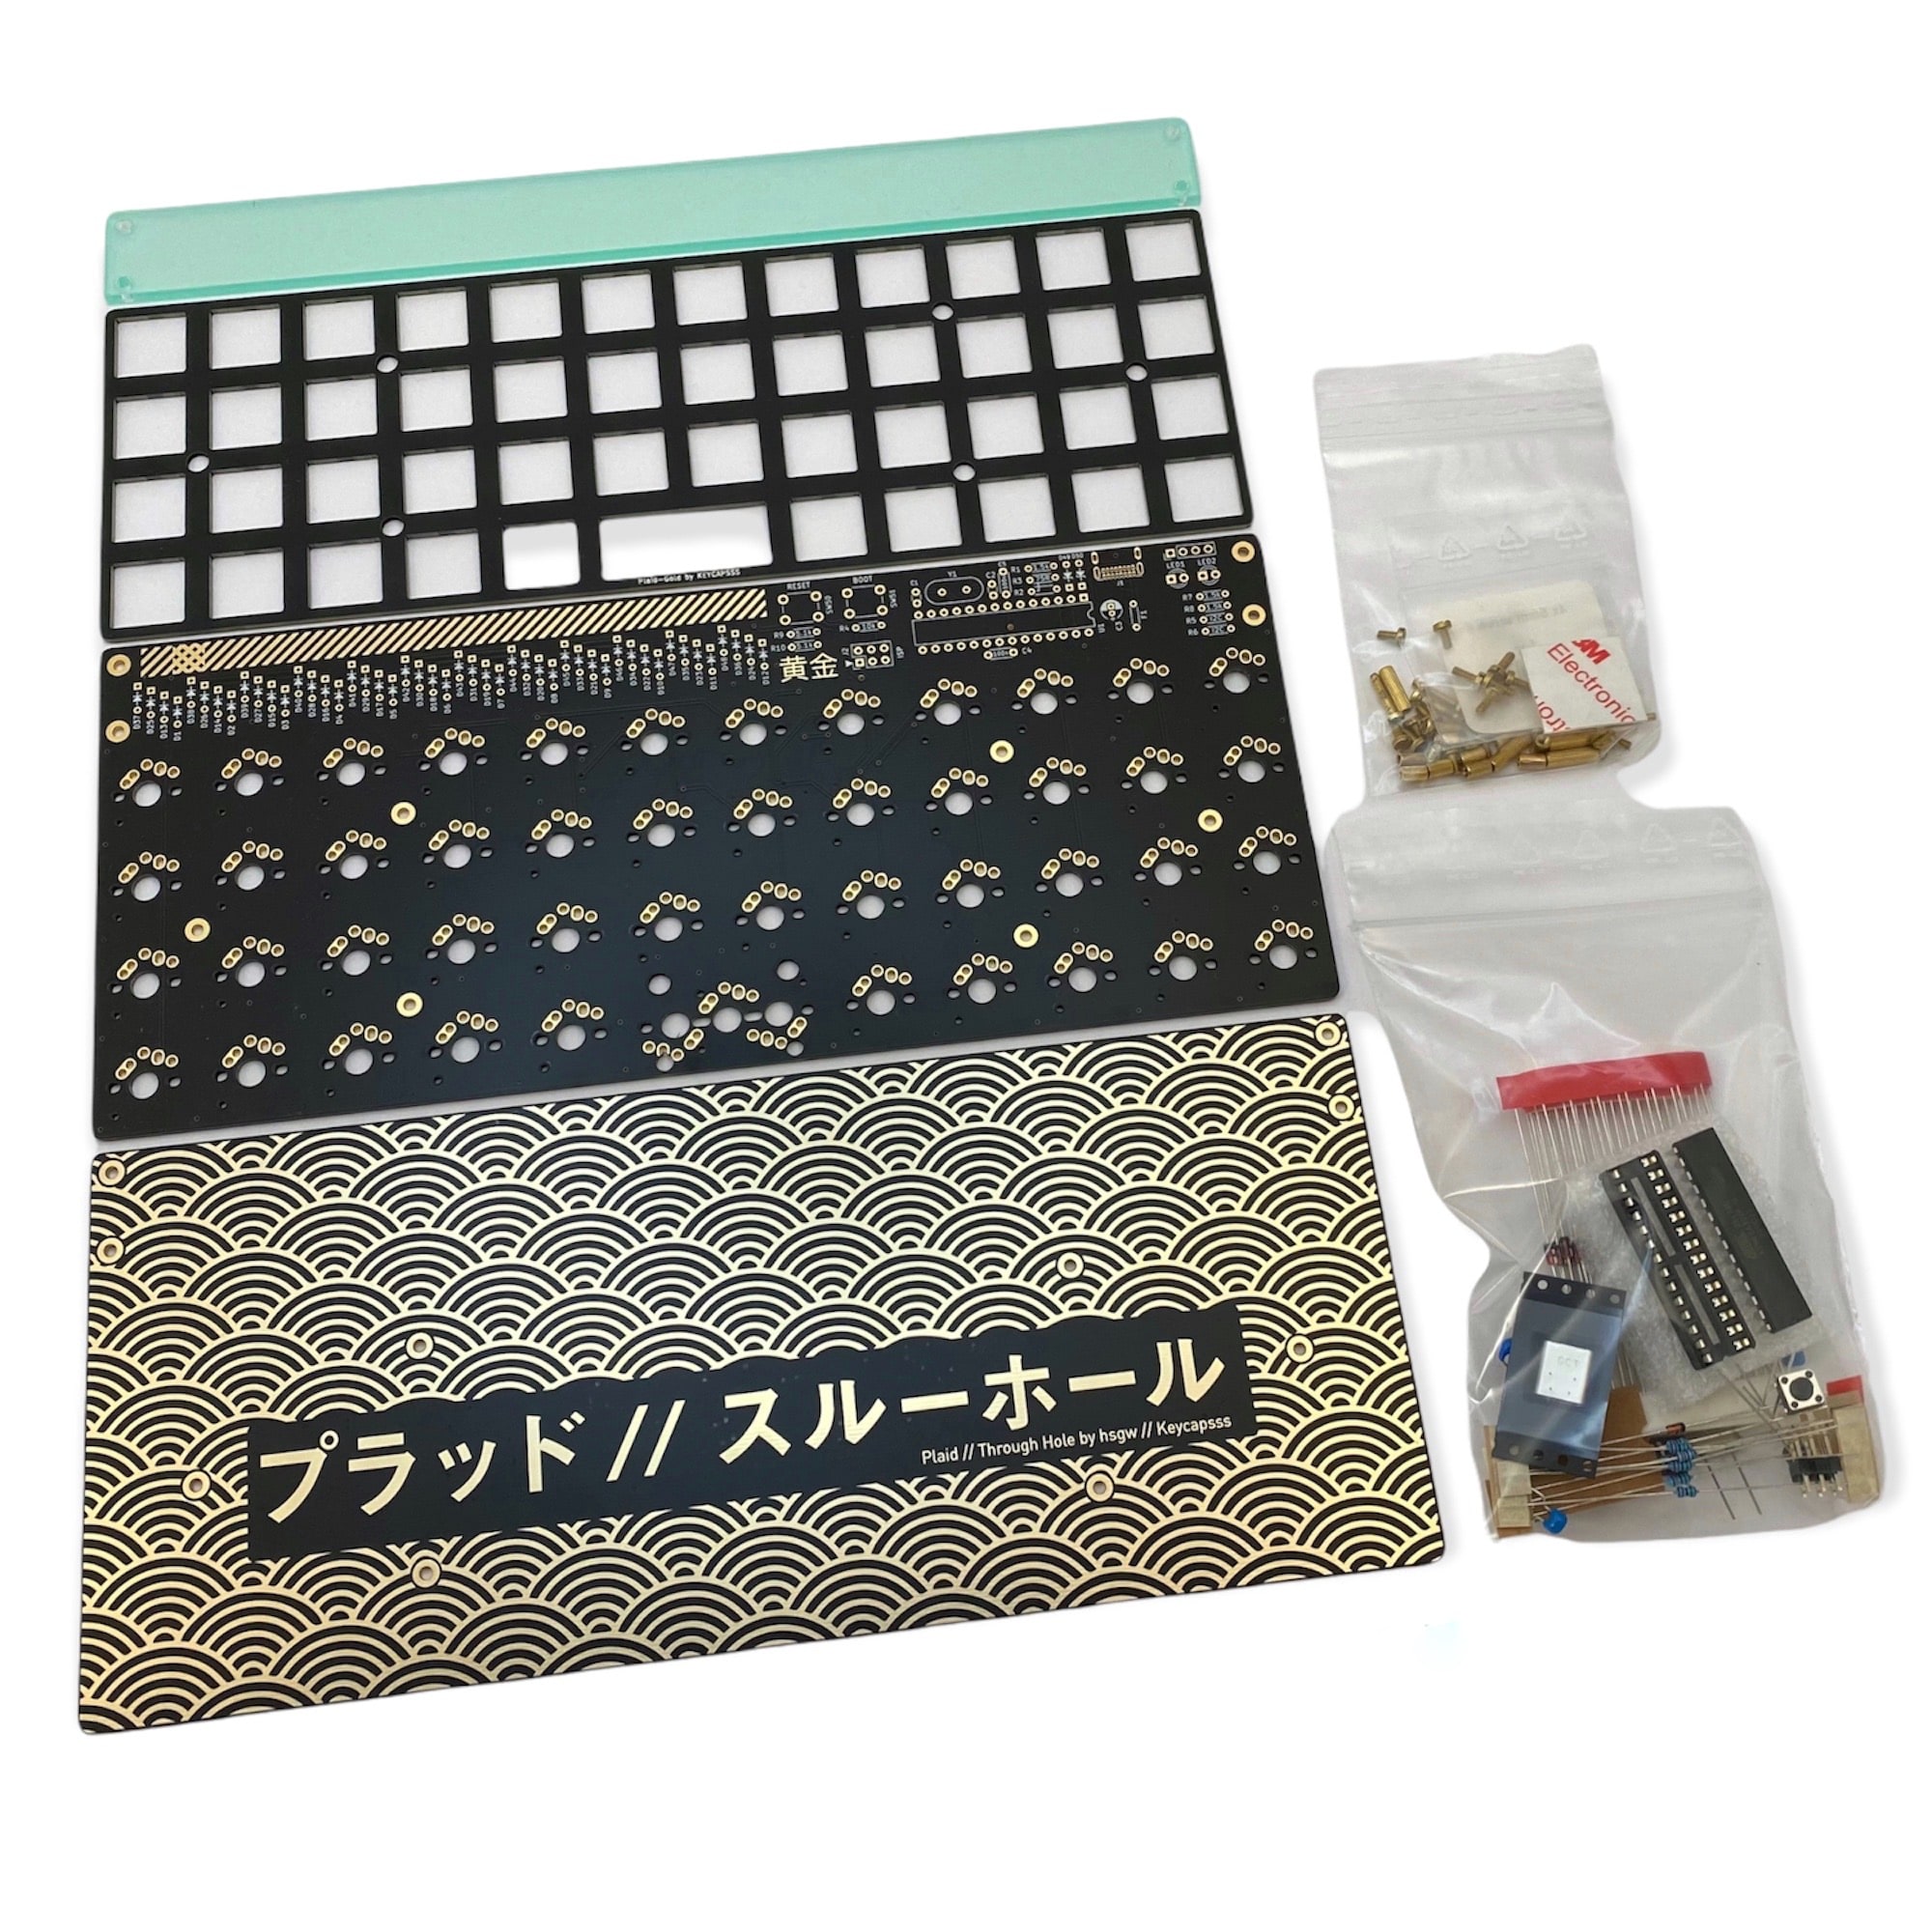
Includes:
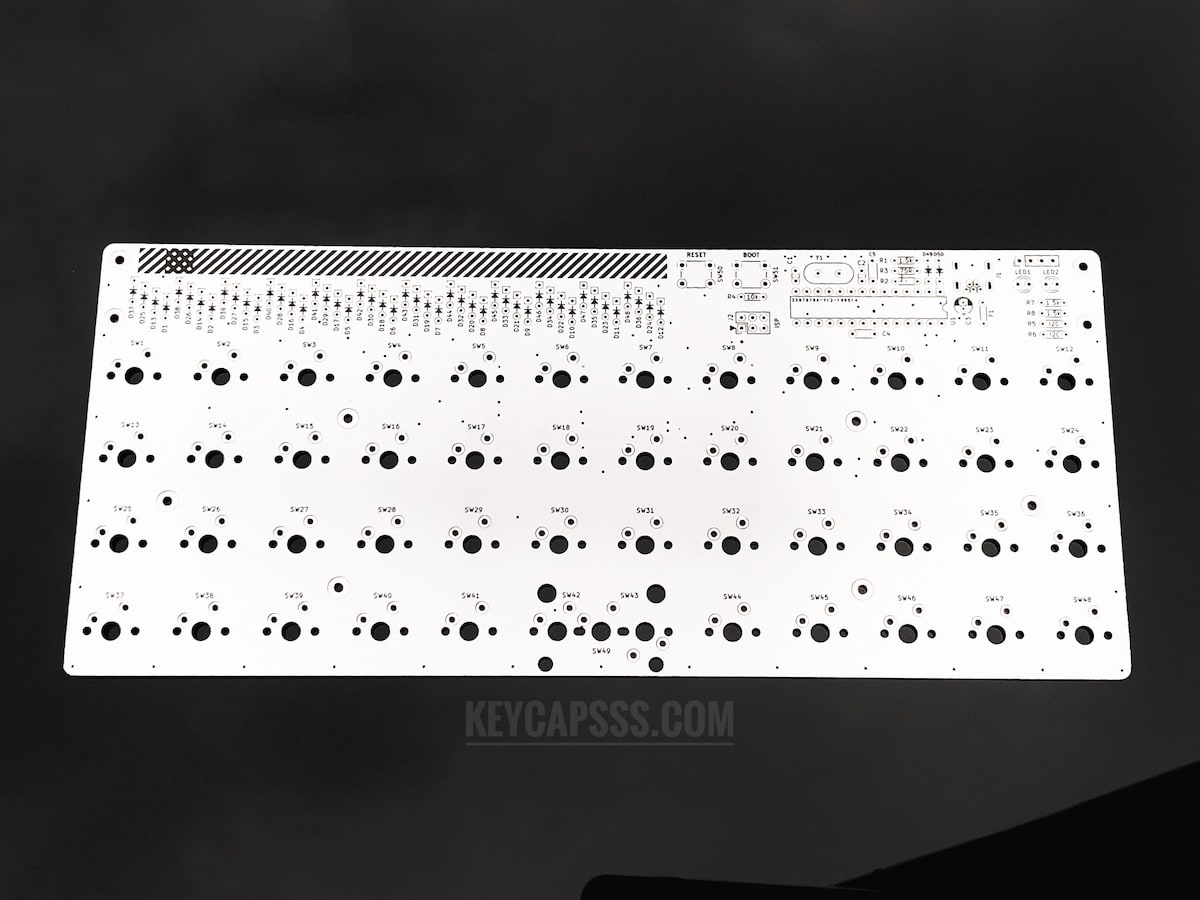
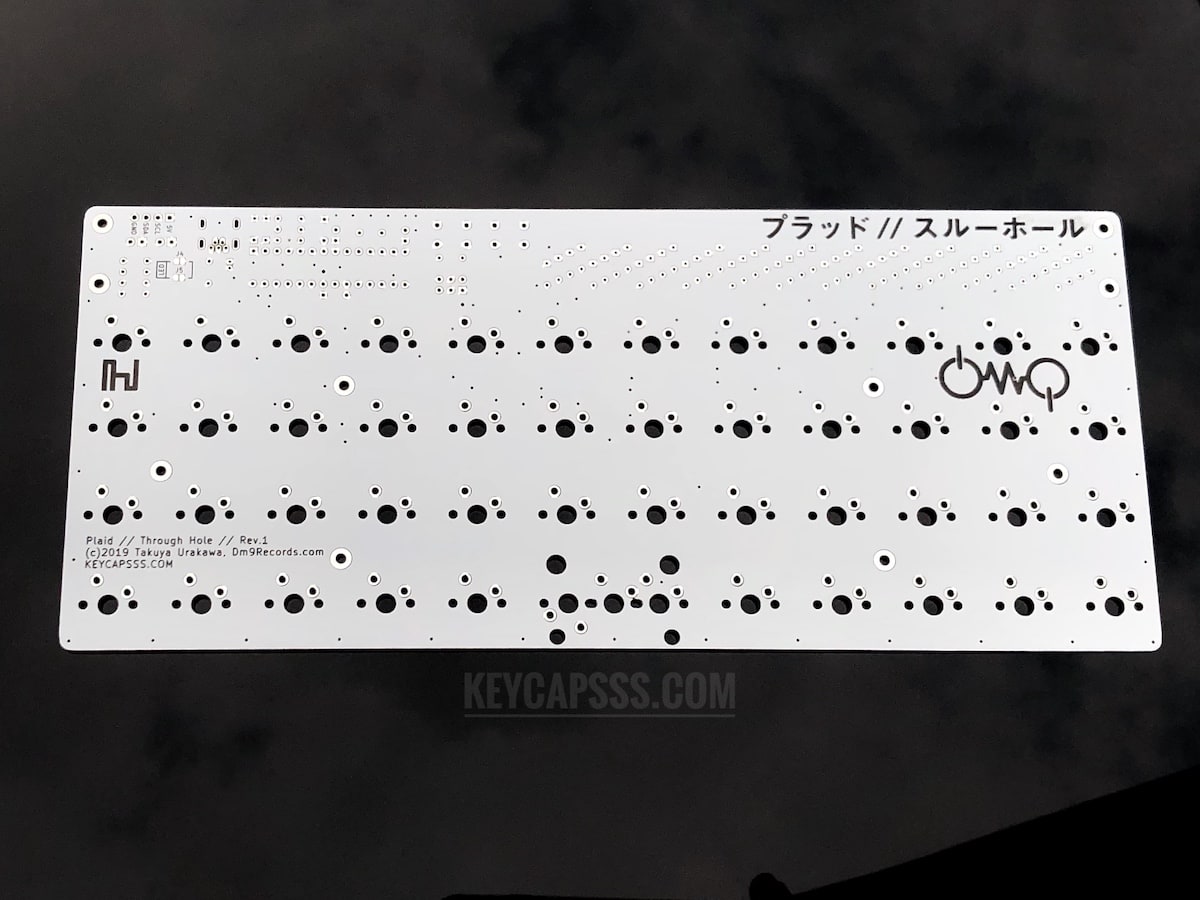
- Top, mid and bottom pcb (choose color)
- 2mm clear acrylic guard plate (has bluish protection film)
- Solder parts with pre flashed Atmega328 (USBaspLoader and QMK firmware with VIA support)
- Spacer and screws (white kit: stainless steel with T6 Torx, black kit: brass slotted screws)
- Rubber feeds
You also need:
- 16x switches (3pin, or 5pin)
- Optional: rotary encoder (0-4x)
- Optional: Oled display (SSD1306 - 0.91 Inch 128x32 I2C)
- USB-C cable
- Keycaps
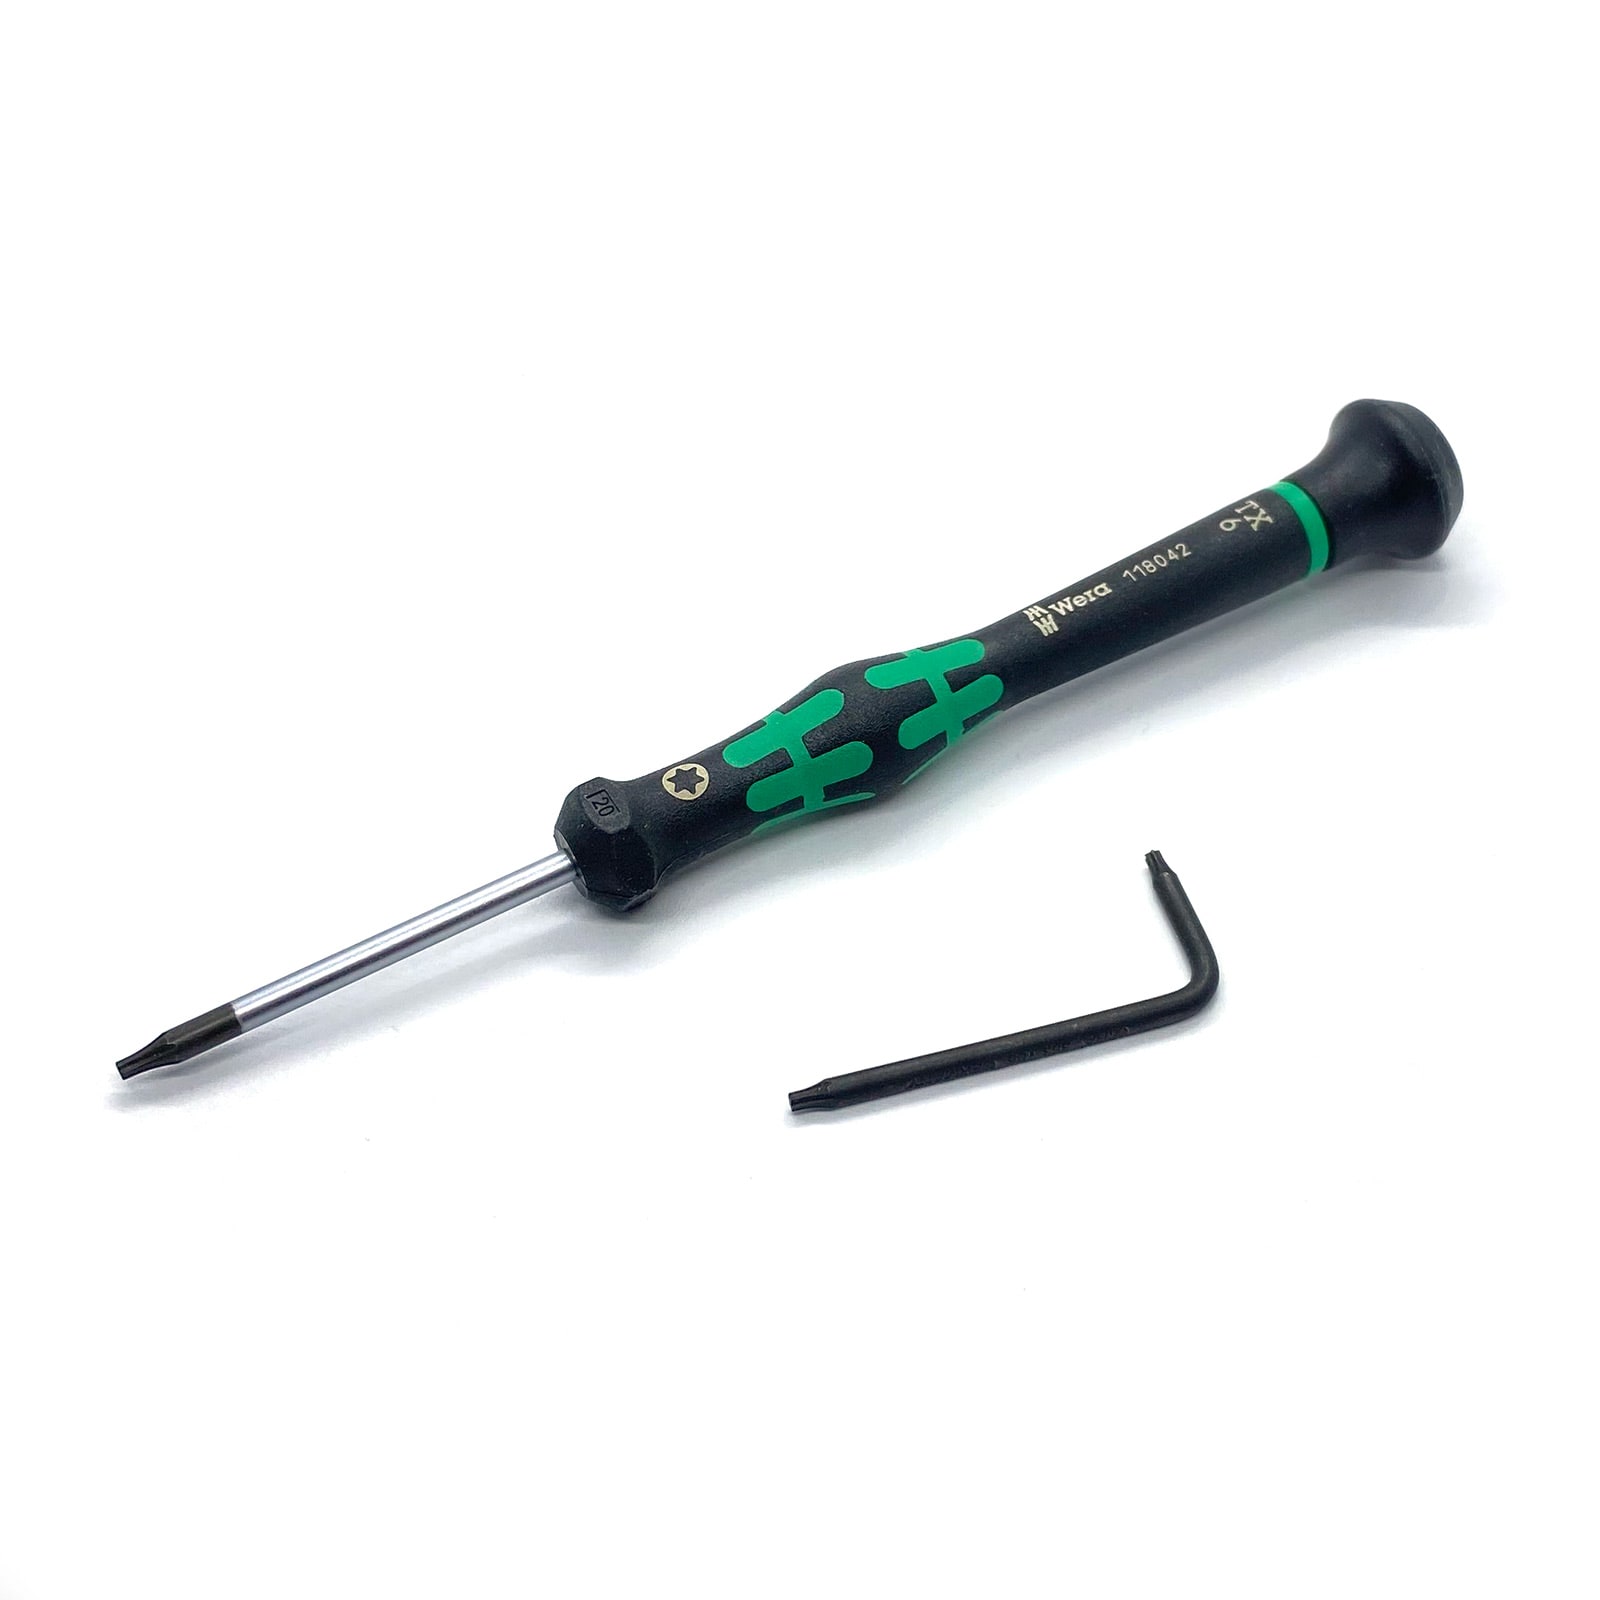
- Slotted screwdriver (black variant), or T6 Torx screwdriver (white variant)
- Soldering iron & solder
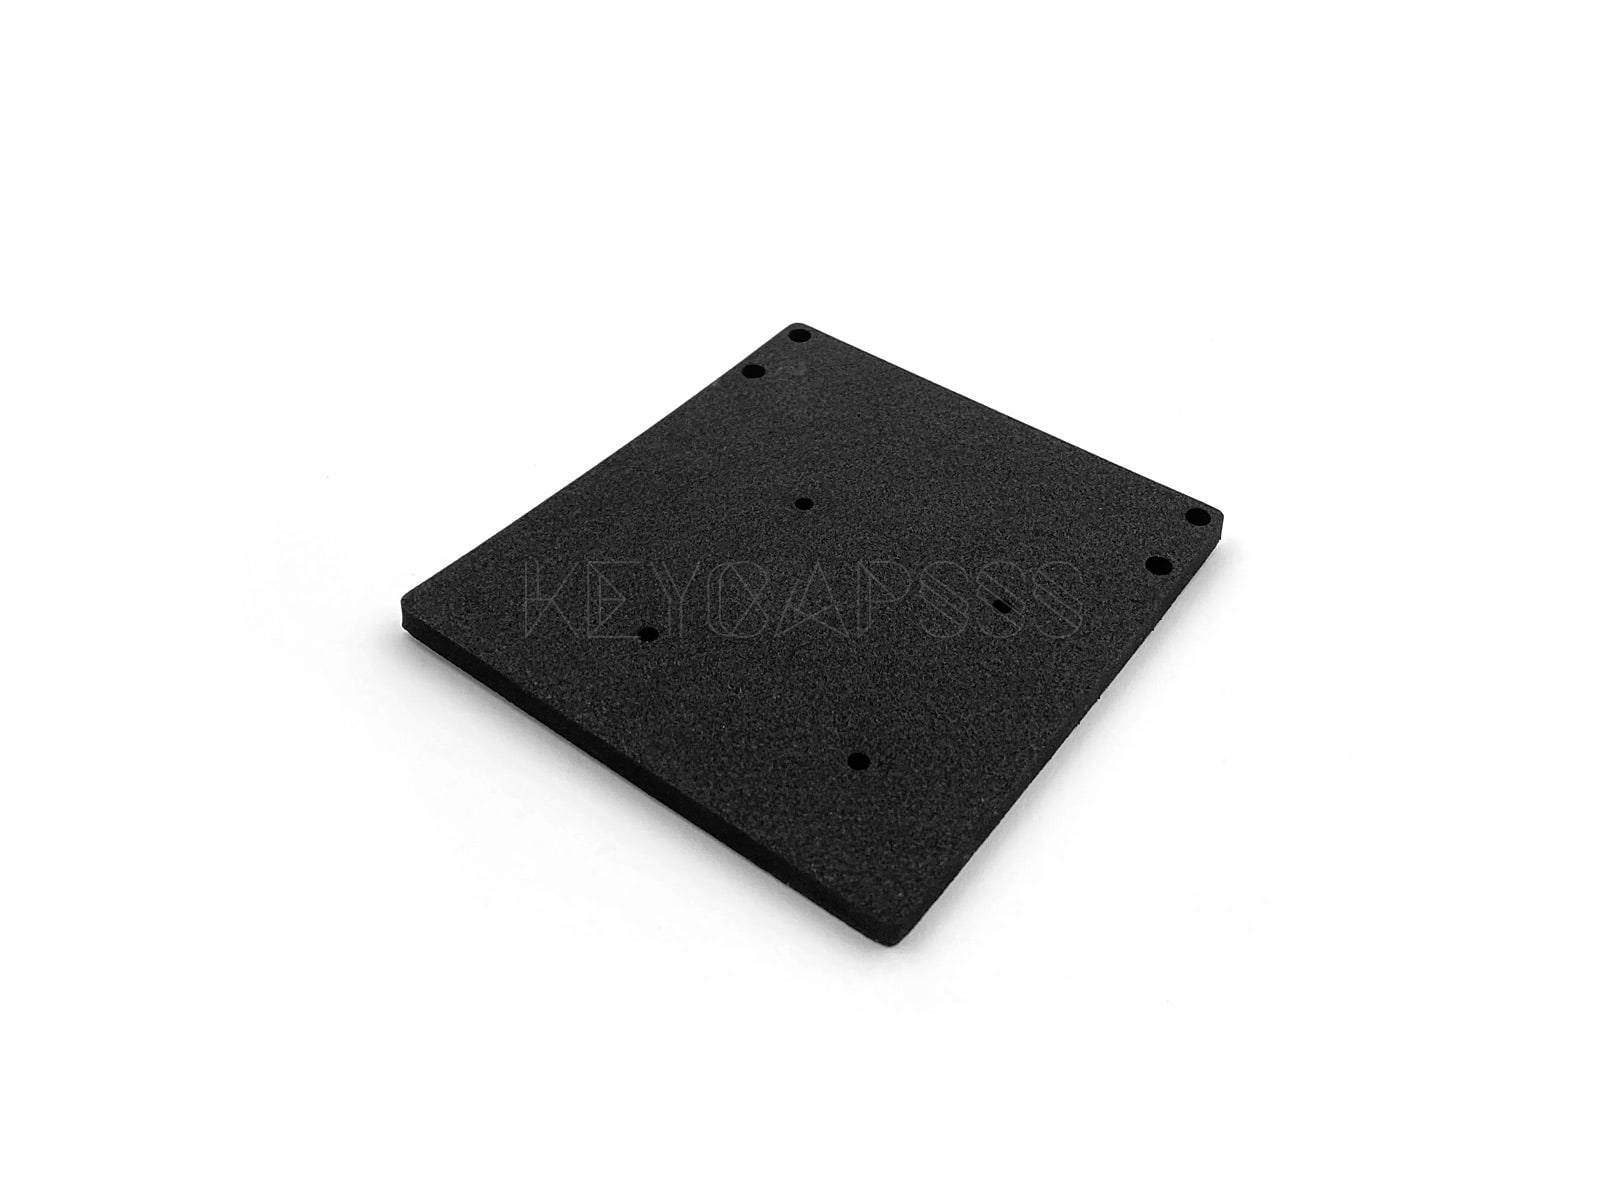
Files for a simple 3d printable case, drawings for the guard plate and dampening foam are available here.
Photos of the completed kit are for demonstration purposes only.
Please note that this kit must be assembled (soldering) and does not include switches or keycaps.
CHANGELOG
Rev3
- Support for a SSD1306 oled display (I2C Pins C4/C5)
- Removed the 2 indicator LEDs (Pin C4/C5)
- Added a power indicator LED
- Changed case mounting style back to the previous style (spacer mounted between mid PCB and bottom plate) - fix ChocV2 issue from REV2.1
Rev2.1
- Bigger solder pads for the USB-C connector (a bit easier to solder)
- Support for Choc V2 switches (issue that the keycap touch the mounting screw, if bottoming out)
- Changed case mounting style (spacer go through the pcb and screwed on the top and bottom plate)
Rev2 (Rev1.1)
- Pcb's with the label Rev1.1 are Rev2 (fixed with the second ordered batch)
- Optional: up to 4 Rotary Encoder
- Support for 3pin switches with the new top plate
- Add a small PLAID-PAD text beneath the USB-C connector
Rev1
- Initial pcb design
- Optional up to 2 Rotary Encoder
With the software "Plaid Pad MIDI" (by Mitchell van Manen), you can use the Plaid-Pad as a Midi device.
Reviews 6
Login
6 reviews
4 May 2021 11:38
Best Macropad out there
I got the Rev 3.
Great design, now that it supports an OLED, the possibilities for inclined QMK tinkerers are endless!
Building it was fairly easy except for the USB-C Port - but there is an affordable service option in the store to have it pre-soldered for you.
The most fun I have with it is thinking of all the things I can do with it to support my different workflows, be it programming or digital art. Thanks to the OLED, I can easily make a firmware indicating which layer I'm on and have a layer (with sub-layers) for each use-case!
5 April 2021 06:19
Sleek, high quality pad that anyone with a steady hand can make
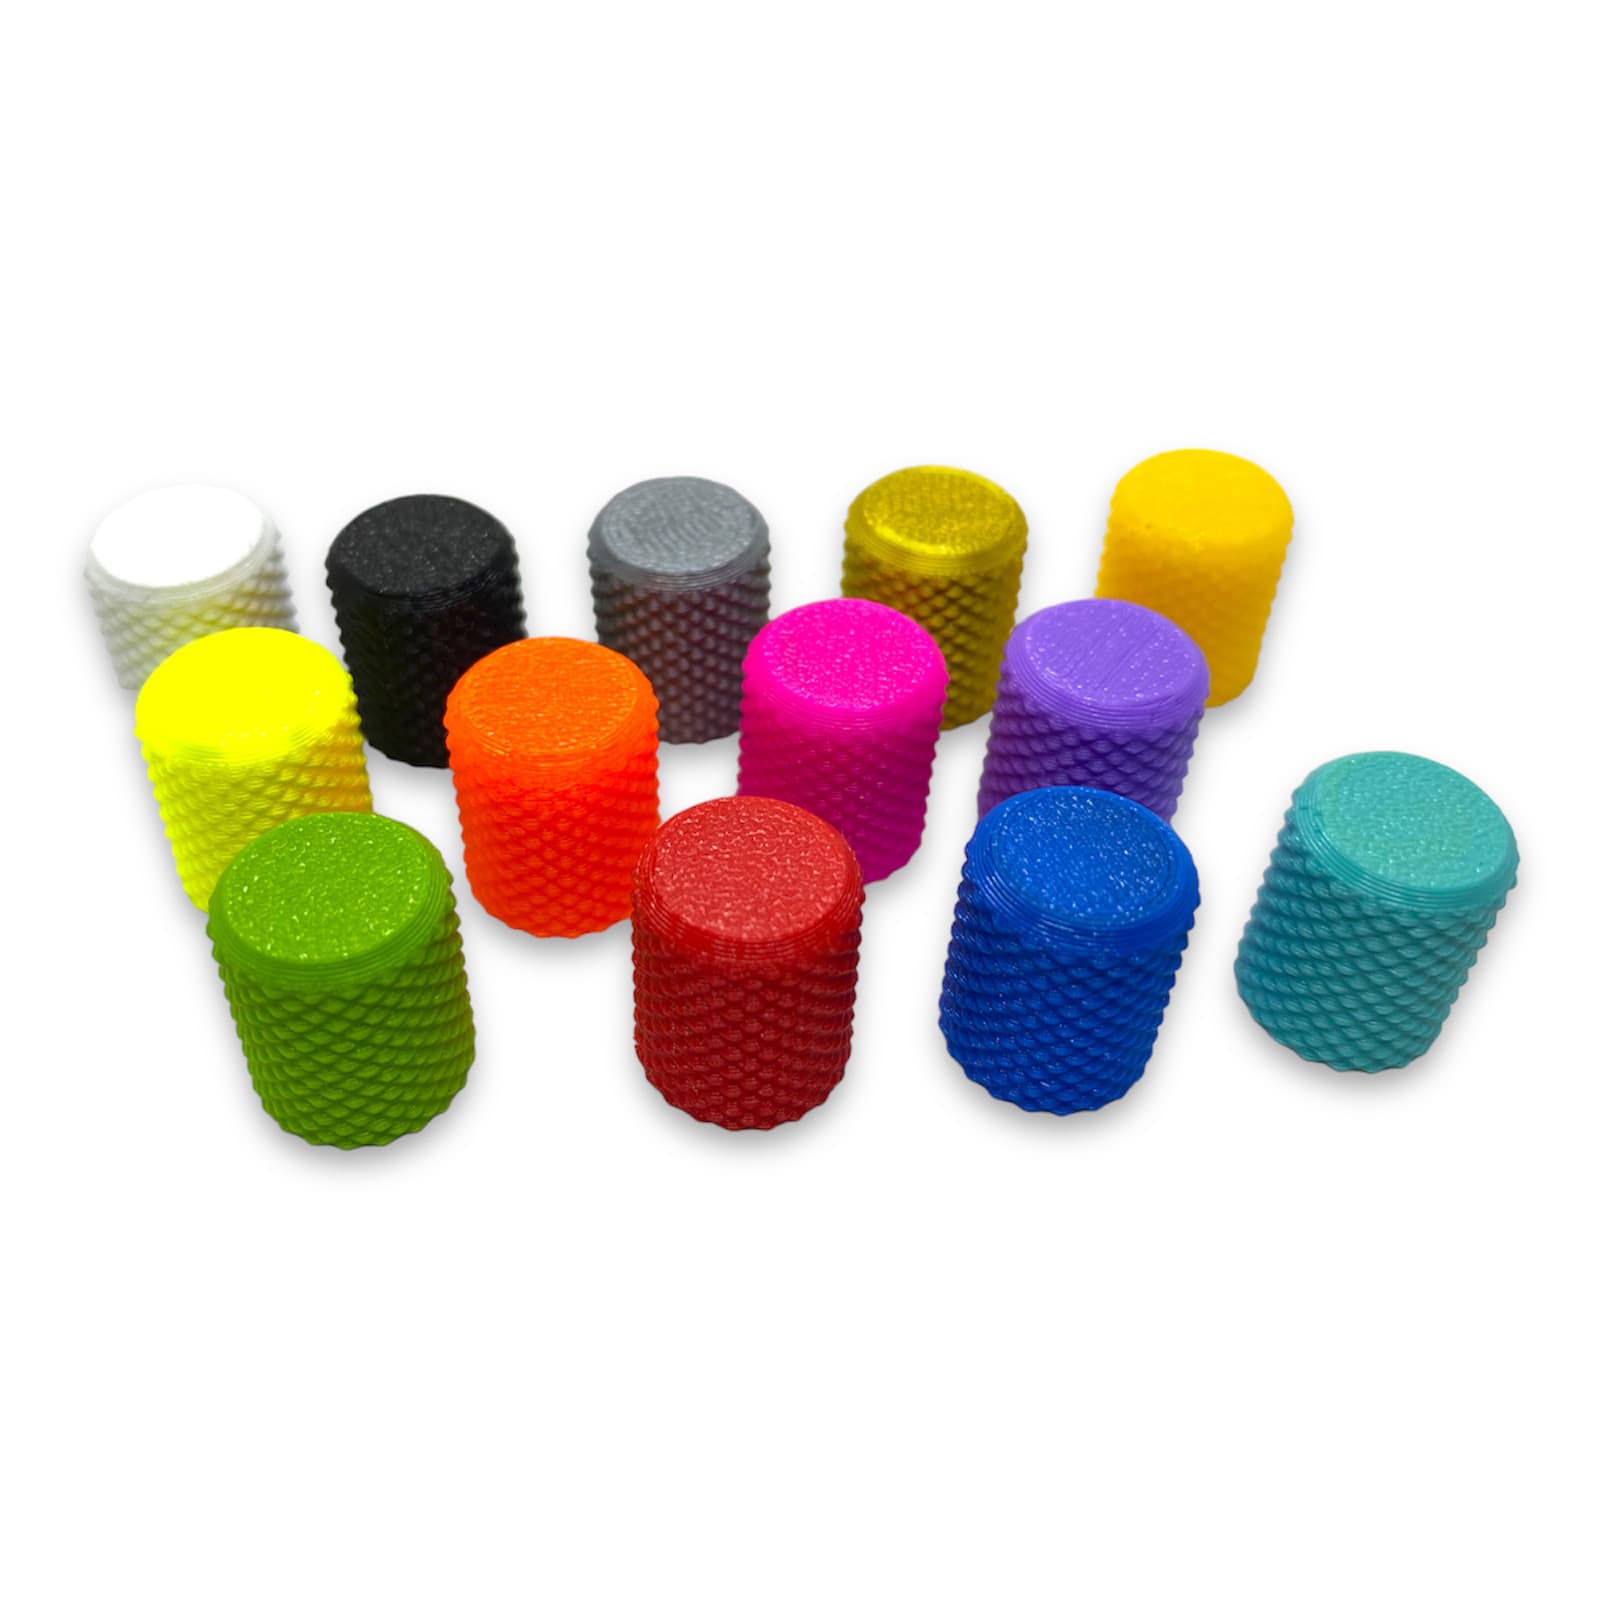
As a digital artist I was really interested in getting a macro pad with knobs for history scrubbing and brush size. The only real option was going for a kit, and i found this gem. The detailed instructions were nice and clear for a first time solderer like me. I was amazed how easily i was able to set up the keymapping with VIA configurator, was able to align it with my CSP hotkeys in no time at all. I bought a Keychron K1 with extra keys to put on the 'pad and they match very nicely. 3d printed some knobs and i was good to go.
I appreciate the dampening foam and usb-c soldering options provided by Keycapsss to make it that much more refined and easier to assemble, respectively.
Biggest gripe was the chip fitting into the socket was extremely tight and hard to know if i had it in correctly. I also cracked the acrylic with only a very small amount of over torquing the standoff screws, which could just be warned about in the instructions.
Overall fantastic little tool and I'd recommend it to anyone looking to mess around with knobs.
19 December 2020 14:00
Top!
Das Pad ist für sich alleine schon super, lässt sich alles ohne weiteres programmieren und sieht einfach mega aus.
Ich persönlich finde als QMK und VIA Neuling die Encoder Programmierung ein wenig verwirrend, aber an sich ist alles soweit super.
Vor allem muss aber der Support hier gelobt werden.
Ich hatte beim Verlöten Widerstände miteinander vertauscht und der Support hat sehr schnell, ausführlich und echt nett geantwortet.
Mir kommt auf jeden Fall noch ein Pad nach Hause
=)
20 November 2020 14:57
Very Versatile
I ordered 2 of the 2.1 Rev Plaid Pads and i love them. The instructions for soldering are easy to follow and well described. I particularly like the fact the instructions tell you which colour code the resistors should have, in case you cant remember which one you currently have in your hand or you have a few unlabeled resistors in your kit (which happened in my case).
If you are new and scared that you might ruin your type c port, you can always pay little extra for the soldering service. Otherwise its pretty easy if you use some flux (i used a no clean flux pen)
The 2.1 Revision has a FR4 switch plate so the wonky switches mentioned in Thierry's review isn't an issue anymore. I personally added some MillMax 0305 sockets to make it hot-swappable, so if anyone thought about doing this, now you know it works.
I equipped mine with 4 encoders on the right side each and they work flawlessly. Its my first time working with encoders, and programming them can seem a little confusing at first. I used the AutoHotkey program to program mine, and in my case i found a lot of the code prewritten on some forums. All i had to do was copy and paste the code into a notepad.
All in all this is a great purchase, it comes well packaged, with good instructions online. Easy to solder and easy to program. It looks amazing and am very happy with it. I can only recommend it. It looks particularly good in combination with a plaid or a discipline.
5 August 2020 00:02
Great build for beginners
This was a perfect level for a first build. Not too difficult but still challenging enough to make you feel more comfortable with soldering. Like stated above make sure that you have 5-pin switches since there isn't a top plate.
Ben has been awesome throughout this whole time. Any questions I had he was very responsive and very helpful. Great products, great seller!
12 April 2020 21:33
Very enjoyable first build. the guide helps not to feel too lost
I really enjoyed the build. Everything is pretty well labeled, or if it's not labeled, then there is no confusion (thinking about the Zhener diodes, that are not labeled but only have the symbol)
The wiki page guides you well, but I felt a bit lost when I reached the switch soldering.
All my switches only had 3 "prongs" (feet?) and as a result, the keys are a bit wonky and not that well aligned.
I suppose that's why there are switches with 5 prongs, to keep them well aligned.
I am not complaining that it's not indicated on the shop page, but a simple "recommended" link to switches could have cleared the case, especially for a beginner.
Also, the USB C gave me some difficulties, but bad eyesight and shaky hands didn't helped.
I would have liked the option to use a full Arduino with an already soldered USB port.
My usual soldering iron (ts100) was way to wide to solder that... I had to find an iron with a smaller tip, and I was unsure if I had a short circuit, but as I could not remove it, I tried to power the keypad and it was ok.
So, it looks like there are traces between the left and right most pins to the ground.
I am now looking how to flash a custom qmk firmware, as I want to have a second layer and some macros available.
I still haven't found how, that's unfortunate that the wiki doesn't cover that part.
It's like the reset / boot button. Reset I understand, but what purpose the boot button have?
It's a mystery for me.
Safety information
Manufacturer: Keycapsss | Benjamin Rösner, Löhrstr. 11, 04105 Leipzig, Germany
Contact: Keycapsss.com

